
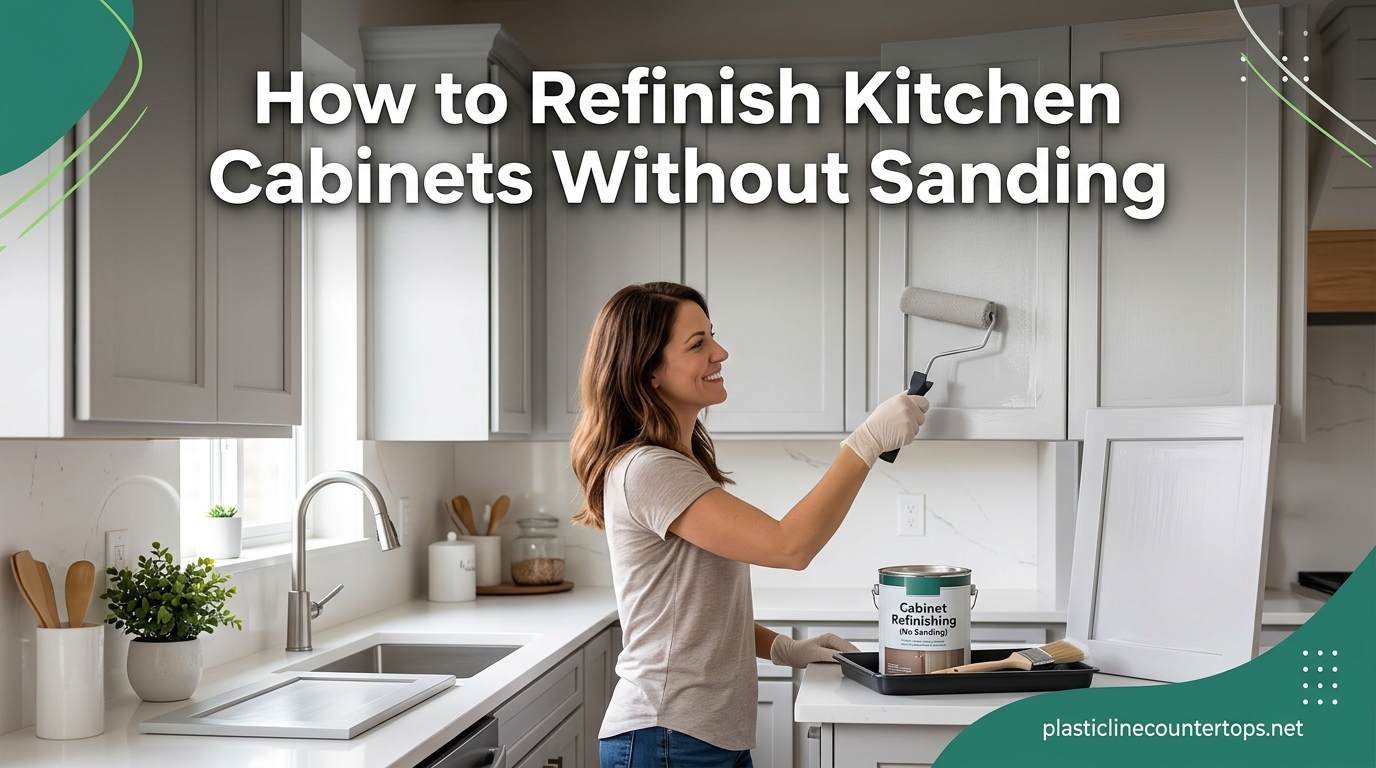
Refinishing kitchen cabinets without sanding is the DIY project that saved my weekends. I was staring at honey oak cabinets from 1998 and dreading the thought of sanding every surface until my arms went numb.
Here is the truth you need to hear: you do not need sandpaper to get a professional-looking finish. With the right deglosser and paint, you can transform your kitchen in a weekend instead of a month. Our team has helped hundreds of homeowners through this exact process, and I am going to walk you through every step.
In this guide, you will learn how to refinish kitchen cabinets without sanding using liquid deglosser, the best products that actually work, and the mistakes that ruin finishes. Whether your cabinets are oak, maple, or covered in polyurethane, this method works.
Table of Contents
What You Will Need
Before you start, gather everything in one place. Running to the hardware store mid-project is how cabinets end up half-finished for months.
Cleaning and Prep Supplies
Degreaser: Krud Kutter Original or TSP substitute cuts through years of cooking grease. Regular cleaners leave residue that repels paint.
Liquid Deglosser: Also called liquid sandpaper, this is your sanding alternative. We recommend Klean-Strip Liquid Sandpaper Deglosser or Citristrip for a less toxic option.
Cleaning cloths: Microfiber cloths work best. Paper towels leave lint and can fall apart.
Paint and Primer
Option A – Paint + Primer: Use Zinsser B-I-N shellac-based primer followed by Benjamin Moore Advance or Sherwin-Williams Emerald Urethane.
Option B – All-in-One Paint: DecoArt Satin Enamel or similar cabinet-specific paints that include primer and paint in one.
Option C – Gel Stain: Gel stain for wood cabinets if you want to keep the wood grain visible while changing the color.
Application Tools
Foam roller: 4-inch high-density foam roller for flat surfaces. Avoid cheap rollers that shed.
Angled brush: 2-inch angled sash brush for edges and detail work. Purdy or Wooster are worth the extra cost.
Spray option: If you have a paint sprayer, you can use it for cabinet doors instead of rolling.
Protection Supplies
Drop cloths, painter’s tape, plastic sheeting for surrounding areas, and disposable gloves. Deglosser is strong stuff that you do not want on your skin.
Three Methods Compared
Not all no-sanding approaches work the same way. Here is how to choose the right method for your cabinets.
Method 1: Bonding Primer + Paint
This traditional approach works on any cabinet surface including laminate. You apply a specialized bonding primer like Zinsser B-I-N after deglossing, then paint with a durable enamel.
Best for: Laminate cabinets, heavily varnished wood, or when you want maximum durability.
Pros: Works on virtually any surface, proven long-term results.
Cons: More steps, longer total project time.
Method 2: All-in-One Cabinet Paint
Products like DecoArt Satin Enamel combine primer and paint in one formula designed specifically for cabinets. You skip the separate primer step.
Best for: Wood cabinets in good condition, first-time DIYers who want simplicity.
Pros: Fewer steps, self-leveling formula reduces brush marks, faster completion.
Cons: May not adhere as well to laminate without proper prep.
Method 3: Gel Stain
Gel stain sits on top of the existing finish rather than soaking in. It gives you a stained wood look without stripping the old finish.
Best for: Cabinets with attractive wood grain you want to enhance, traditional or rustic styles.
Pros: Shows wood grain, easy application, forgiving of mistakes.
Cons: Cannot dramatically change color (dark to light), limited color options.
How to Refinish Kitchen Cabinets Without Sanding: Step-by-Step
Here is the complete process from start to finish. Total working time is about 8-10 hours spread across a weekend, plus drying time.
Step 1: Clear and Protect Your Space
Remove everything from your cabinets and drawers. I mean everything. The one time I got lazy and left plates in upper cabinets, I knocked one down and had to pause for cleanup.
Cover countertops with rosin paper or plastic sheeting. Protect floors with drop cloths. Remove outlet covers and light switch plates. Open windows for ventilation.
Pro tip from our team: Take photos of your kitchen before you remove doors. It helps when you are putting everything back together.
Step 2: Remove Hardware and Label Everything
Remove cabinet doors, drawer fronts, and all hardware. Put screws and hinges in labeled bags. A piece of painter’s tape with “Upper Left” written on it will save you hours of guesswork later.
Number the doors and their corresponding openings with small pieces of tape. Cabinet doors that look identical often fit slightly differently after years of settling.
For the fastest method, you can leave doors on and paint them in place, but removing them gives better access to edges and prevents drips on your hinges.
Step 3: Deep Clean with Degreaser
This step is not optional. Years of cooking grease creates a film that will repel paint even after deglossing.
Mix Krud Kutter according to directions or use it full strength for heavy grease. Scrub all surfaces with a microfiber cloth or sponge. Pay special attention to areas near the stove and any spot where hands regularly touch.
Rinse with clean water and let dry completely. Any residue left behind will cause adhesion problems.
Some people ask about Murphy’s oil soap for wood cabinets. Skip it for this project. Oil soap leaves residue that interferes with paint adhesion. Stick with degreasers designed for pre-paint prep.
Step 4: Apply Liquid Deglosser
This is where the magic happens. Liquid deglosser chemically dulls the existing finish so paint can grip without sanding.
Put on gloves and work in a well-ventilated area. Pour deglosser onto a clean cloth and wipe it onto cabinet surfaces in circular motions. Work in small sections about 2 feet square.
You will feel the surface change from slick to slightly tacky. That is the finish breaking down. Let it sit for the time recommended on the label, usually 10-15 minutes.
Wipe with a clean, damp cloth to remove residue. Let dry completely before painting. The surface should look dull, not shiny.
If your cabinets have a heavy polyurethane coat, you might need a second application. Test by dripping water on the surface. If it beads up, degloss again.
Step 5: Prime (If Your Paint Requires It)
Check your paint instructions. All-in-one cabinet paints skip this step. Traditional paints need a bonding primer.
Apply Zinsser B-I-N or another shellac-based primer with a foam roller. Shellac-based primers stick to everything and block stains from bleeding through.
Apply thin, even coats. Primer is not supposed to look perfect. It just needs to cover the surface. One coat is usually enough.
Let dry for at least an hour or per manufacturer instructions. The primer should feel slightly tacky but not wet.
Step 6: Paint or Stain Application
Now for the transformation. Load your foam roller lightly. Thick coats cause drips and take forever to dry.
Work in long, even strokes following the wood grain. Do not overwork the paint. Self-leveling formulas will smooth themselves out as they dry.
Use your angled brush for edges, corners, and detailed areas. Brush in the same direction as the grain when possible.
Apply two thin coats rather than one thick one. The first coat might look patchy. That is normal. The second coat provides full coverage.
Wait for the recoat time on your paint label, typically 2-4 hours. Do not rush this. Painting over tacky paint ruins the finish.
For gel stain, apply with a foam brush or cloth in circular motions, then wipe off excess following the grain. Build color with multiple thin coats.
Step 7: Dry, Cure, and Reassemble
Drying and curing are different. Paint dries to the touch in hours. Curing means it has hardened completely.
Let cabinet doors dry flat for 24 hours before flipping to paint the other side. After the final coat, wait 48-72 hours before reassembling.
Cabinets need about 7 days to fully cure. Be gentle with them during this time. Do not install hardware that will press into the finish.
Reattach doors using your labels as a guide. Install hardware. Step back and admire your work.
Pro Tips for Professional Results
After guiding hundreds of homeowners through cabinet refinishing, these are the techniques that separate amateur results from professional finishes.
Prevent Brush Strokes
Self-leveling paint is your friend here. Benjamin Moore Advance and similar products flatten out as they dry. Do not overbrush trying to smooth them.
If you see brush strokes after the first coat, do not panic. The second coat usually covers them completely.
Handle Oak Grain Texture
Oak cabinets have deep grain that shows through paint. You have three options:
1. Embrace it: The grain adds character. Many people love the texture.
2. Fill it: Apply grain filler before painting for a smooth finish. This adds significant time and cost.
3. Choose gel stain: Stain keeps the grain visible while changing color, avoiding the painted-over-grain look entirely.
From Reddit discussions, most homeowners learn to live with the grain or choose colors that make it less noticeable like navy or forest green.
Watch Temperature and Humidity
Paint behaves differently in high humidity. If you are refinishing in summer, run a dehumidifier.
Ideal conditions are 70-75 degrees Fahrenheit with humidity under 50%. Cold temperatures slow drying and prevent proper curing.
Time Your Second Coat
Apply the second coat within 24 hours of the first. Wait too long and you lose the chemical bond between coats.
If more than 24 hours pass, lightly degloss the first coat before applying the second.
Cost Breakdown: DIY vs Professional
Here is what you can expect to spend on a typical kitchen with 20 cabinet doors and 10 drawer fronts.
DIY Cost
Supplies: $40-80 (degreaser, deglosser, tape, brushes, rollers)
Paint/Primer: $60-150 depending on brand and cabinet size
Total DIY: $100-230 for an average kitchen
Your time investment is 8-12 hours of actual work spread over a weekend plus drying time.
Professional Refinishing Cost
National average: $2,990-4,500 for a standard kitchen
High-end markets: Up to $7,000 or more
Professionals typically charge $50-100 per cabinet door plus additional for drawers and frames.
When to Hire a Pro
Consider professional help if your cabinets have water damage, the existing finish is peeling extensively, or you have intricate detail work that requires expertise.
For cabinets in good structural condition with an intact finish, DIY refinishing without sanding delivers professional results at a fraction of the cost.
Troubleshooting Common Problems
Even with careful prep, things can go wrong. Here is how to fix the most common issues.
Paint Not Sticking
Cause: Grease residue or inadequate deglossing.
Fix: Remove the peeling paint, degrease again with Krud Kutter, reapply deglosser, and start over. This is why prep work matters so much.
Visible Brush Strokes
Cause: Overbrushing, cheap brushes, or paint applied too thick.
Fix: Sand lightly with 220-grit sandpaper to smooth, wipe clean, and apply a thin final coat with a foam roller.
Oak Grain Showing Through
Cause: Wood grain is normal for oak. It is not a defect.
Fix: Either embrace the texture or apply grain filler before painting. Alternatively, switch to gel stain which works with the grain instead of against it.
Chipping or Peeling After Months
Cause: Inadequate prep, painting over dirty surfaces, or not allowing proper cure time.
Prevention: Follow every prep step. Do not rush drying times. Be gentle with cabinets for the first week after finishing.
Uneven Finish
Cause: Paint applied too thick, dust particles, or painting over partially dry layers.
Fix: Sand smooth and recoat. Thin your paint slightly if needed.
FAQ
Can I just paint over my kitchen cabinets without sanding?
Yes, you can paint over kitchen cabinets without sanding by using a liquid deglosser or liquid sandpaper to prepare the surface. The deglosser chemically dulls the existing finish so paint can adhere properly. Clean the cabinets thoroughly with a degreaser first, apply the deglosser according to directions, then paint with a bonding primer and durable enamel or an all-in-one cabinet paint.
Can you refinish cabinets without sanding?
Absolutely. Refinishing cabinets without sanding is a proven method that uses liquid deglossers to prepare the surface instead of sandpaper. This approach works on wood, laminate, and previously painted cabinets. The key steps are thorough cleaning with degreaser, applying liquid deglosser to break down the existing finish, and using quality paint designed for cabinets. This method saves time and eliminates the dust created by sanding.
How to make old wood cabinets look new without sanding?
To make old wood cabinets look new without sanding, follow these steps: 1) Remove cabinet doors and hardware, 2) Clean thoroughly with a degreaser like Krud Kutter, 3) Apply liquid deglosser to dull the existing finish, 4) Paint with an all-in-one cabinet paint or use bonding primer followed by enamel paint, 5) Apply two thin coats for full coverage, 6) Let cure for 7 days before heavy use. The transformation can make 20-year-old cabinets look brand new.
What happens if you don’t sand cabinets before painting?
If you don’t sand cabinets before painting but use a liquid deglosser instead, nothing bad happens. The deglosser creates the same surface preparation that sanding does. However, if you skip both sanding and deglossing, the paint will likely peel or chip because it cannot bond to the slick existing finish. Always use one or the other: either sand thoroughly or use liquid deglosser to prepare the surface.
Is deglosser better than sanding cabinets?
Deglosser is better than sanding for most DIYers because it eliminates dust, takes less physical effort, and works faster. Liquid deglosser chemically breaks down the existing finish in minutes versus hours of sanding. However, sanding gives you more control over smoothing imperfections and is necessary if the existing finish is severely damaged or peeling. For cabinets in good condition, deglosser is the easier, cleaner choice.
Should you use Murphy’s oil soap on cabinets?
Skip Murphy’s oil soap when preparing cabinets for painting. While it is great for routine cleaning and conditioning wood, it leaves an oily residue that interferes with paint adhesion. Instead, use a degreaser like Krud Kutter or TSP substitute that is specifically designed to remove grease and prepare surfaces for paint. Save the oil soap for after your cabinets are refinished and cured.
How long does the finish last without sanding?
A properly refinished cabinet finish can last 5-10 years or more, whether you sanded or used deglosser. The durability depends on surface preparation, paint quality, and how you use the cabinets. Proper prep with degreaser and deglosser followed by quality cabinet paint often outlasts rushed sanding jobs. Real user reports from Reddit and home improvement forums confirm 5+ year durability with the no-sanding method when done correctly.
Conclusion
Learning how to refinish kitchen cabinets without sanding opens up a world of kitchen transformations that do not require power tools or weeks of work. With liquid deglosser, quality paint, and proper technique, you can achieve results that look like they cost thousands.
The key is patience during prep. Degrease thoroughly, degloss properly, and do not rush the drying times. Your cabinets will thank you with a finish that lasts for years.
Start with one cabinet door as a test if you are nervous. Once you see how the deglosser prepares the surface and how smoothly the paint goes on, you will have the confidence to transform your entire kitchen.
Grab your supplies this weekend and give your cabinets the update they deserve.