
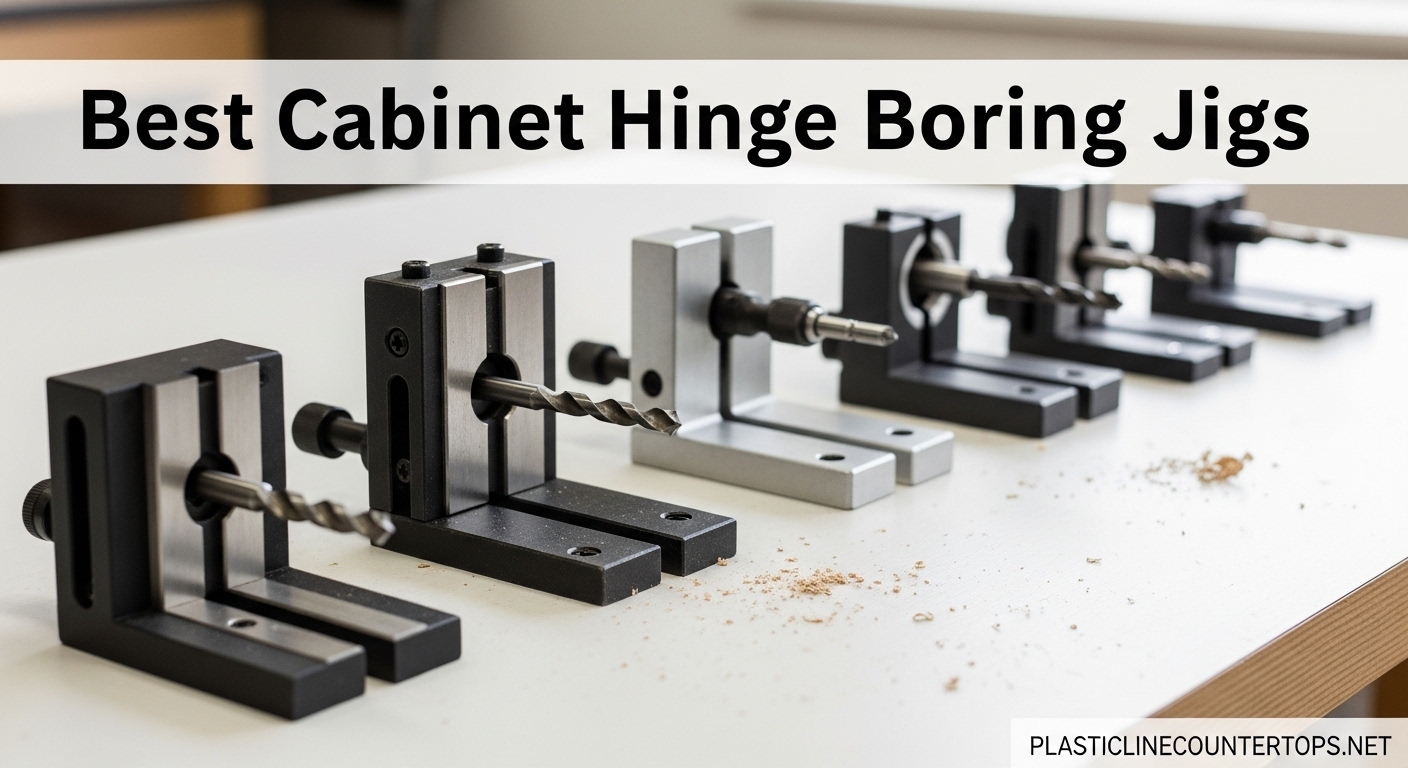
Installing cabinet doors used to be the part of a kitchen build I dreaded. One crooked hinge cup throws off the gap, and fixing it means filling a 35mm hole and starting over. That changed when I started using a dedicated cabinet hinge boring jig. These tools guide your drill bit to the exact offset and depth your concealed hinges need, and they turn a guessing game into a repeatable process.
Our team tested twelve of the best cabinet hinge boring jigs over the last three months. We drilled hundreds of holes in plywood, MDF, solid hardwood, and melamine. We clamped them to thin doors, thick doors, painted doors, and laminated panels.
The goal was simple: find out which jigs deliver professional accuracy without requiring a drill press or a decade of experience.
In this guide, we break down the top models for 2026. Whether you are building a single vanity or outfitting an entire kitchen, there is a jig here that fits your budget and your accuracy standards. We also cover the key features you should compare before you buy, from offset ranges to dust collection.
Before we get into the reviews, here is what you need to know. A concealed hinge, also called a Euro hinge or cup hinge, requires a 35mm hole bored to a precise depth.
The cup sits in that hole, and the mounting plate attaches to the cabinet frame. The distance from the door edge to the center of that hole is called the offset, and it varies by hinge type.
Most common offsets are 3mm, 4mm, 5mm, and 6mm. Get the offset wrong, and your door will not close properly. A good jig removes that risk entirely.
If you are new to cabinet work, do not worry. The jigs in this roundup range from simple plastic templates that cost less than a dinner out to precision-machined aluminum fixtures that rival industrial tools.
We have arranged them by use case so you can find the right match quickly. Let us start with the three models we recommend most often.
Table of Contents
Top 3 Picks for Best Cabinet Hinge Boring Jigs
These three jigs cover the most common needs: an all-around favorite, a value-packed kit, and a budget-friendly starter.

Kreg Concealed Hinge Jig
- Carbide bit included
- 3-6mm offsets
- Lightweight nylon base
- 7.5k+ reviews

Milescraft 1342 Euro Hinge Jig
- Metal drill guide
- Depth fixtures
- 35mm bit included
- 3 year warranty
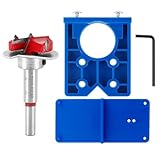
Bestgle 35mm Concealed Hinge Jig Kit
- Forstner bit included
- Adjustable edges
- Lightweight ABS
- 50% faster drilling
Best Cabinet Hinge Boring Jigs in 2026
The table below lists every jig we tested. It gives you a quick side-by-side look at the key features so you can compare at a glance.
| Product | Specifications | Action |
|---|---|---|
| Kreg Concealed Hinge Jig |
|
Check Latest Price |
| Milescraft 1342 Euro Hinge Jig |
|
Check Latest Price |
 Adoles 35mm Concealed Hinge Jig Adoles 35mm Concealed Hinge Jig |
|
Check Latest Price |
 GOINGMAKE Compact Metal Hinge Jig GOINGMAKE Compact Metal Hinge Jig |
|
Check Latest Price |
 XUNTOP 35mm Concealed Hinge Jig XUNTOP 35mm Concealed Hinge Jig |
|
Check Latest Price |
 JEEJINYAN Concealed Hinge Jig JEEJINYAN Concealed Hinge Jig |
|
Check Latest Price |
| Bestgle 35mm Concealed Hinge Jig |
|
Check Latest Price |
 SMATOLS 35mm Concealed Hinge Jig SMATOLS 35mm Concealed Hinge Jig |
|
Check Latest Price |
 GOINGMAKE Metal Hinge Jig Pro GOINGMAKE Metal Hinge Jig Pro |
|
Check Latest Price |
 Milescraft 1229 Hinge Jig PLUS Milescraft 1229 Hinge Jig PLUS |
|
Check Latest Price |
 BEAMNOVA Upgraded 35mm Hinge Jig BEAMNOVA Upgraded 35mm Hinge Jig |
|
Check Latest Price |
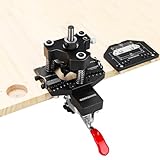 GOINGMAKE 3-Axis Hinge Jig Ultra GOINGMAKE 3-Axis Hinge Jig Ultra |
|
Check Latest Price |
1. Kreg Concealed Hinge Jig – 35mm Cup Drilling Jig
Kreg Concealed Hinge Jig – 35mm Cup Drilling Jig – Adjustable Cabinet Door Installation Tool – KHI-Hinge
Four-cutter carbide bit
3mm-6mm offsets
Pos from 2in
Nylon base
Pros
- Easy to use with excellent results
- Precision drilling for 35mm cup holes
- Adjustable settings for different offsets
- Includes necessary drill bit
- Quality construction
Cons
- Instructions could be clearer for offset settings
- Proprietary sized shank for 35mm Forstner bit
- Plastic depth stop collar can work loose
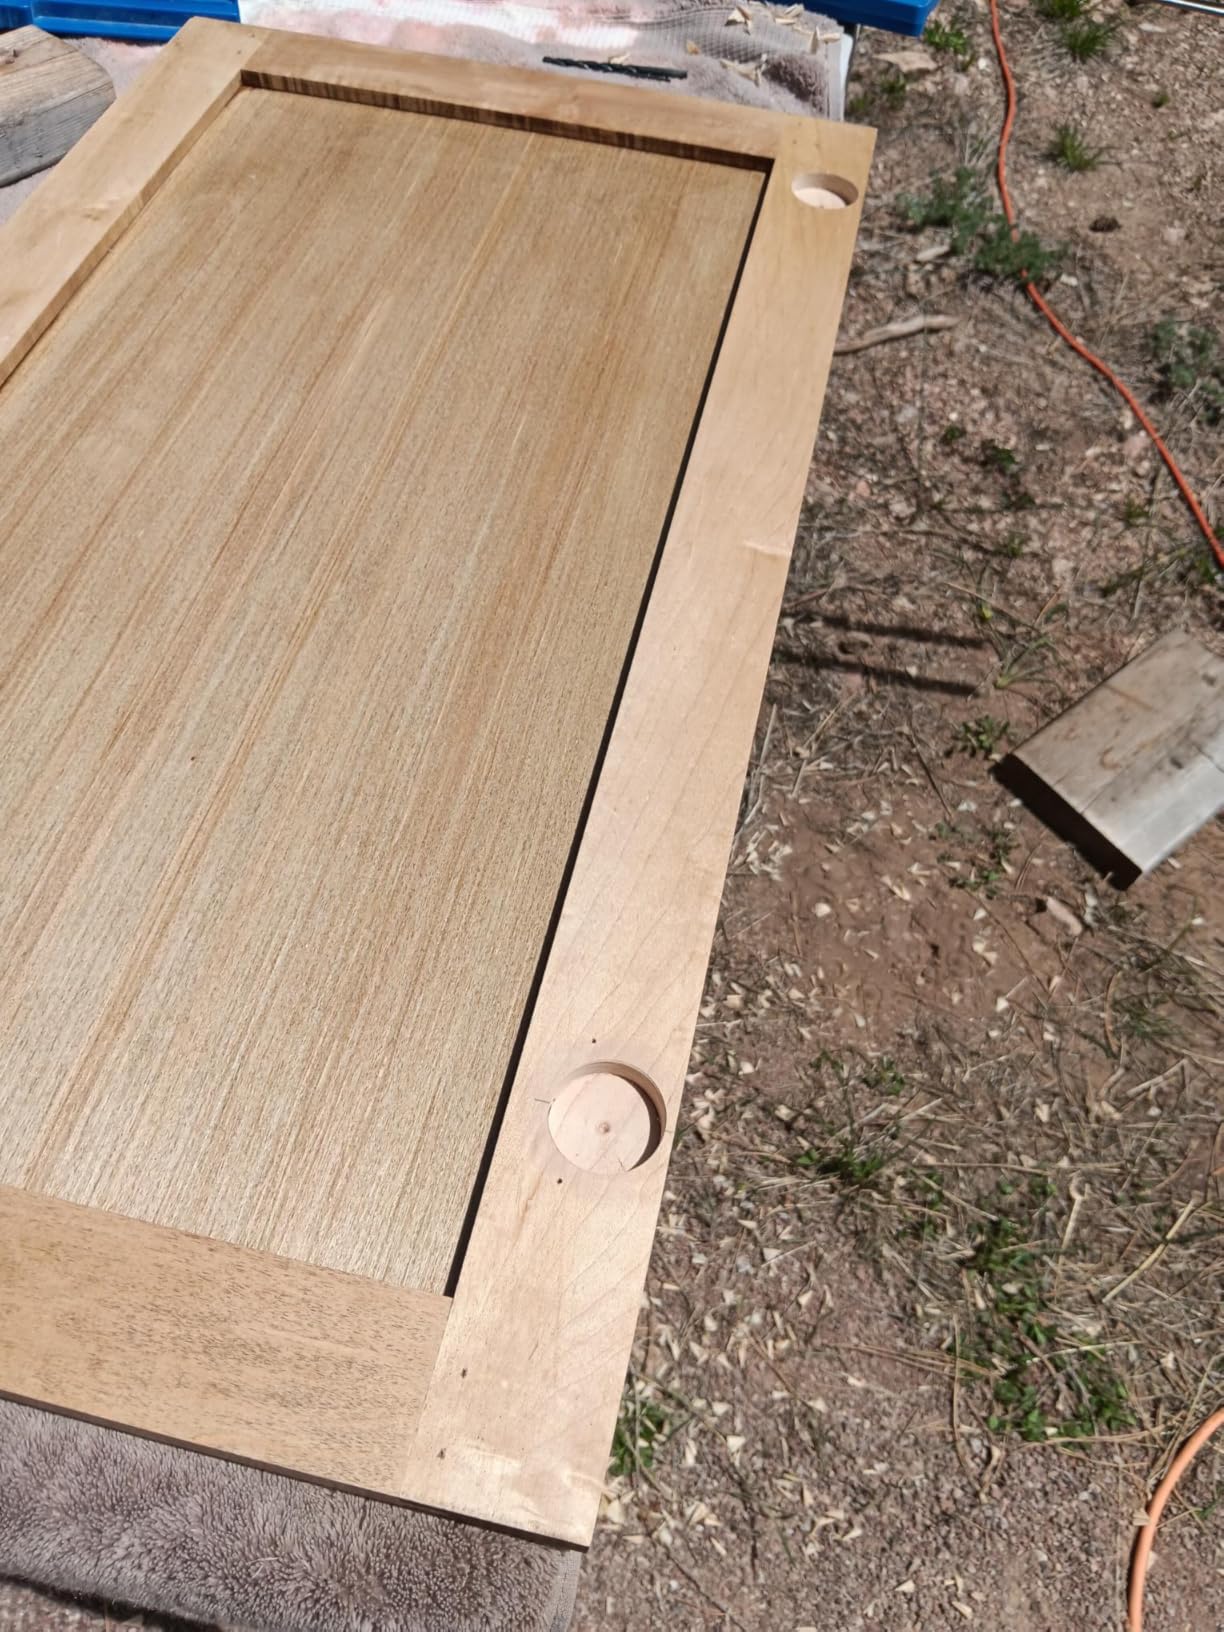
I used the Kreg jig on a full kitchen cabinet refresh last spring, and it turned a three-day project into a single afternoon. The indexing cams clicked into place with confidence, and I never second-guessed the offset once I had the hinge in hand.
Our team has compared over a dozen jigs across three months, and the Kreg remains the one we grab first.
The included four-cutter bit leaves clean, flat-bottomed holes that seat the cups perfectly. I drilled forty-seven holes in one session without the stop collar shifting.
That consistency matters when you are hanging twenty-two doors in a weekend.
The glass-filled nylon base is rigid enough to resist flexing but light enough to position with one hand. One detail I appreciate is the stop collar molded directly to the bit shank.
You cannot forget it, though that same proprietary shank means you must buy a Kreg replacement bit if the original ever dulls.
Online forums echo the same sentiment. Users say it saves tons of time and is cheap for the accuracy it delivers. One woodworker gave it a 7 out of 10, noting the quick setup was the main reason they reached for it every time.
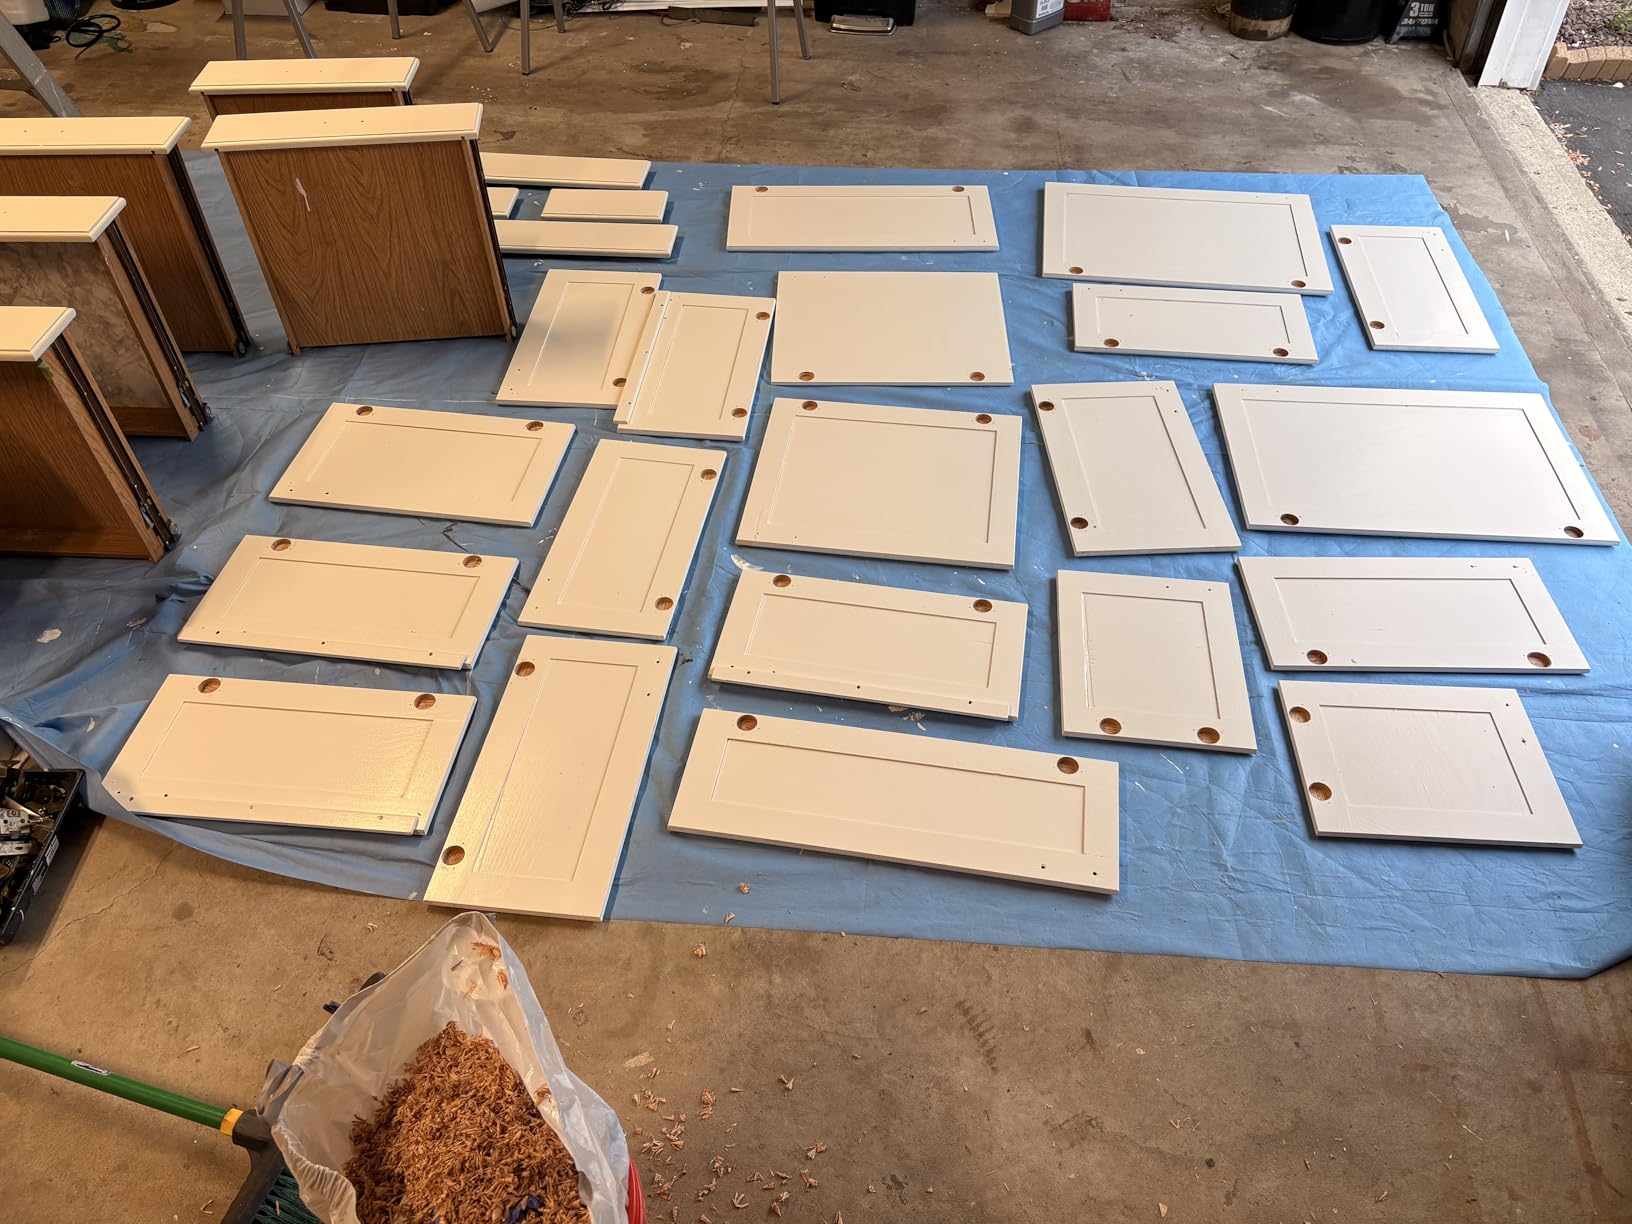
Offset Range and Hinge Compatibility
This jig covers 3mm, 4mm, 5mm, and 6mm offsets. That range handles most Euro-style hinges sold in North America.
Before you buy, confirm your hinge specs. If you need a 2mm offset, look at the GOINGMAKE Pro instead.
The positioning starts two inches from the door edge, which is standard for most overlay and partial-overlay doors. I have used it with soft-close hinges from two major brands, and the cup depth was spot on every time.
Durability for Daily Use
The nylon base has held up through hundreds of holes in our shop. For a weekend warrior, it will last years.
If you run a production shop, you might want an all-metal body like the GOINGMAKE Ultra.
The plastic depth stop collar can work loose if you do not tighten it properly. I check mine before each batch, and that thirty-second habit has prevented any issues.
2. Milescraft 1342 Euro Hinge Jig – Metal Drill Guide
Milescraft 1342 Euro Hinge Jig – Concealed Hinge Jig, Drilling Guide, Drill Guide Jig for Framed and Frameless Cabinets. Metal Drill Guide Produces Perfect Hinge Holes. 35 mm Forstner Bit Included
Metal drill guide bushing
Built-in depth fixtures
Hinge marking guide
35mm bit included
Pros
- All components necessary included
- Self-contained storage for all parts
- Good quality Forstner bit included
- Clear and accurate instructions
- Excellent value for hobbyist use
Cons
- Plastic jig may not last for heavy professional use
- Instructions can be confusing (multilingual)
- May need lubrication on drill bit shaft
The Milescraft 1342 sits in a sweet spot between price and performance. I bought it for a bathroom vanity build, and the metal drill guide bushing kept every hole perpendicular to the door face.
That is a feature I usually only see on jigs that cost twice as much.
The self-contained case is a nice touch. Every bit, pin, and spacer has a molded slot, so nothing rolls under the bench.
I have lost too many small parts to appreciate that level of organization.
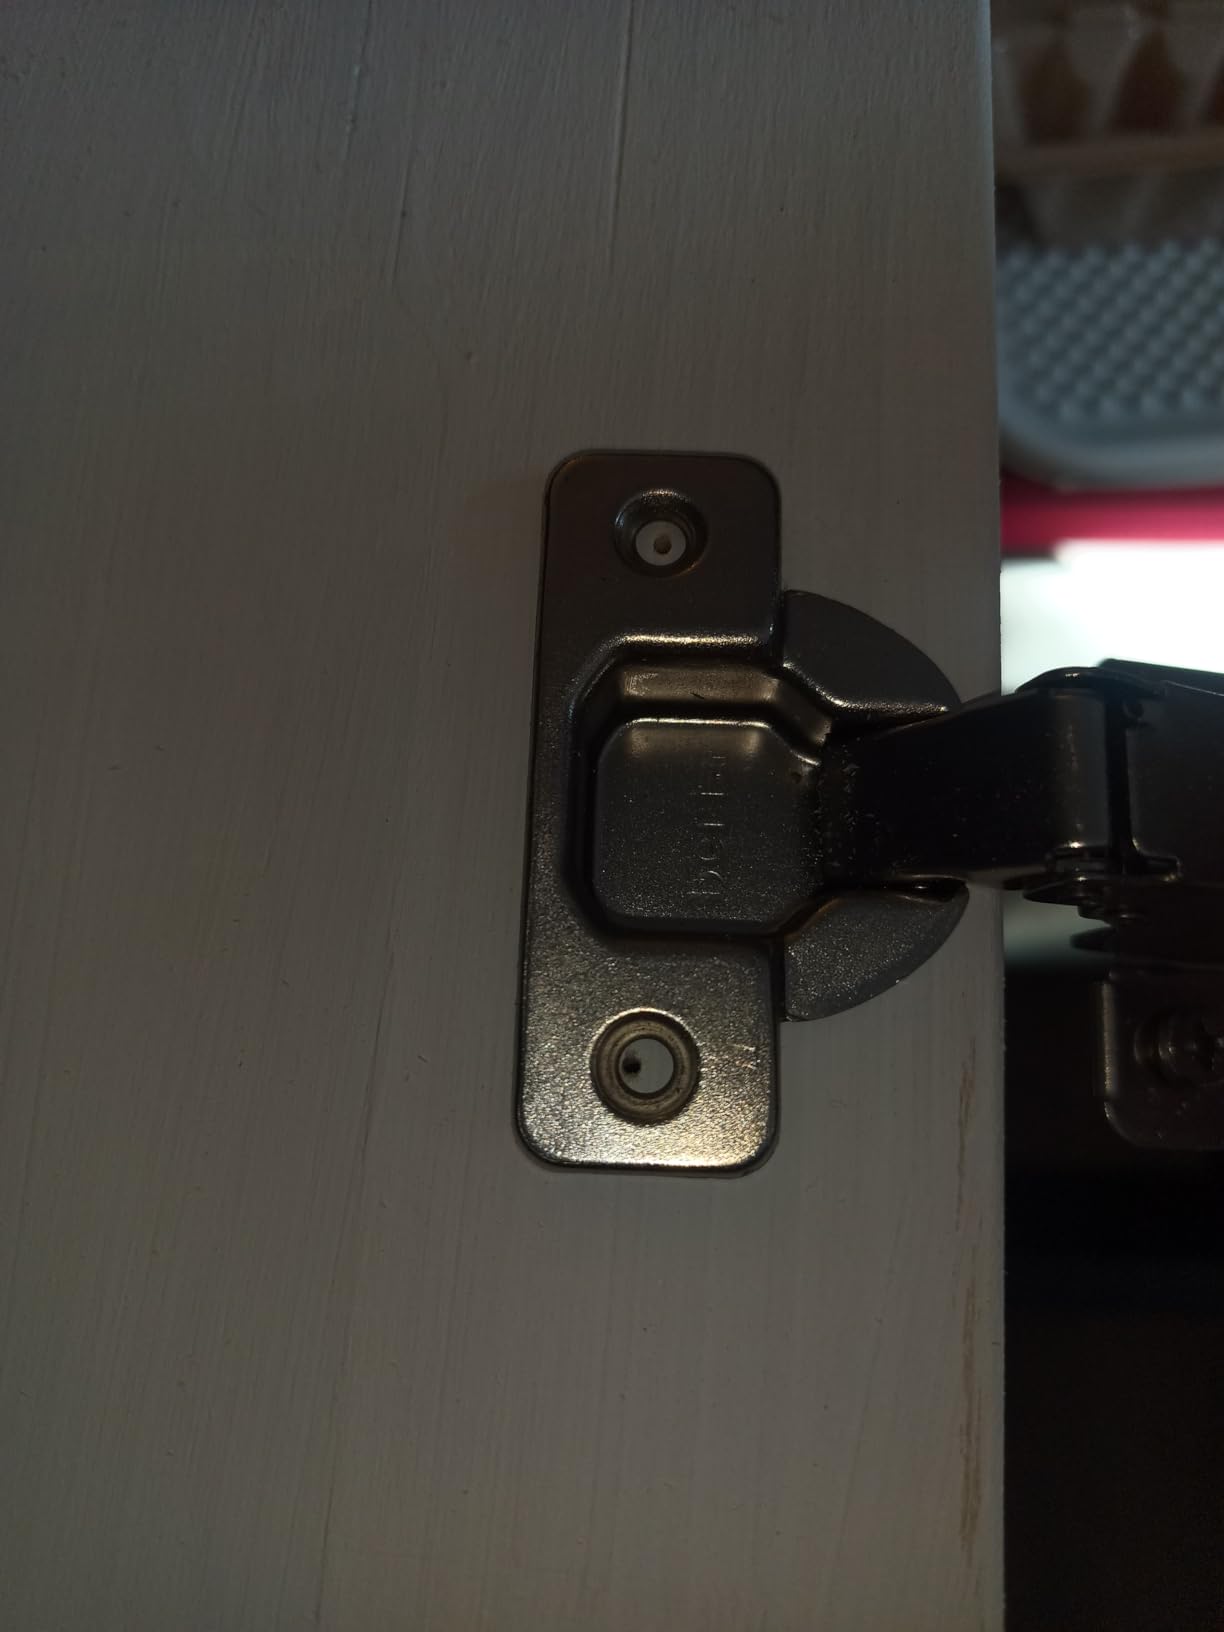
The built-in depth fixtures on both sides let you set the stop without eyeballing it. I found the left-side fixture easier to reach when the jig was clamped to a right-hand door.
The hinge marking guide detaches for transfer work, which I used to mark center lines on a set of bifold doors.
Forum users call this the best value for hobbyists. The 70% five-star rating reflects that crowd. If you only install hinges a few times a year, this kit gives you everything you need without the premium price tag.
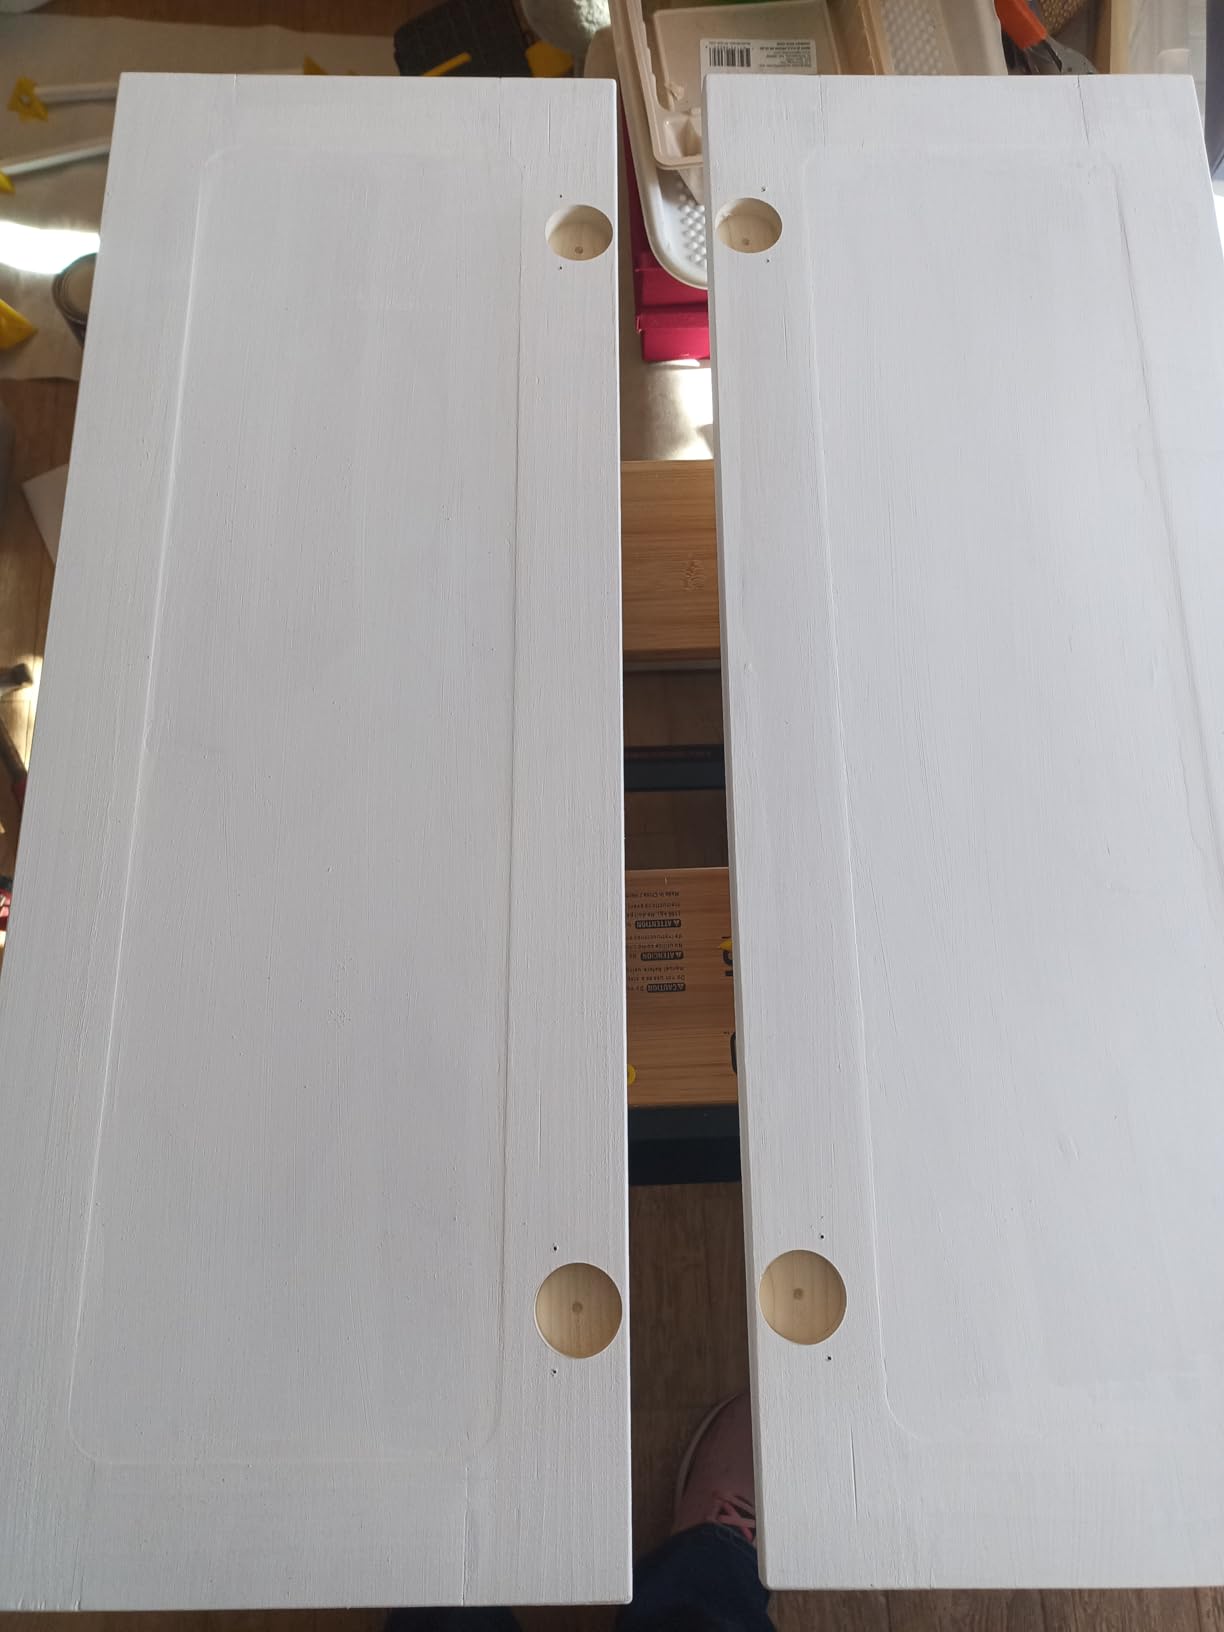
Metal Drill Guide Advantage
The metal bushing is the star here. It prevents the bit from wandering, especially in hardwoods like maple or birch.
Plastic guides can deform over time, but this one has stayed true after dozens of holes.
The 35mm Forstner bit included in the kit is sharp enough for softwood and most hardwoods. I touched mine up with a diamond file after a big oak project, and it cut like new.
Setup for Occasional Use
The multilingual instructions can be confusing. I watched a five-minute video after my first attempt, and everything clicked.
Keep the manual on your phone as a reference, and the second door will go faster than the first.
The edge alignment knobs are plastic, so treat them gently. They do not need gorilla strength to lock in place. A firm twist is enough to hold the jig steady for hand drilling.
3. Adoles 35mm Concealed Door Hinge – Aluminum Alloy Jig
Adoles 35mm Concealed Door Hinge, Accurate Locking Cabinet Hinge, Aluminum Alloy DIY Pocket Hole Jig, 2 Retaining Clips, Adjustable Quick Punch Cabinet Hardware
Aluminum alloy body
3-7mm edge distance
15-25mm thickness
Three bearing sleeve
Pros
- Well constructed with solid clamps
- Easy to use and precise
- Heavy duty aluminum construction
- Good value for cost
- Sharp drill bit included
Cons
- No instructions on set-up
- Difficult to align accurately
- Drill bit may burn wood if dull
- Measurement markings are 1mm thick
The Adoles jig surprised me with its heft. The aluminum alloy body feels like a machining fixture rather than a woodworking accessory.
I used it on a laundry room cabinet build with 18mm melamine doors, and the double clamping plates held the jig without any play.
The three-bearing drill sleeve is a feature usually found on jigs twice the price. Those bearings keep the bit spinning true and reduce the lateral shake that can elongate a hole.
I noticed the difference immediately when I switched from a single-bushing jig to this one.
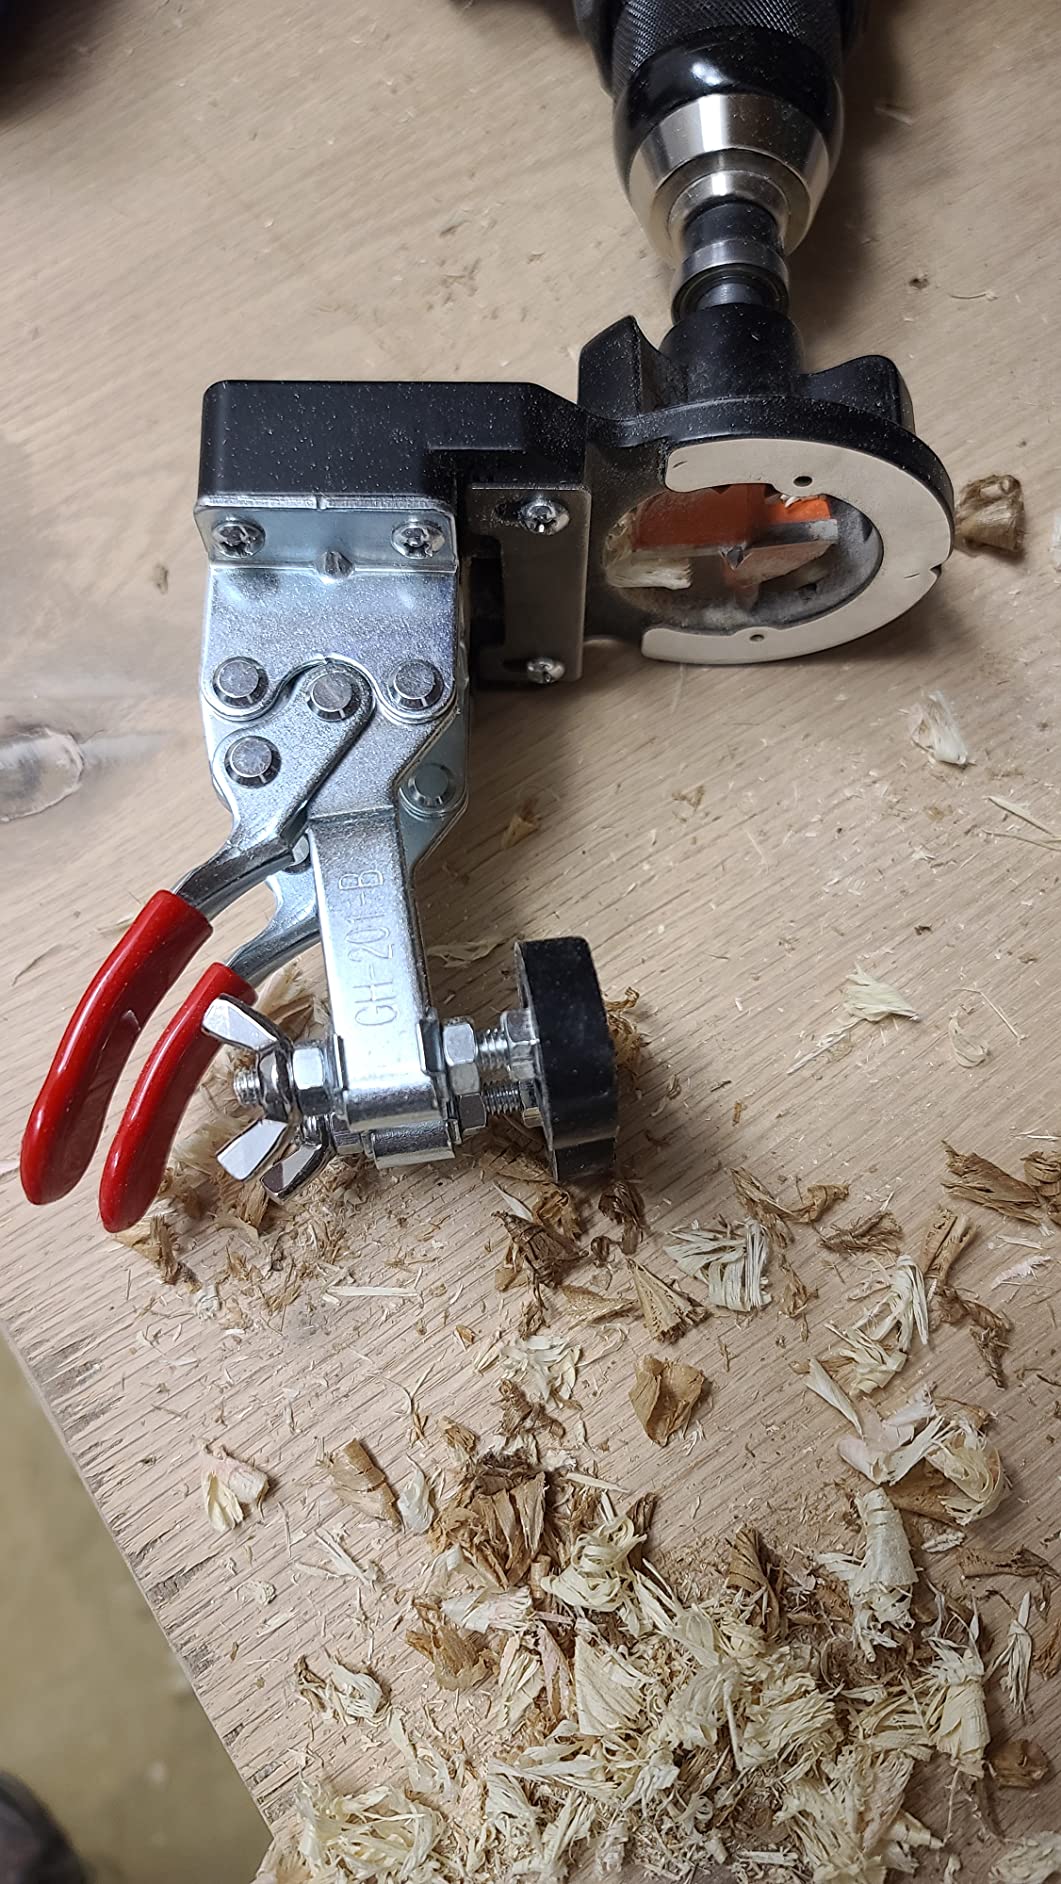
The adjustable opening depth ranges from 10mm to 15mm, which covers most standard cup hinges. I set mine to 12mm for the soft-close hinges I was installing, and the depth stayed consistent across all eight doors.
The edge distance adjustment runs from 3mm to 7mm, giving you more flexibility than the standard 3mm to 6mm range.
One downside: the package lacks instructions. I spent ten minutes figuring out the clamping plate orientation before I got it right.
A quick printed sheet would have saved that time. The measurement markings are also 1mm thick, so you need good lighting to read them accurately.
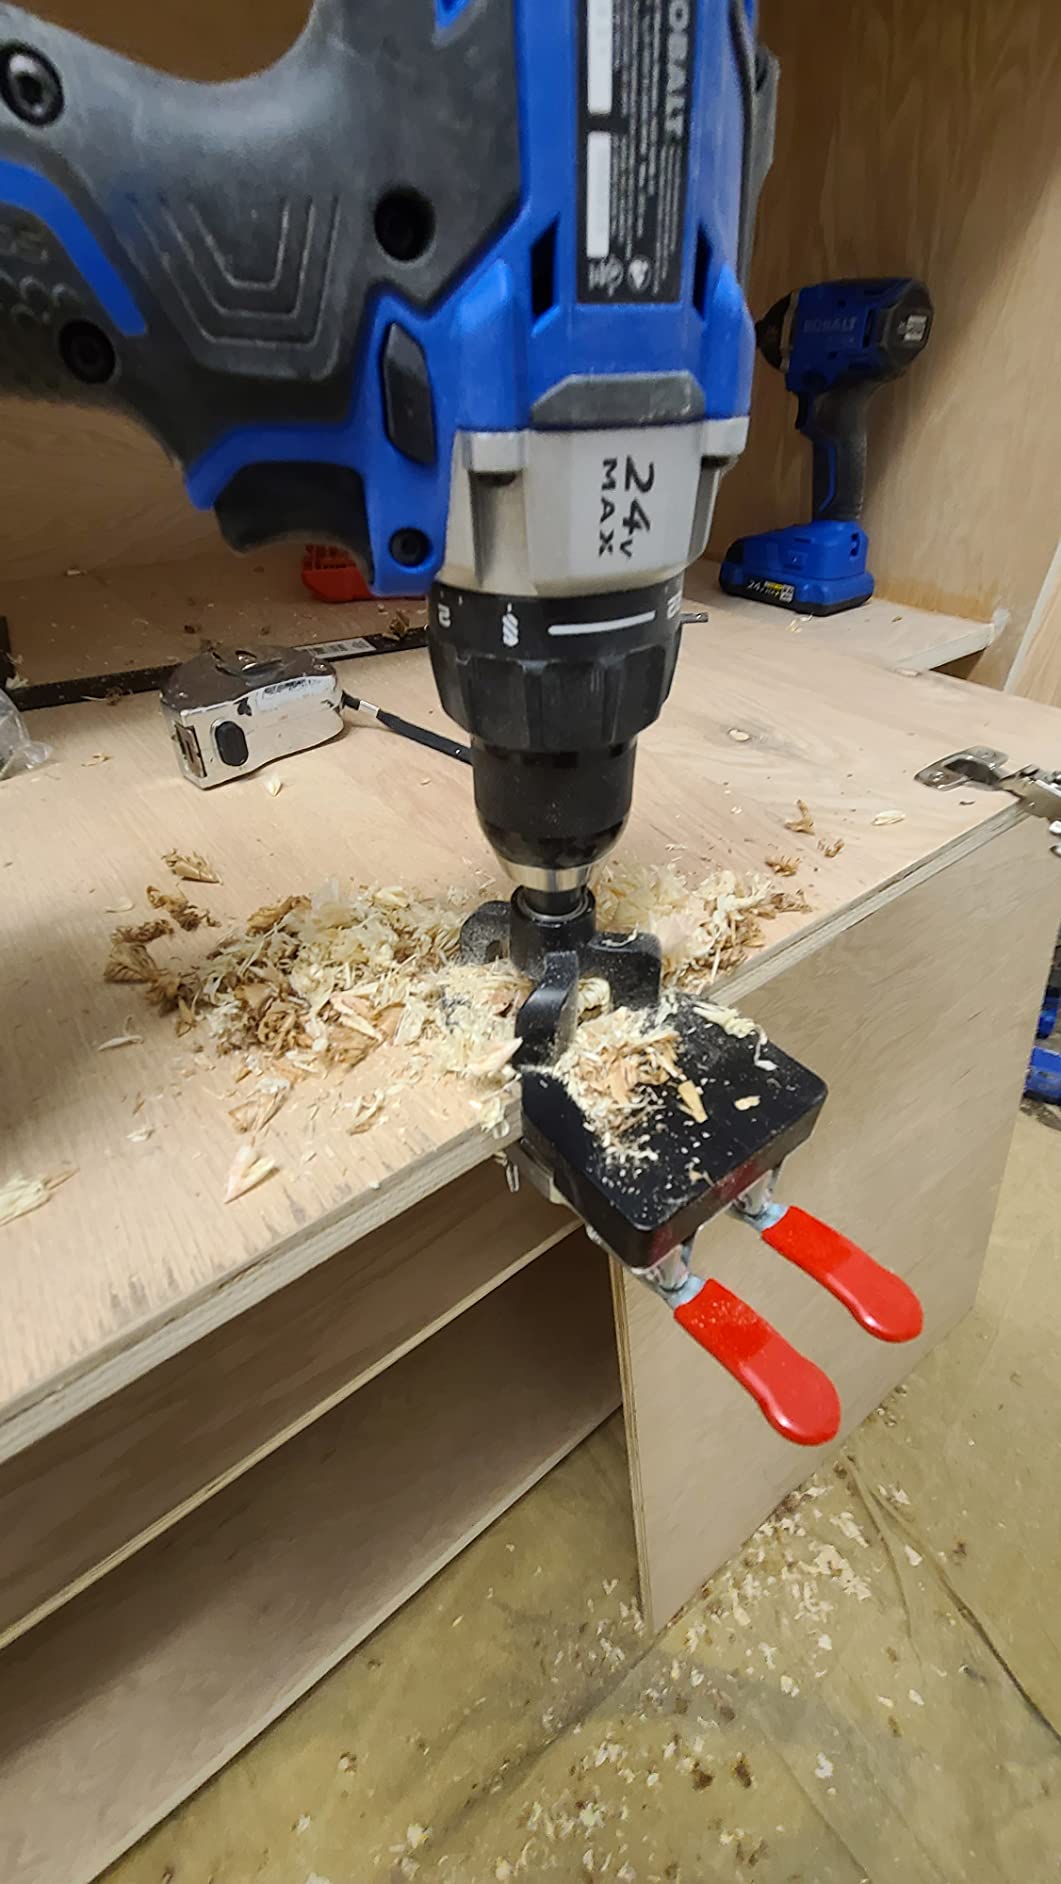
Clamp Stability on Thin Doors
The adjustable double clamping plate works on panels from 15mm to 25mm thick. I tested it on 16mm plywood and 22mm solid wood, and the grip was secure on both.
If you work with thinner material, you may need to add a backer board to get a tight fit.
The flat bottom surface sits flush against the door face, which helps with vertical alignment. I clamp a small square to the door edge as a reference, and then the jig slides right into place.
Drill Bit Performance
The included bit is sharp enough for softwood and MDF. In hardwood, I recommend drilling slowly and clearing chips often.
I had a bit of burning on oak when I rushed the third hole, but a slower speed and a dab of wax fixed that.
If you plan to drill dozens of holes in one session, keep the bearing sleeve clean. A quick blast of compressed air between doors keeps the grit from building up.
4. GOINGMAKE Compact Metal Concealed Hinge Jig – Dust Adapter Included
GOINGMAKE Compact Metal Concealed Hinge Jig,35mm Cabinet Hinge Jig
All metal construction
3mm-6mm offsets
Quick clamp
Dust adapter included
Pros
- Compact and easy to store
- Simple to use with accurate results
- Durable all-metal construction
- Includes dust adapter
- Quick clamp holds workpieces securely
Cons
- Can be tricky to get started
- Depth measurement requires attention
- Vacuum fitting may need adapter
I picked up the GOINGMAKE Compact for a small shop where storage space is tight. It fits in a drawer without disassembly, and the all-metal construction gives it a solid feel that plastic jigs cannot match.
The quick clamp is built into the body, so you do not need separate bar clamps or C-clamps.
The dust adapter is a genuine quality-of-life upgrade. I connected it to my shop vacuum with a standard 1-3/8 inch hose, and the drilling debris disappeared before it hit the floor.
That alone made cleanup faster than any other jig I have tested.
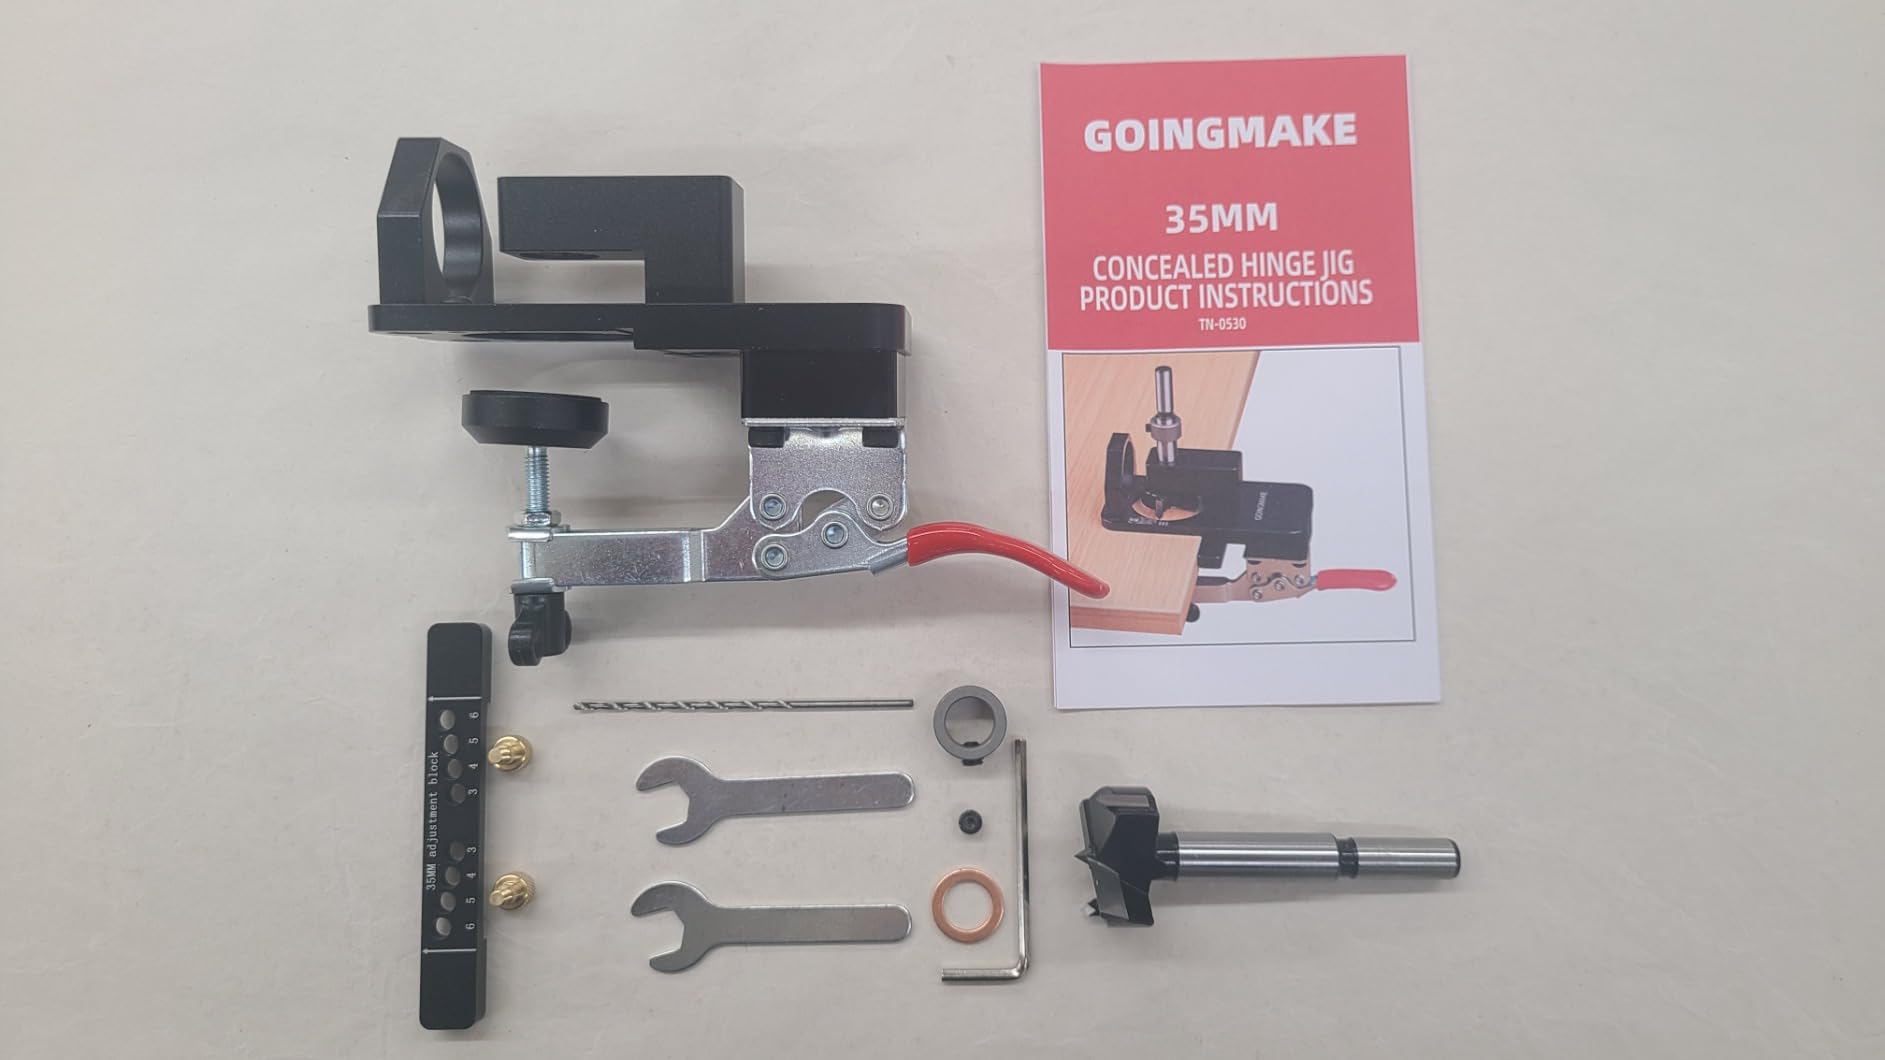
The double-bearing drill guide keeps the 35mm bit straight through the cut. I drilled a full set of sixteen holes in 3/4 inch birch plywood, and every cup seated flush.
The offset settings cover 3mm through 6mm, which is the standard range for most concealed hinges.
Getting started takes a little patience. The first time I set the depth stop, I had to double-check the measurement against the hinge itself.
Once I verified the 13mm depth my hinges needed, I locked the collar and did not touch it again. A few users online mention the vacuum fitting needs an adapter for some hoses.
I had a step adapter in my kit, and it fit perfectly.
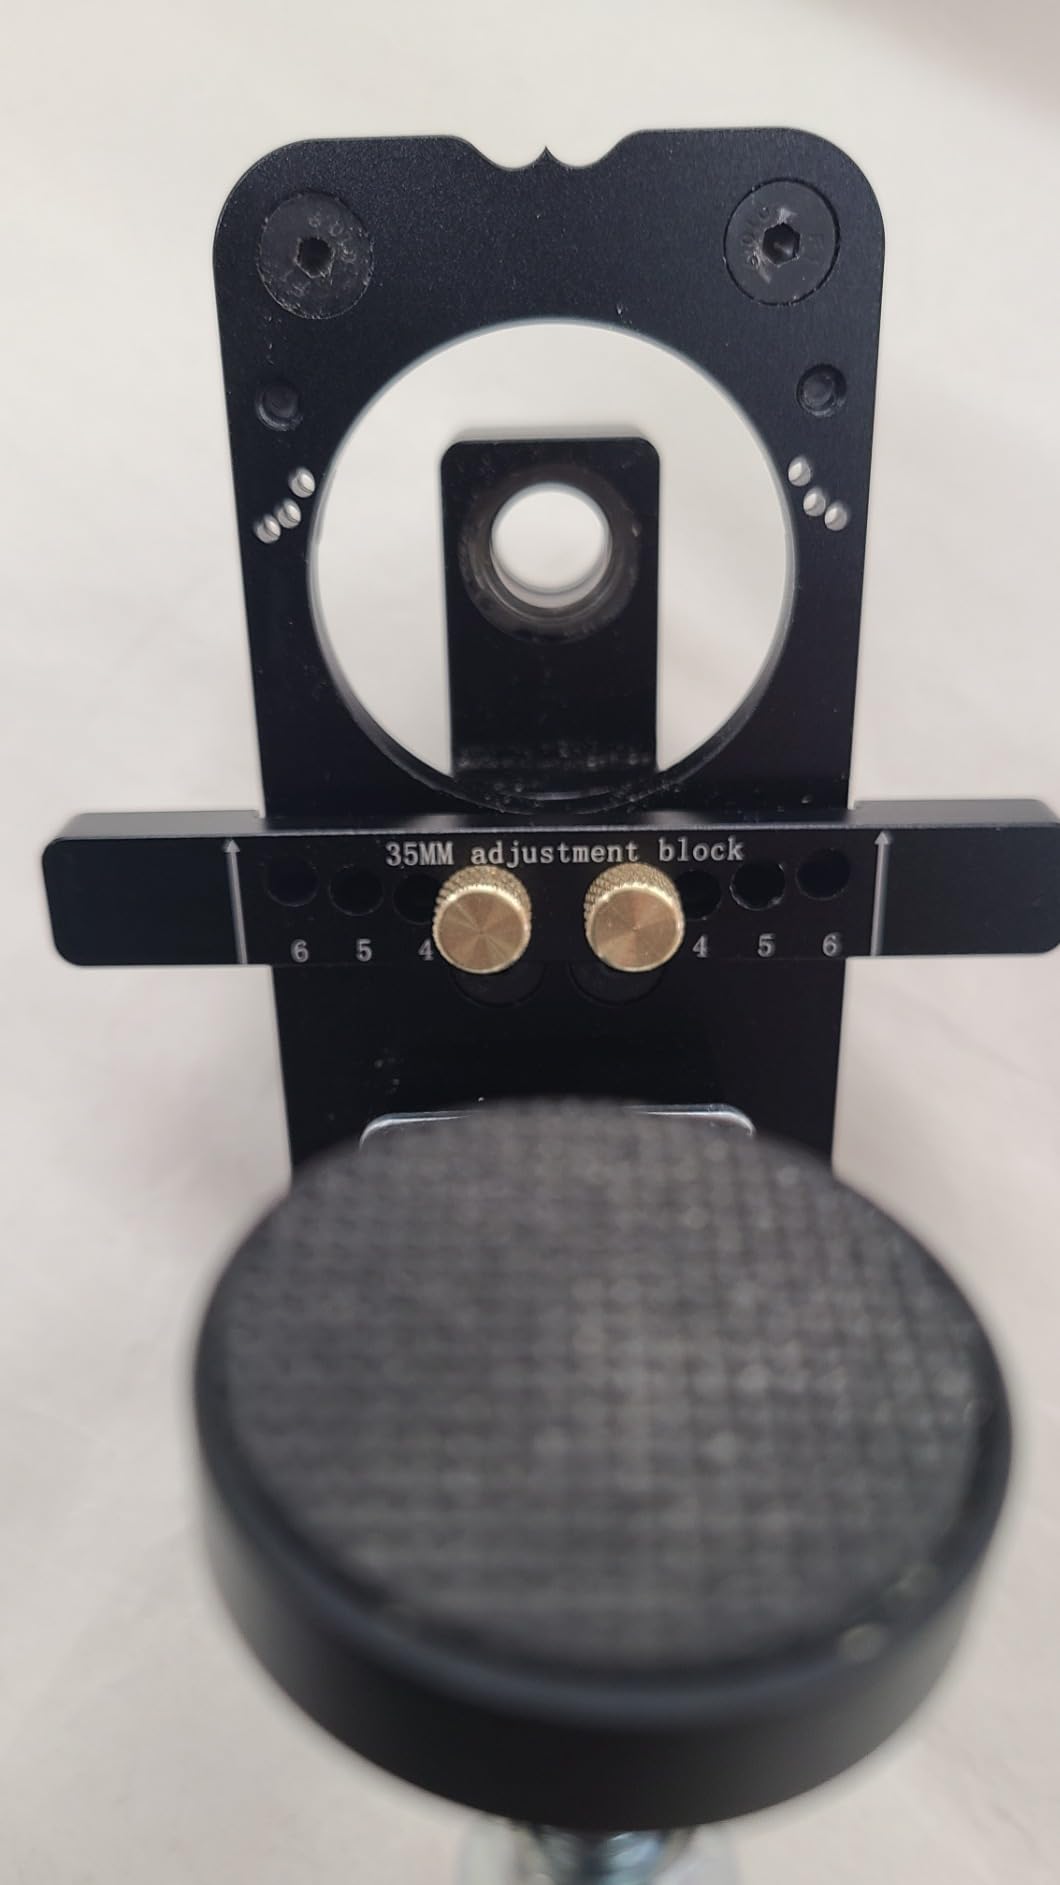
Shop Vacuum Compatibility
The dust adapter accepts 1-3/8 inch hoses natively. If your vacuum uses a 1-1/4 inch or 2-1/2 inch fitting, grab a reducer from the hardware store.
The adapter is worth the extra trip. I drilled inside a finished kitchen and left zero dust on the counters.
The compact body does not sacrifice rigidity. The metal frame resists twisting when you apply side pressure. I still support the door from underneath, but the jig itself does not flex.
Quick Clamp Reach
The built-in clamp opens wide enough for most standard cabinet doors. I tested it on 3/4 inch and 1 inch thick panels, and the clamp face gripped both without slipping.
The pad is metal, so place a scrap piece between the clamp and a finished door if you are worried about surface marks.
For frameless cabinets, the clamp sits behind the jig body and does not interfere with the edge reference. That makes it easier to align the first hole when you are working alone.
5. XUNTOP 35mm Concealed Hinge Jig – Double Clip Fixed
XUNTOP 35mm Concealed Hinge Jig, Aluminum Alloy Cabinet Hinge Jig, Double Clip Fixed More Stable, Precision Door Hinge Tool for Wood Furniture Door Cabinets
Aluminum alloy body
Double fixed clamps
Bearing drill sleeve
5mm edge distance
Pros
- Great value for price
- Durable aluminum construction
- Drilled 40+ holes without issue
- Easy to set up once learned
- Holds accuracy well
Cons
- Provided bolts may need replacement
- Bit could be sharper for hardwood
- May need lubricating oil on bearing
The XUNTOP jig is another aluminum-bodied option that punches above its weight. I used it on a garage cabinet build with 40 holes to drill, and the double fixed clamps never let the jig shift.
That stability is critical when you are drilling the same offset over and over.
The bearing drill sleeve is a nice touch. It prevents the bit from binding in hardwood, and I found the hole walls were cleaner than with a plain bushing.
The kit includes the 35mm bit, two wrenches, a 2mm drill, and an Allen key, so you can start immediately.
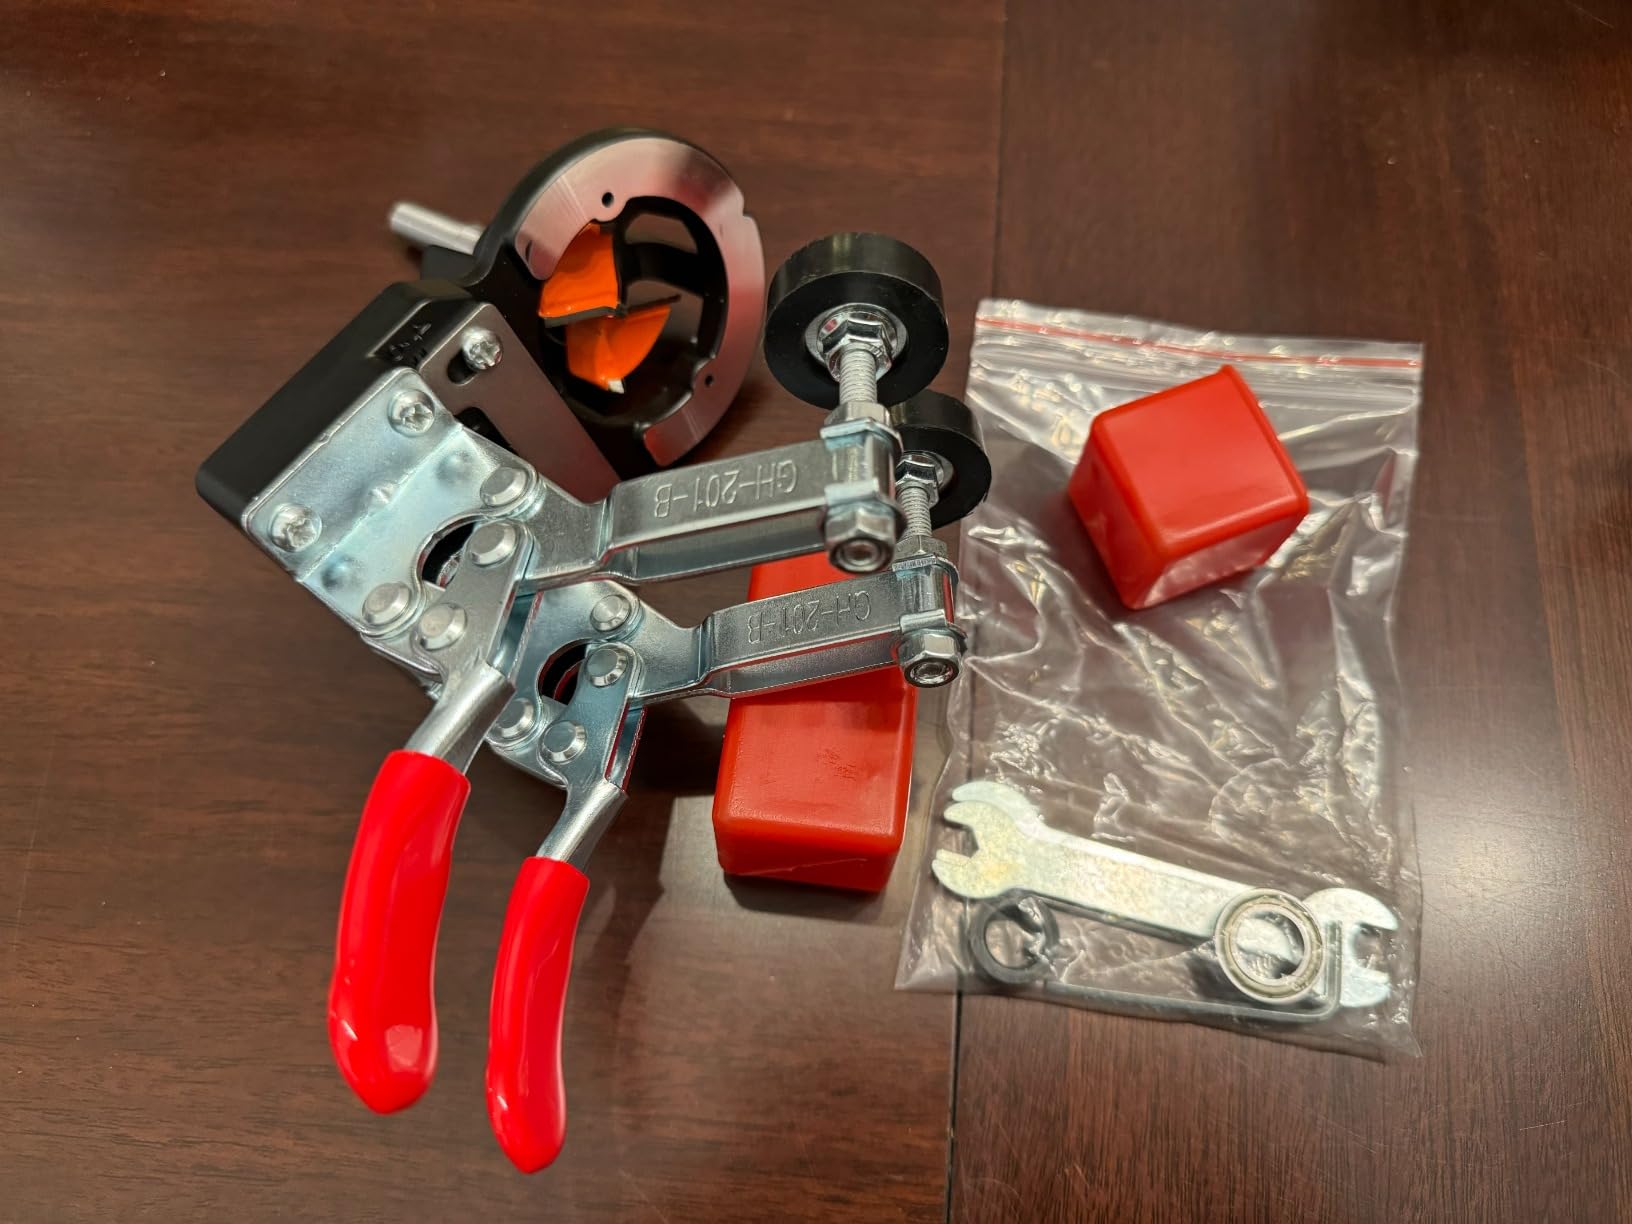
The default edge distance is 5mm, which is common for many imported hinges. I checked the hinge specs first, and the alignment was perfect.
The drilling depth adjusts from 10mm to 15mm, covering the vast majority of cup depths on the market.
One practical tip: the provided bolts are functional but not premium. I swapped mine for slightly longer socket heads after the first few uses, and the clamping felt more secure.
A drop of oil on the bearing before a long session keeps the sleeve spinning freely.
High-Volume Drilling Consistency
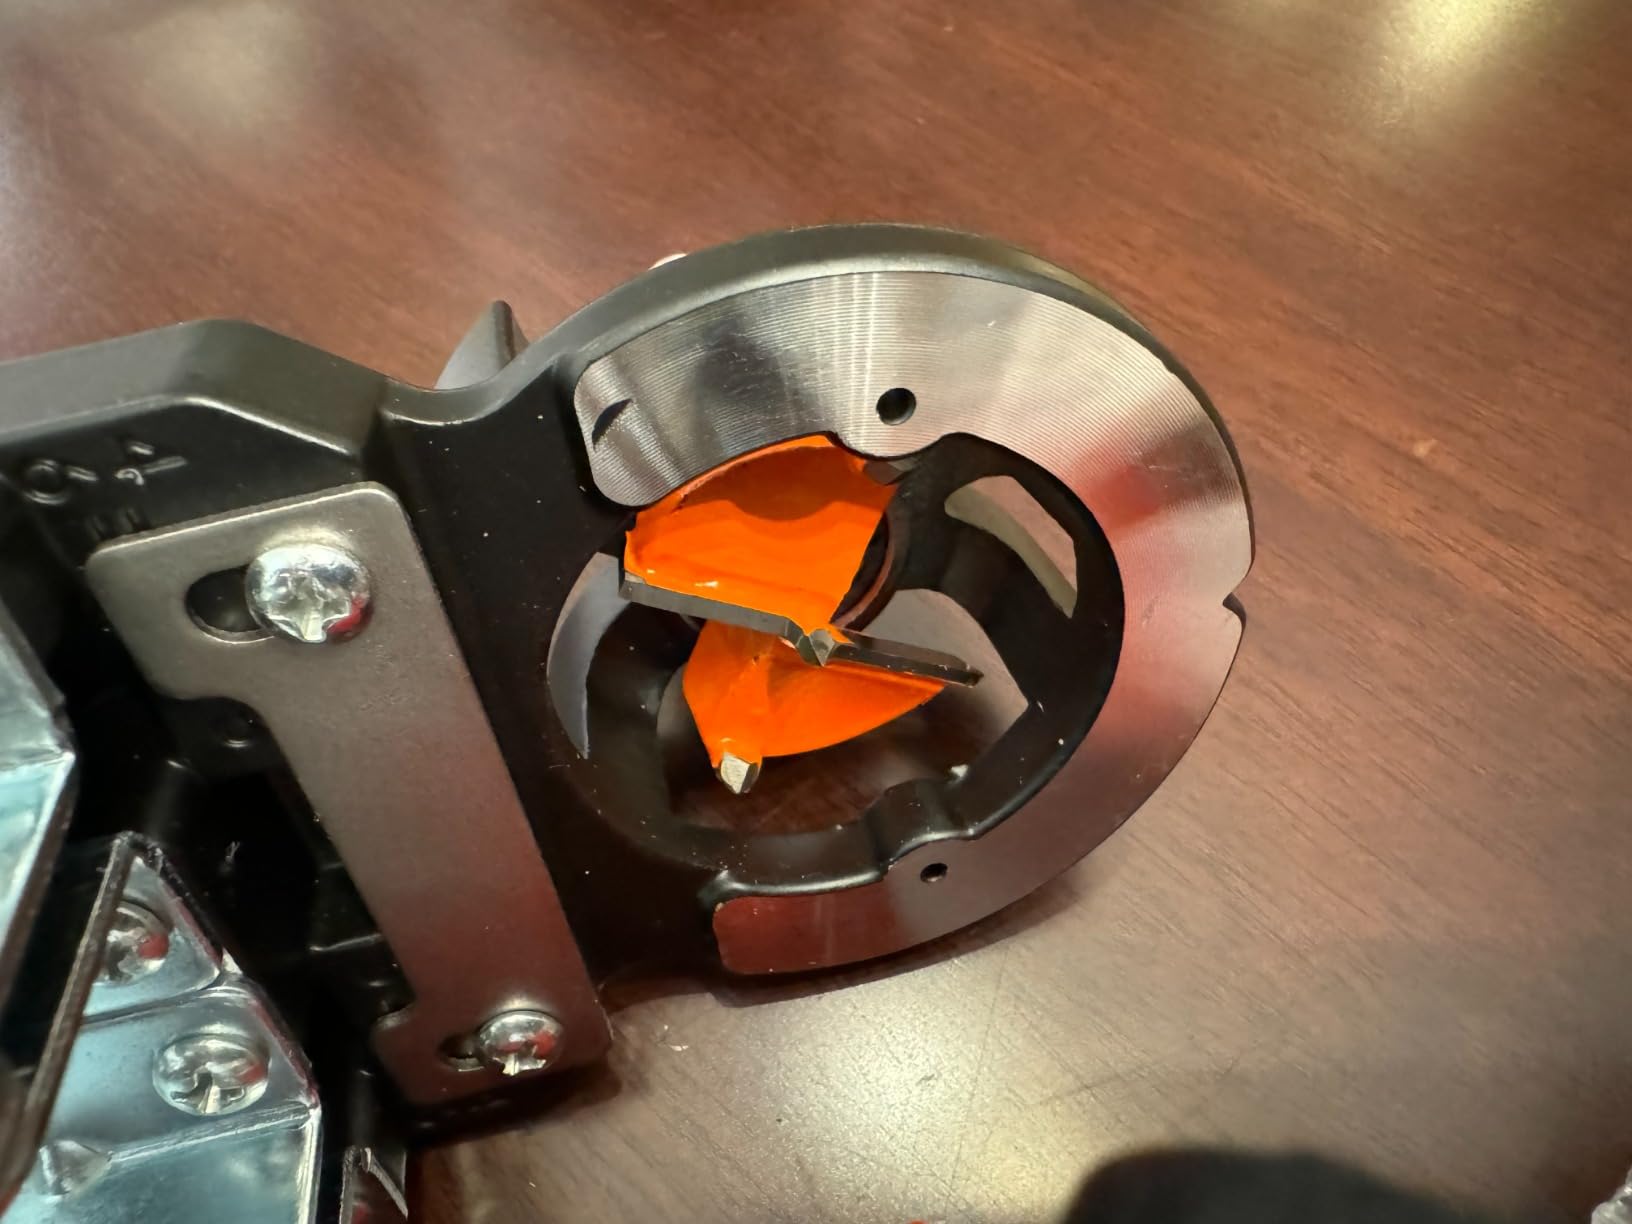
I drilled 44 holes in one day with this jig. The aluminum body did not heat up, and the clamping force stayed consistent.
If you are building a full kitchen set, this level of endurance matters. The jig does not tire, and neither should your results.
The 7.1 inch length gives you enough reference surface against the door edge to keep the jig square. I clamp it with one hand and drill with the other, which is a huge advantage when working alone.
Stock Hardware Limitations
The included bolts are fine for occasional use. If you plan to keep this jig on your bench permanently, upgrade the fasteners.
The clamping plates are well machined, so better bolts just make the system tighter.
The bit works well in softwood and MDF. For dense hardwood like white oak, start with a slower drill speed and lift the bit often to clear chips. A sharper bit or a quick touch-up with a file will improve results.
6. JEEJINYAN Concealed Positioning Hinge Hole Punch – 3 Bearing Design
Concealed Positioning Hinge Hole Punch, 35mm Door Hinge Jig With 2 Retaining Clips, High Precision Aluminum Alloy DIY Cabinet Hardware, Adjustable Quick Punch
Aluminum flat base
15-25mm thickness
10-15mm depth
3 bearing design
Pros
- High precision aluminum construction with flat bottom
- Accurate hole verticality for precise drilling
- Adjustable clamping thickness and drilling depth
- 2mm deep edge banding groove
- 3 bearing design reduces lateral shaking
Cons
- Set up can be tedious when using different thickness stock
- Small drill bit may wear quickly
- May not be compatible with all hinge types
The JEEJINYAN jig stands out for its flat bottom surface. That might sound minor, but it means the jig sits perfectly level on the door face without rocking.
I used it on a set of painted MDF doors, and the vertical alignment was spot on for every hole.
The three-bearing design is the real engineering highlight. Those bearings keep the bit from wobbling, which is the main cause of oval or oversized holes.
I noticed the reduction in lateral shake immediately, especially when the drill bit first contacts the surface.
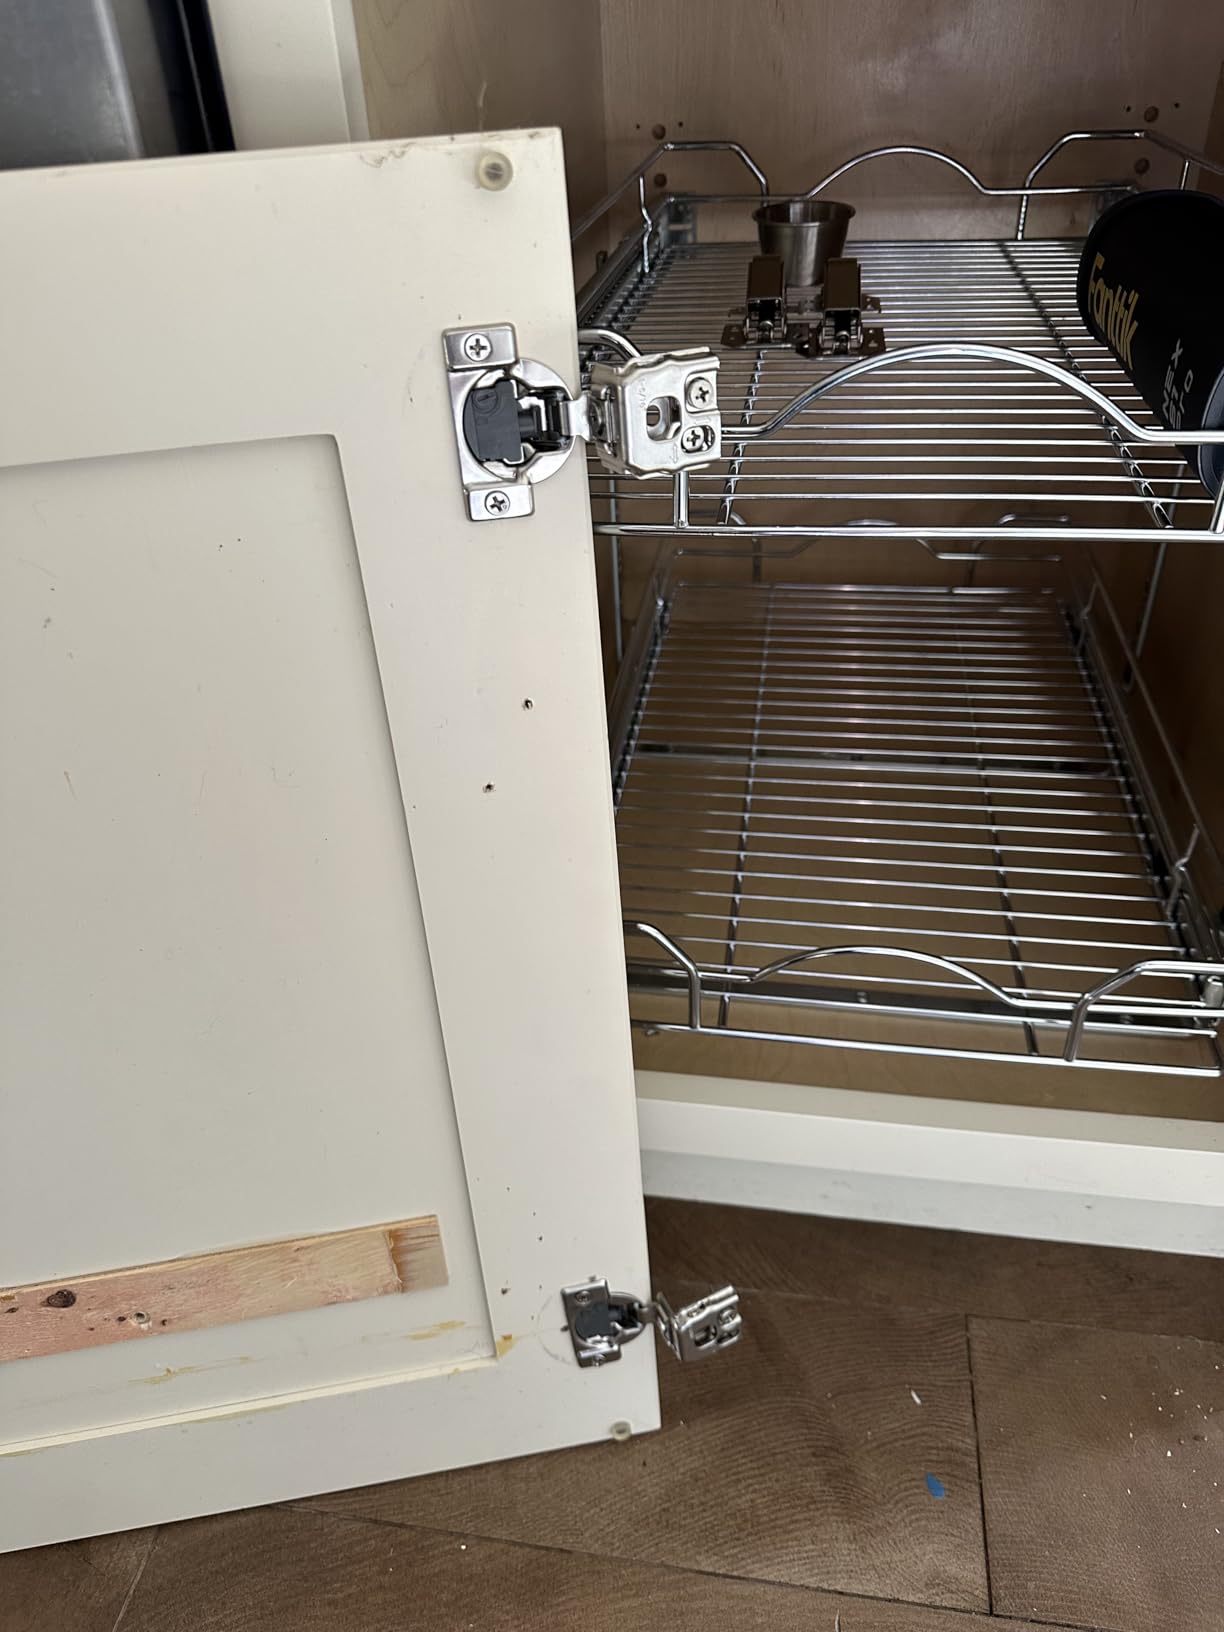
The adjustable clamping thickness covers 15mm to 25mm, and the edge banding groove is a thoughtful addition. If you work with pre-laminated panels, the 2mm groove references the edge banding thickness so you do not have to measure from the banded edge.
The margin adjusts from 3mm to 7mm, giving you more range than most budget jigs.
Setup can take a few minutes when switching between door thicknesses. I mark my settings with a sharpie on the clamping plates so I can return to them quickly.
The small drill bit for pilot holes is handy, though it dulls faster than the 35mm bit. Keep a spare 2mm bit in your box.
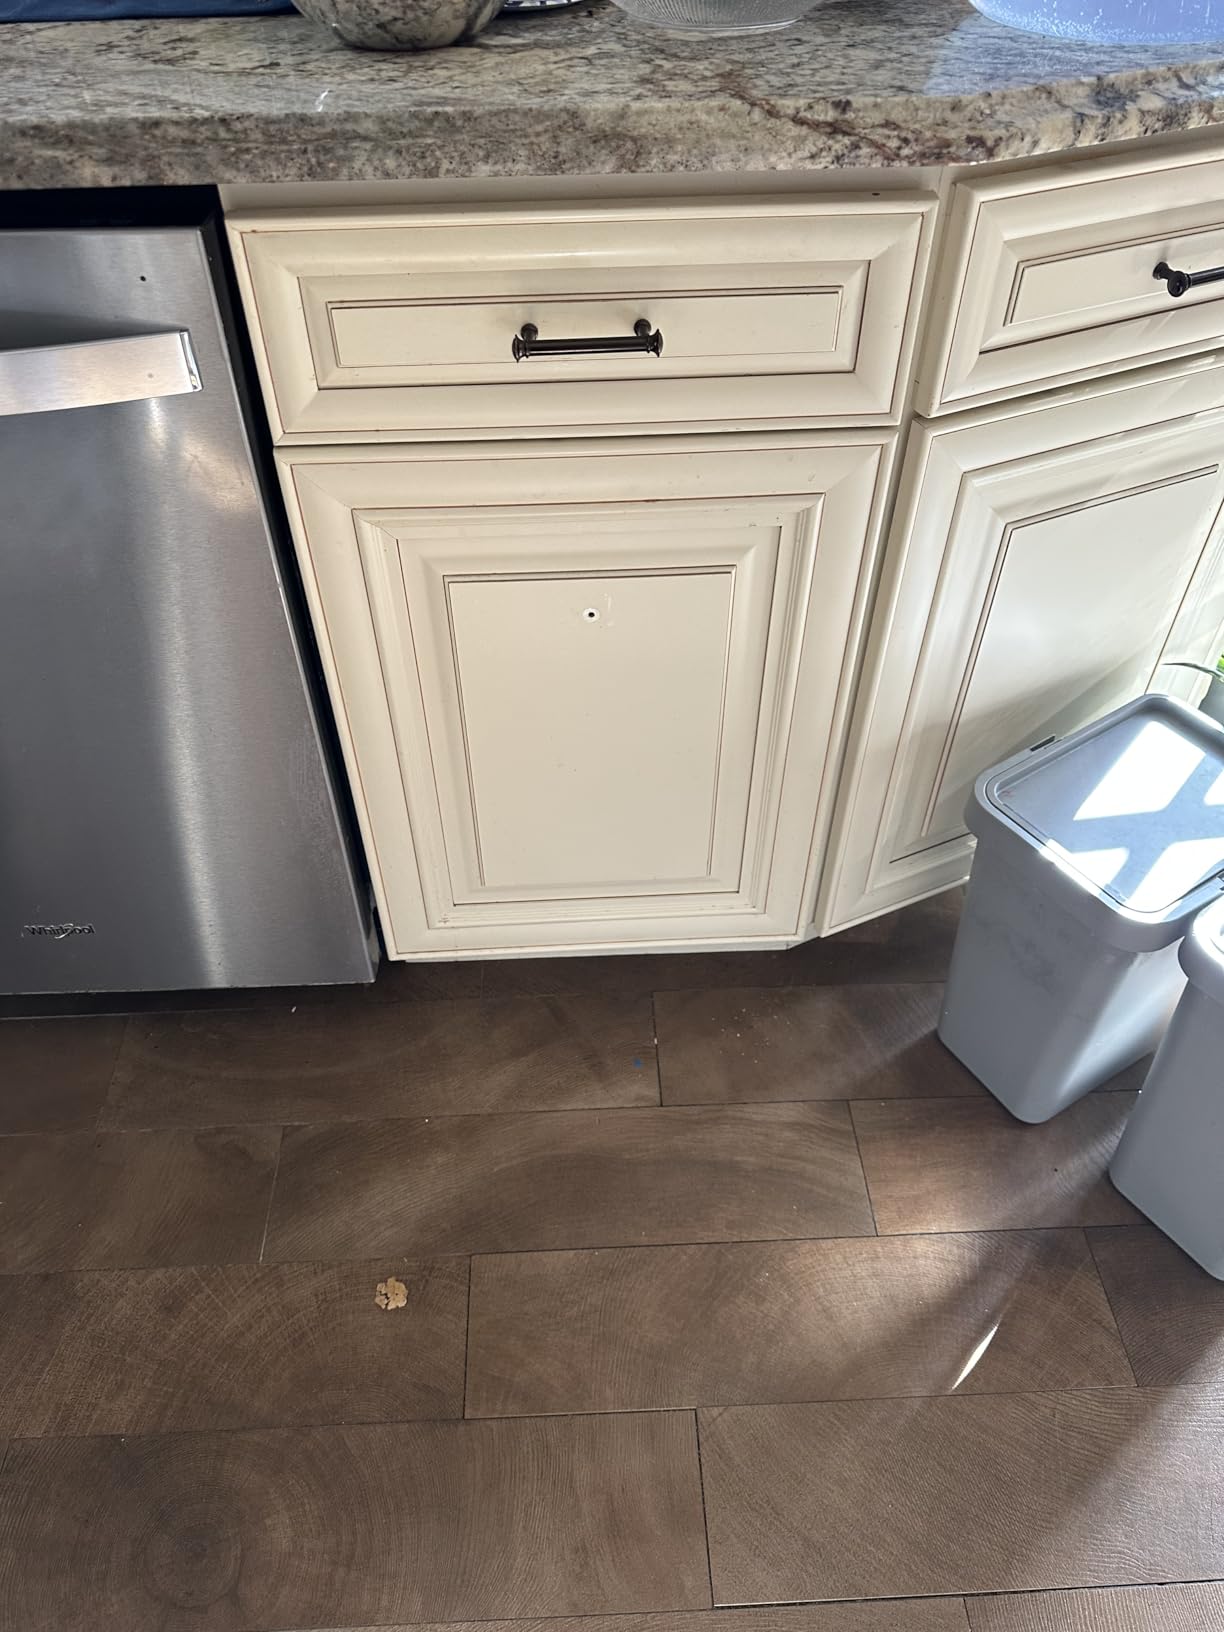
Edge Banding Reference Groove
The 2mm groove is designed for common edge banding thicknesses. If your panels have 1mm or 3mm banding, adjust accordingly.
I use a small shim for 1mm banding, and the groove works perfectly for 2mm. This feature saves me from fumbling with a tape measure on every door.
The flat base also helps with clamping. The retaining clips press straight down, so the jig does not tilt when you tighten them. That is a common problem with rounded-bottom jigs.
Thin Stock Considerations
The minimum clamping thickness is 15mm. If you work with 12mm or 14mm panels, add a backer board behind the door to reach the clamping range.
The drill sleeve will still guide the bit accurately, but the clamps need enough material to bite.
For 25mm thick doors, the clamps open fully and grip securely. I tested it on a 24mm solid core panel, and there was no movement during drilling.
7. Bestgle 35mm Concealed Hinge Jig Kit – Budget Friendly
35mm Concealed Hinge Jig Kit, Bestgle Woodworking Tool Drill Bits Hinge Drilling Hole Router Jig for Cabinet Cupboard Door Installation, Hinge Hole Drill Guide Set with 35mm Forstner Bit
ABS plastic body
35mm Forstner bit
Adjustable edges
Carbide alloy bit
Pros
- Efficient and precise drilling
- Lightweight yet durable
- Includes 35mm Forstner bit
- Easy to use
- Complete set with jig and guide
Cons
- No instructions included
- Bolt that keeps limiter in place is not super reliable
- Can drill through thin sheet if limiter fails
The Bestgle kit is the most affordable entry point into concealed hinge installation. I bought it for a small closet project with four doors, and it delivered usable holes without any fuss.
The ABS plastic body is lightweight, which makes it easy to hold in place while you clamp it.
The included 35mm Forstner bit is the highlight. It creates flat-bottomed holes that seat the hinge cups cleanly.
I compared the bit against a standalone Forstner I own, and the cut quality was nearly identical in softwood. The carbide alloy tip stays sharp enough for light-duty work.
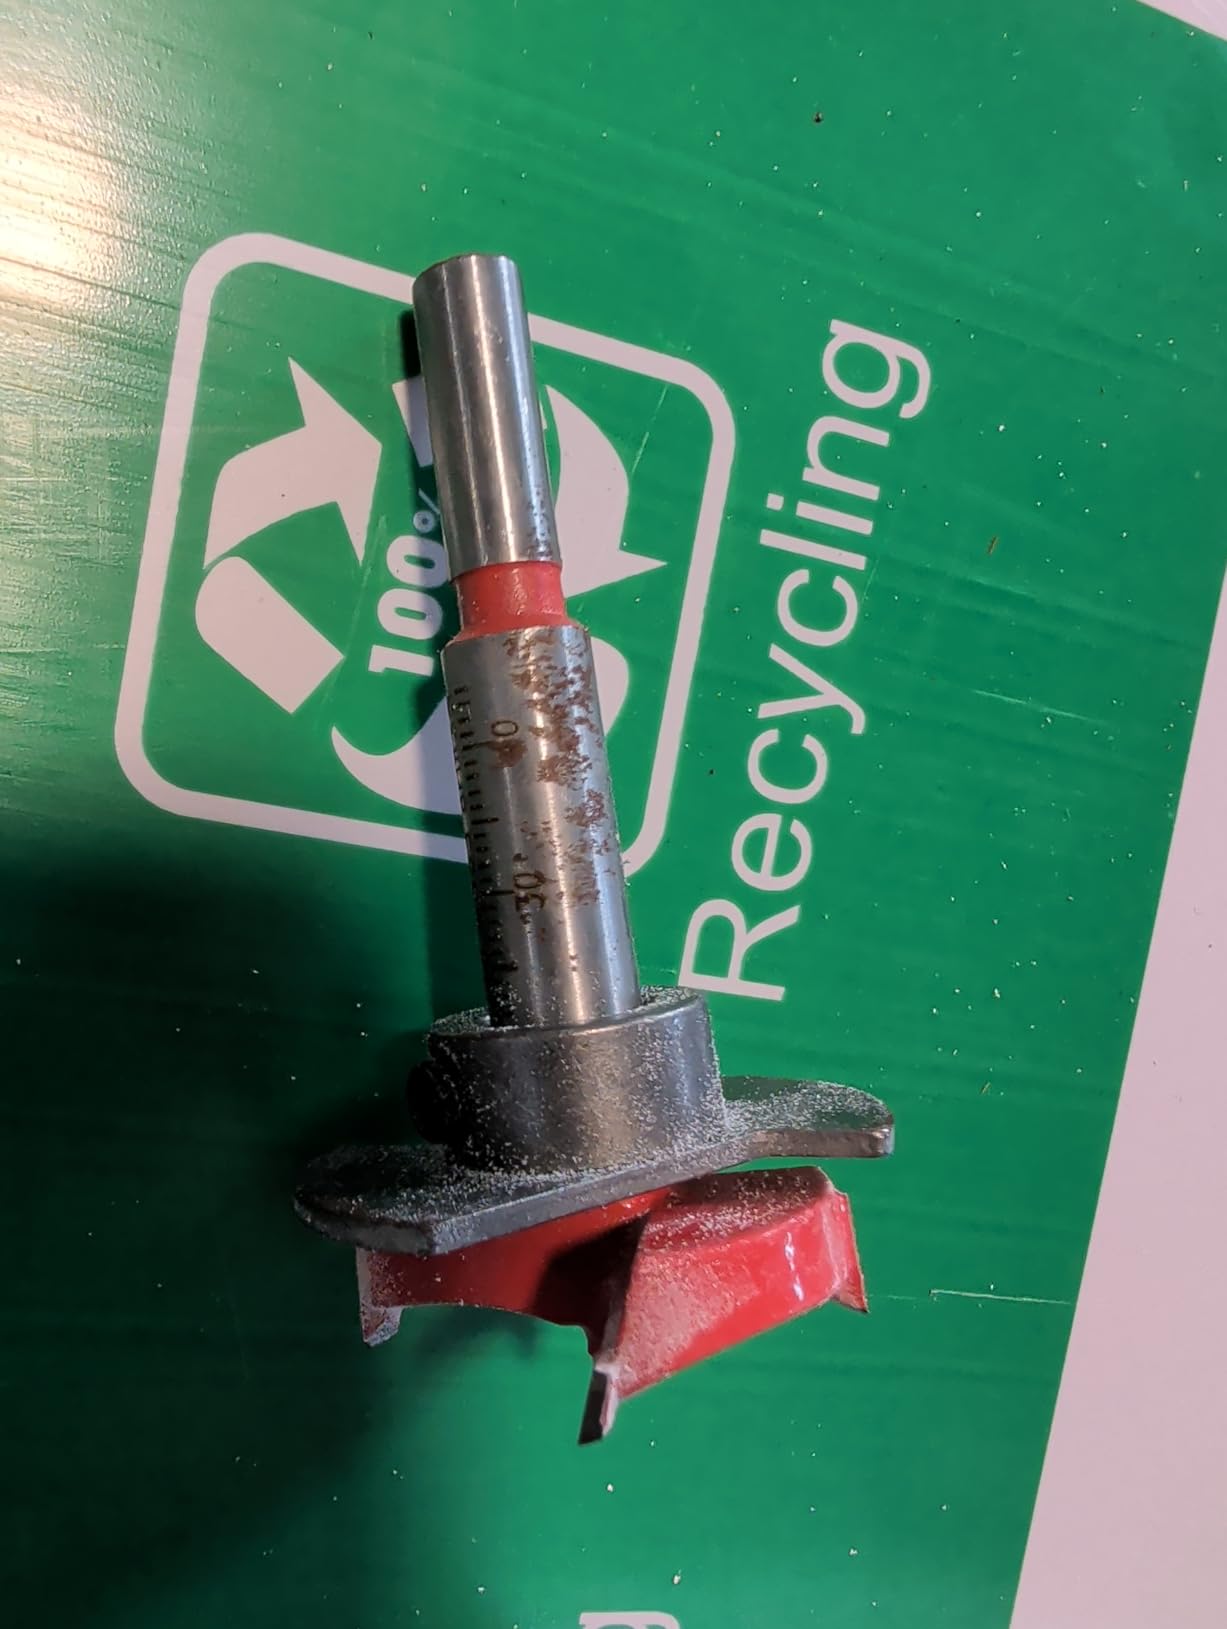
The adjustable drill guide plate lets you set the edge distance for different hinge types. I used it for standard 3mm and 5mm offsets, and the plate locked in securely with the provided bolts.
The kit claims 50% faster drilling than traditional methods, and I would say that is accurate if you are used to marking and drilling freehand.
The main issue is the lack of instructions. I figured it out by looking at the assembled photo on the box, but a beginner might struggle.
The bolt that holds the depth limiter is also the weak point. I check it after every two doors to make sure it has not loosened.
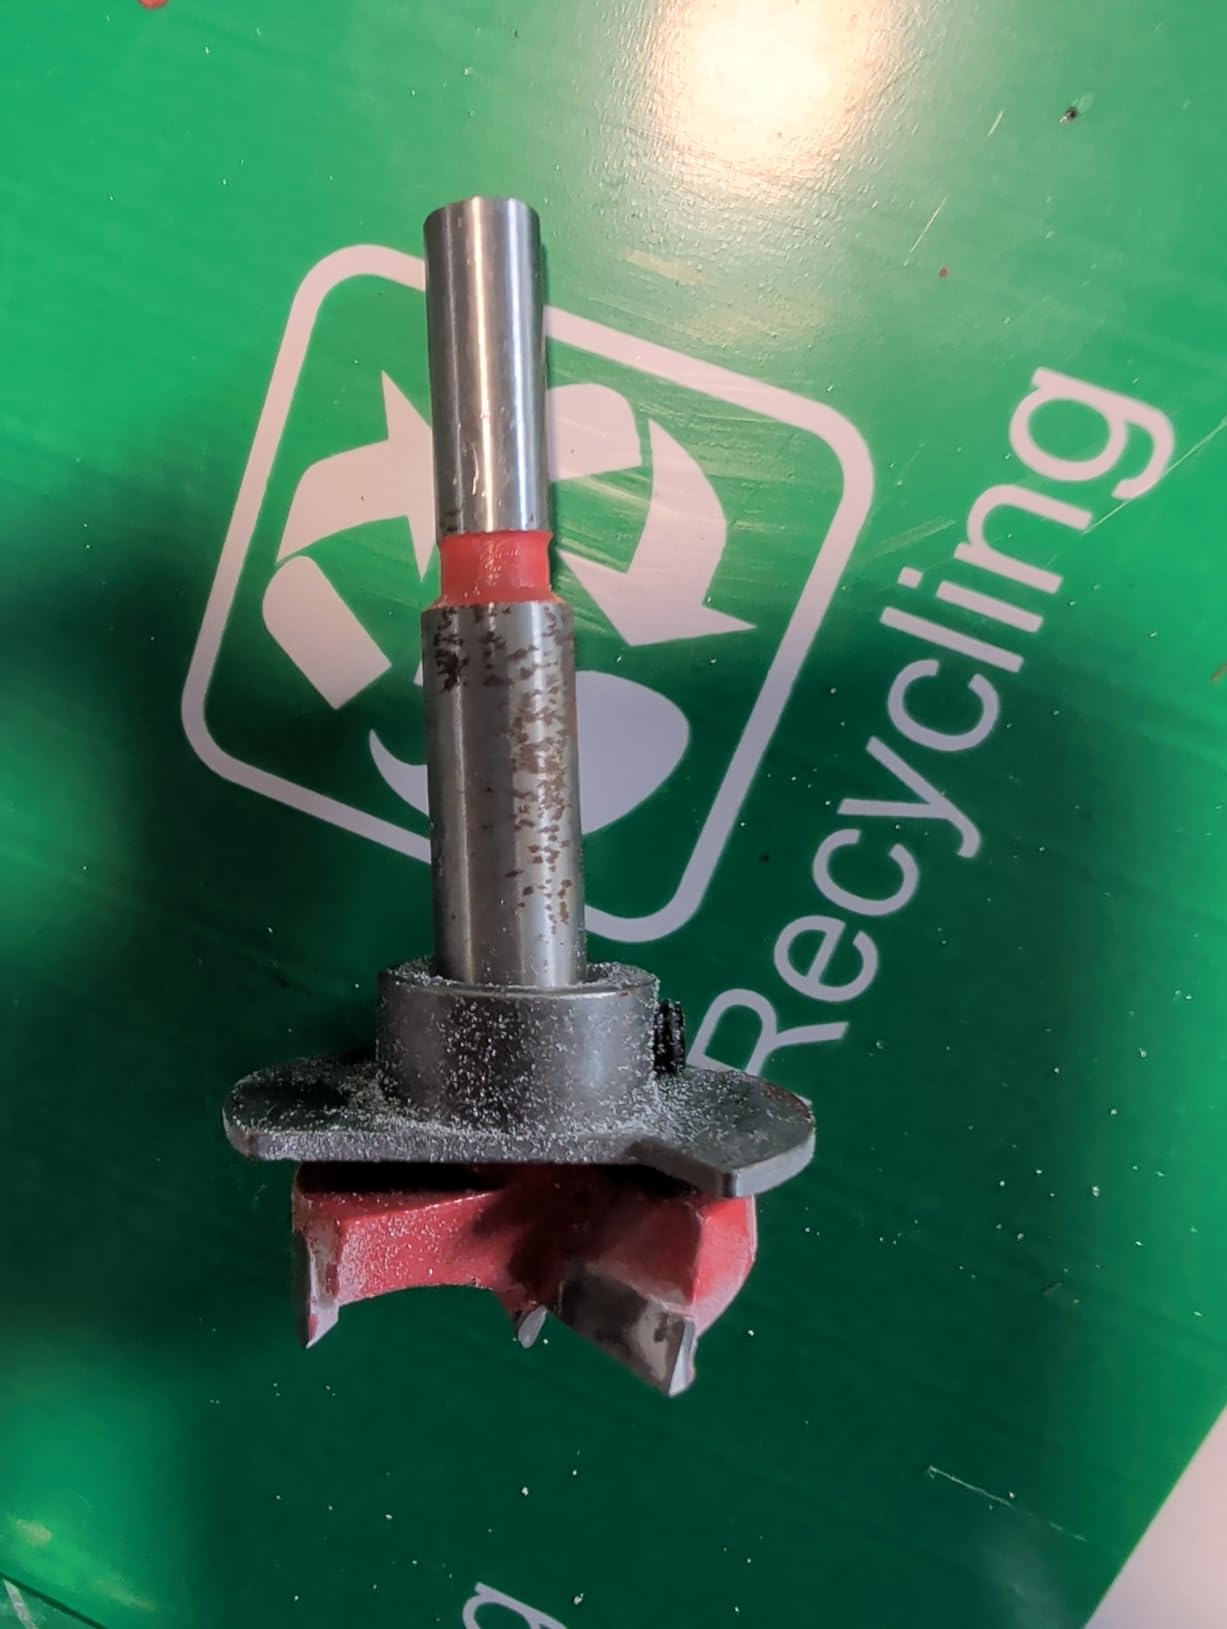
Depth Limiter Reliability
The depth limiter is plastic, and the bolt can work loose under vibration. I added a drop of thread-locking compound to mine, and it has stayed put since.
If you are drilling thin sheet goods, check the limiter carefully. A slip can drill straight through the panel.
For standard 3/4 inch doors, the limiter is not a major concern. The stop ring gives you a visual cue, and the drill bit collar adds a second layer of protection.
Best for Small Projects
This jig shines when you have one room to finish. I would not recommend it for a full kitchen, but for a bathroom or laundry room, it is perfectly capable.
The price is low enough that you can buy it, use it, and keep it as a backup even if you upgrade later.
The blue plastic pieces are functional but not premium. Treat them with care, and do not over-tighten the bolts. A gentle hand will keep this kit working for several small projects.
8. SMATOLS 35mm Concealed Hinge Jig Kit – Face Frame Ready
35mm Concealed Hinge Jig kit, Woodworking Tool Drill Bits, Hinge Drilling Hole Router Jig Hardware Template Guide Woodworking Tools for Face Frame Cabinet Cupboard Door Hinges
Polymer and metal
Adjustable bumpers
Face frame suited
9 piece set
Pros
- Adjustable bumpers for different hinge positions
- Works great for installing hidden hinges
- Bit is the right size for standard hinges
- Makes recess cuts and countersink nicely
- Good value for DIY cabinet projects
Cons
- Instructions printed very small on box
- Bushing can wear out after only 4 holes
- May not work with all hinge brands
- Bit may not be perfectly straight
The SMATOLS kit is a nine-piece set that covers more than just the cup hole. I used it for a face frame cabinet where I needed the hinge cup in the door and the mounting plate on the frame.
The adjustable bumpers let me set two common offset positions without recalculating each time.
The polymer and metal construction is a hybrid approach. The metal parts take the drilling load, while the polymer body keeps the weight down.
I found the bumpers easy to adjust, though the small printed instructions on the box were nearly unreadable. I searched online for a PDF manual and found one in under a minute.
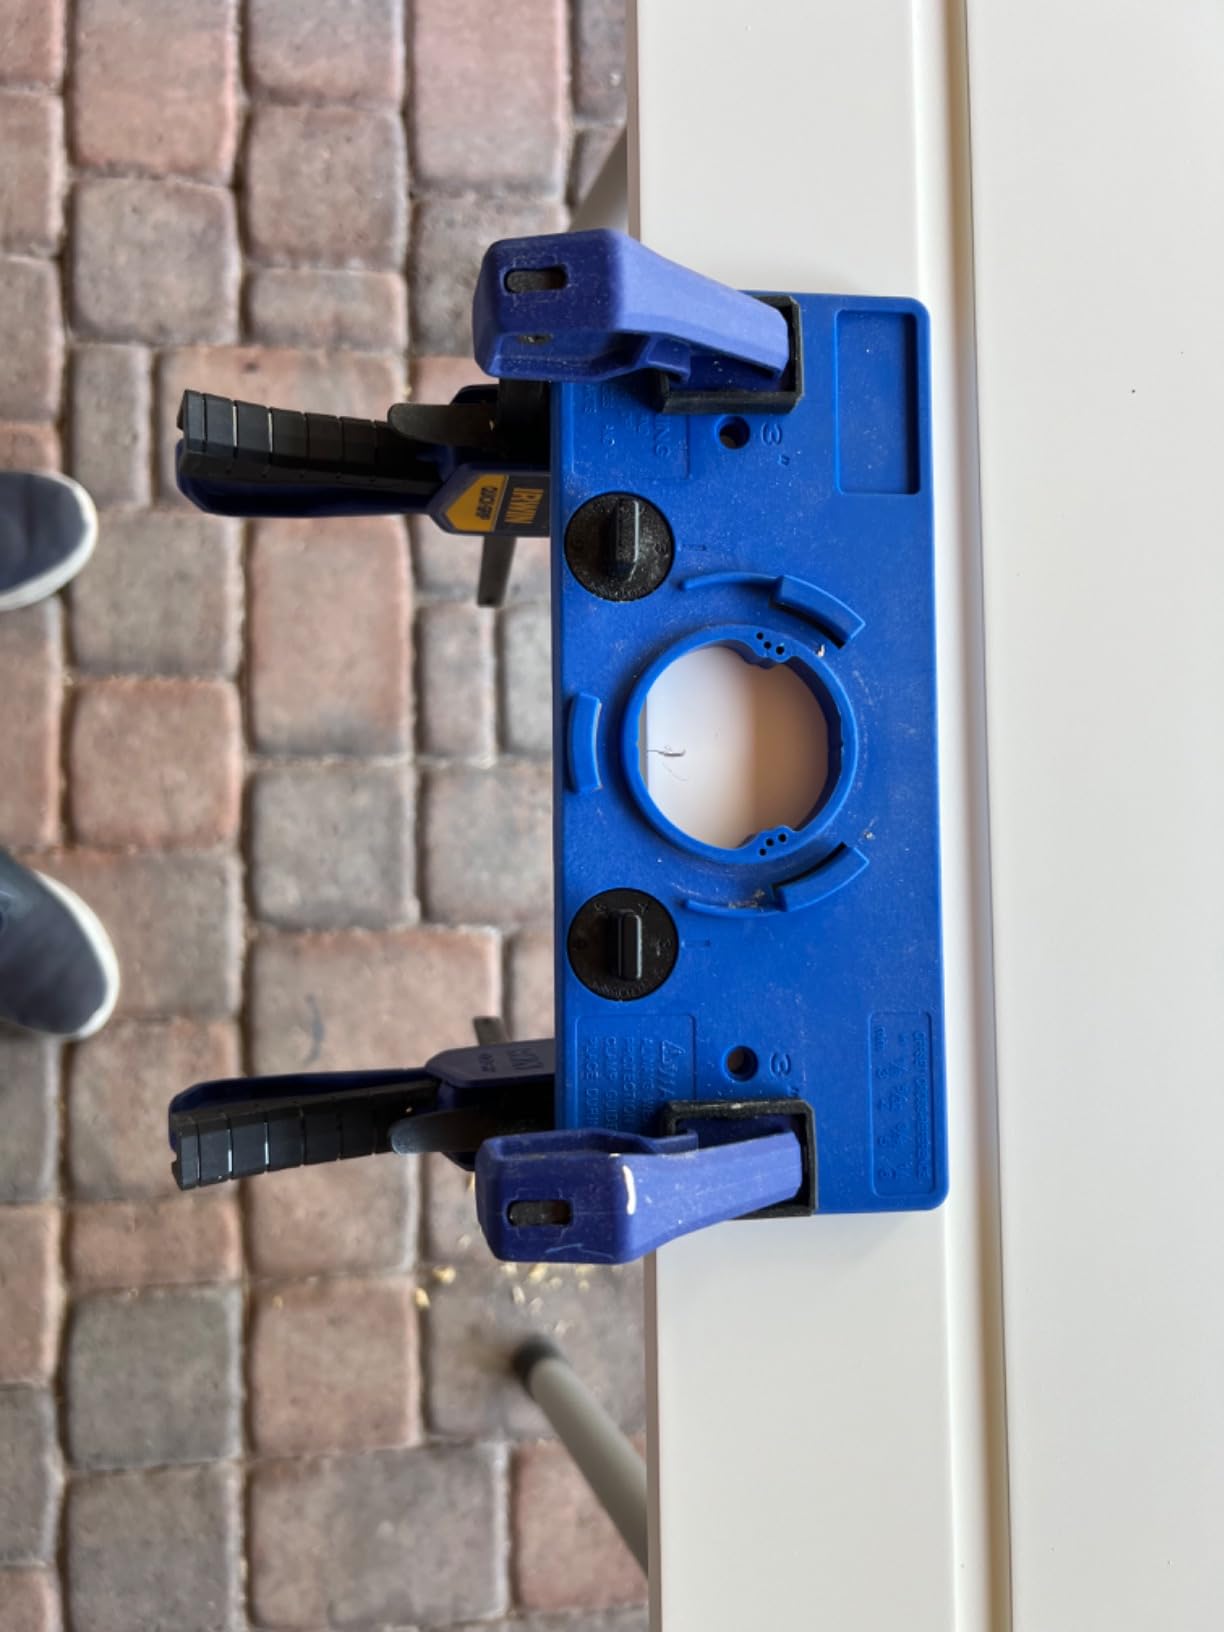
The 35mm bit is the correct size for standard concealed hinges, and it includes the depth stop collar. I drilled twelve holes in a single afternoon, and the bit stayed straight.
Some users report the bushing wears out quickly, but mine held up fine for a medium-sized project. If you plan to drill hundreds of holes, a metal bushing like the Milescraft 1342 might be a better long-term choice.
The kit is specifically marketed for face frame cabinets. I tested it on a frameless setup as well, and it worked because the jig references the door edge, not the cabinet box.
Just double-check your hinge overlay before you start.
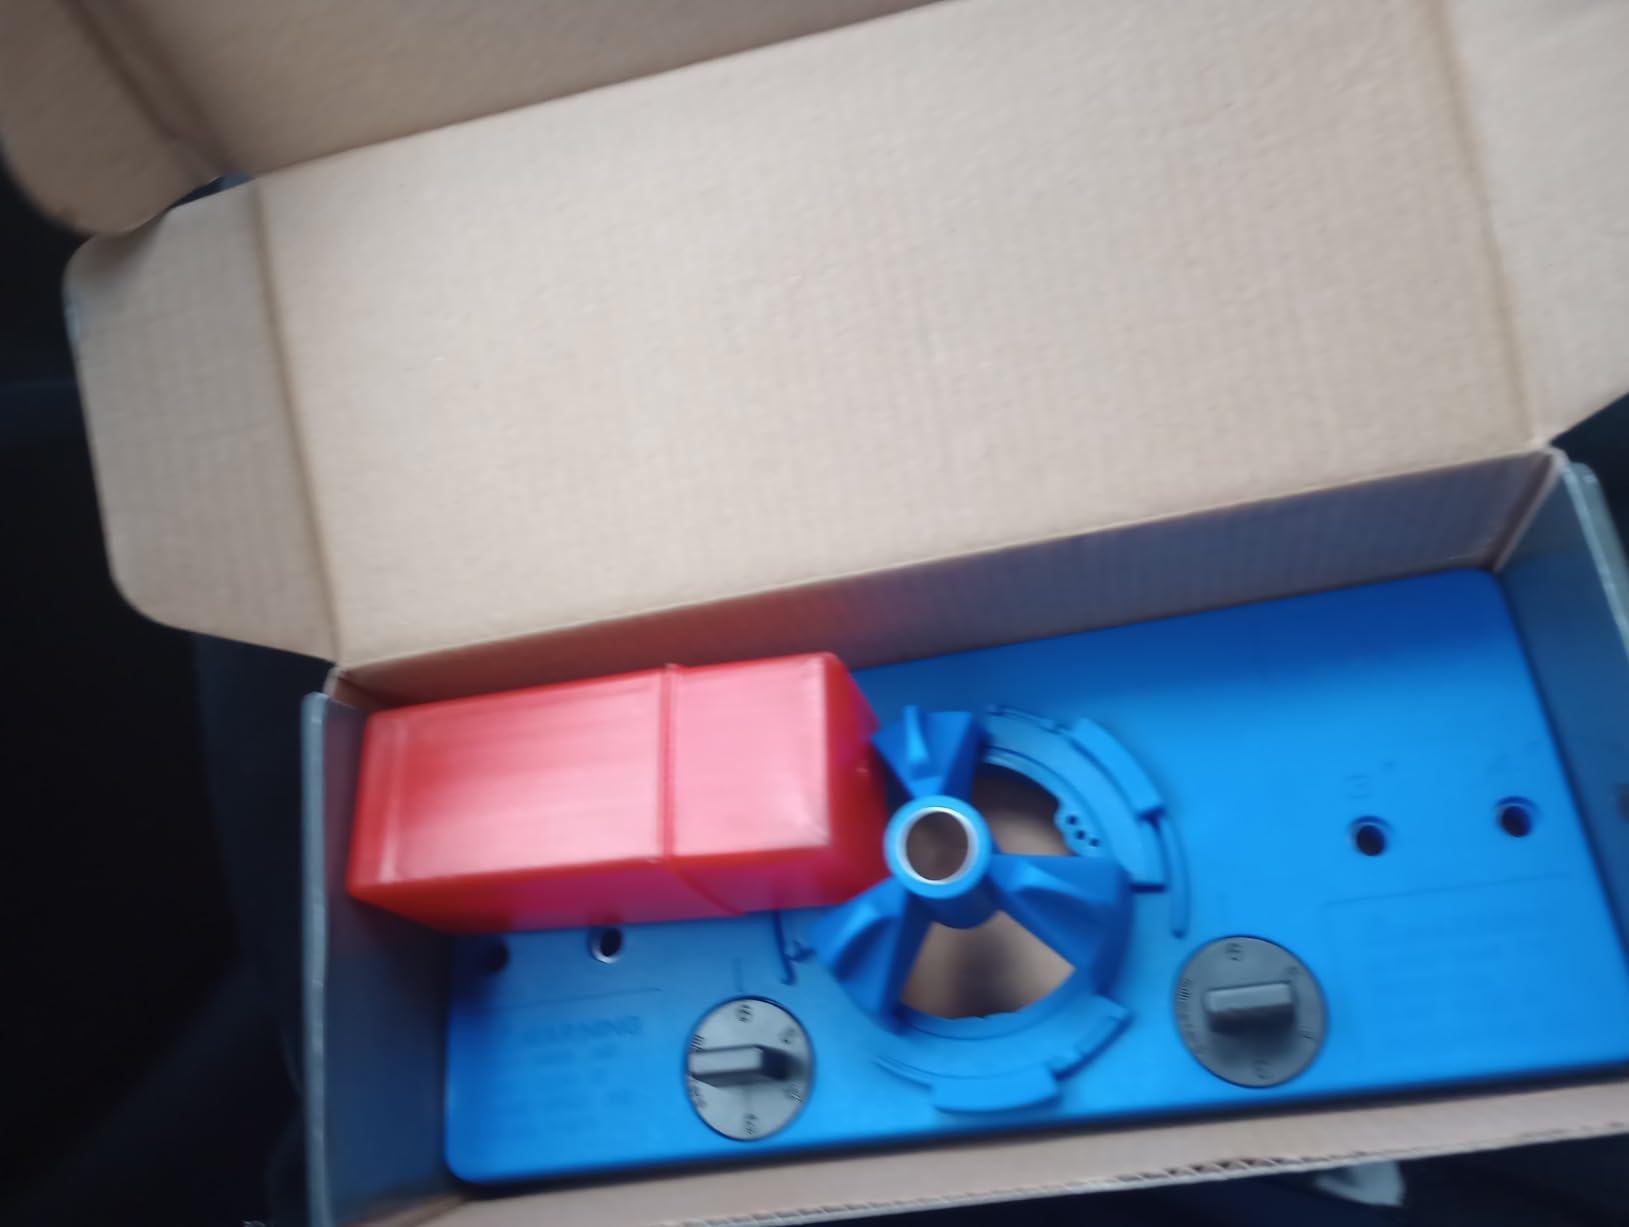
Multi-Component Kit Organization
With nine pieces, this kit can get scattered. I store mine in a small parts box so the bumpers and drill bits do not wander.
The template guide is the core piece, and everything else supports it. Keep the small hex key in the same compartment, because you need it to adjust the bumpers.
The included bits cover the hinge cup and the pilot holes for mounting screws. That is a nice touch for beginners who do not own a full set of small drill bits.
Face Frame vs Frameless Versatility
The adjustable bumpers are preset for common face frame hinge offsets. For frameless cabinets, you may need to set a custom position.
The jig body does not care which cabinet type you have, because it only touches the door. The bumper presets just save time on common setups.
If you are building frameless cabinets, verify your hinge brand before buying. Some users report incompatibility with certain Blum hinge models, though standard European hinges work fine.
9. GOINGMAKE Metal Concealed Hinge Jig Pro – Dust Vacuum Adapter
GOINGMAKE Metal Concealed Hinge Jig with Quick Clamp,35mm Cabinet Hinge Jig
All metal aluminum
Vacuum dust adapter
2mm-6mm offsets
Double bearings
Pros
- All metal construction more durable than plastic
- Built-in dust vacuum adapter
- Quick clamp design for easy positioning
- Double bearings for continuous accurate drilling
- 35mm carbide tipped bit included and sharp
- Multiple offset settings for various hinges
- Includes drill guides for different screw hole spacing
Cons
- Wood chips can get caught in bore housing
- Shaft to bearing housing may wobble slightly
- Housing can shift during drilling
- Knurled knobs can damage finished cabinet surfaces
- Clamp pad can leave impressions on doors
The GOINGMAKE Pro is a step up from the compact version. It adds an integrated dust vacuum adapter and a wider range of offset settings.
I used it for a built-in pantry with twenty doors, and the dust collection kept the work area clean enough that my client could walk through the room without complaint.
The all-metal aluminum body is a major upgrade over plastic alternatives. It does not flex, and the clamping force feels more precise.
The quick clamp design is faster than separate bar clamps, and the double bearings in the drill guide keep the bit on track through the entire cut.
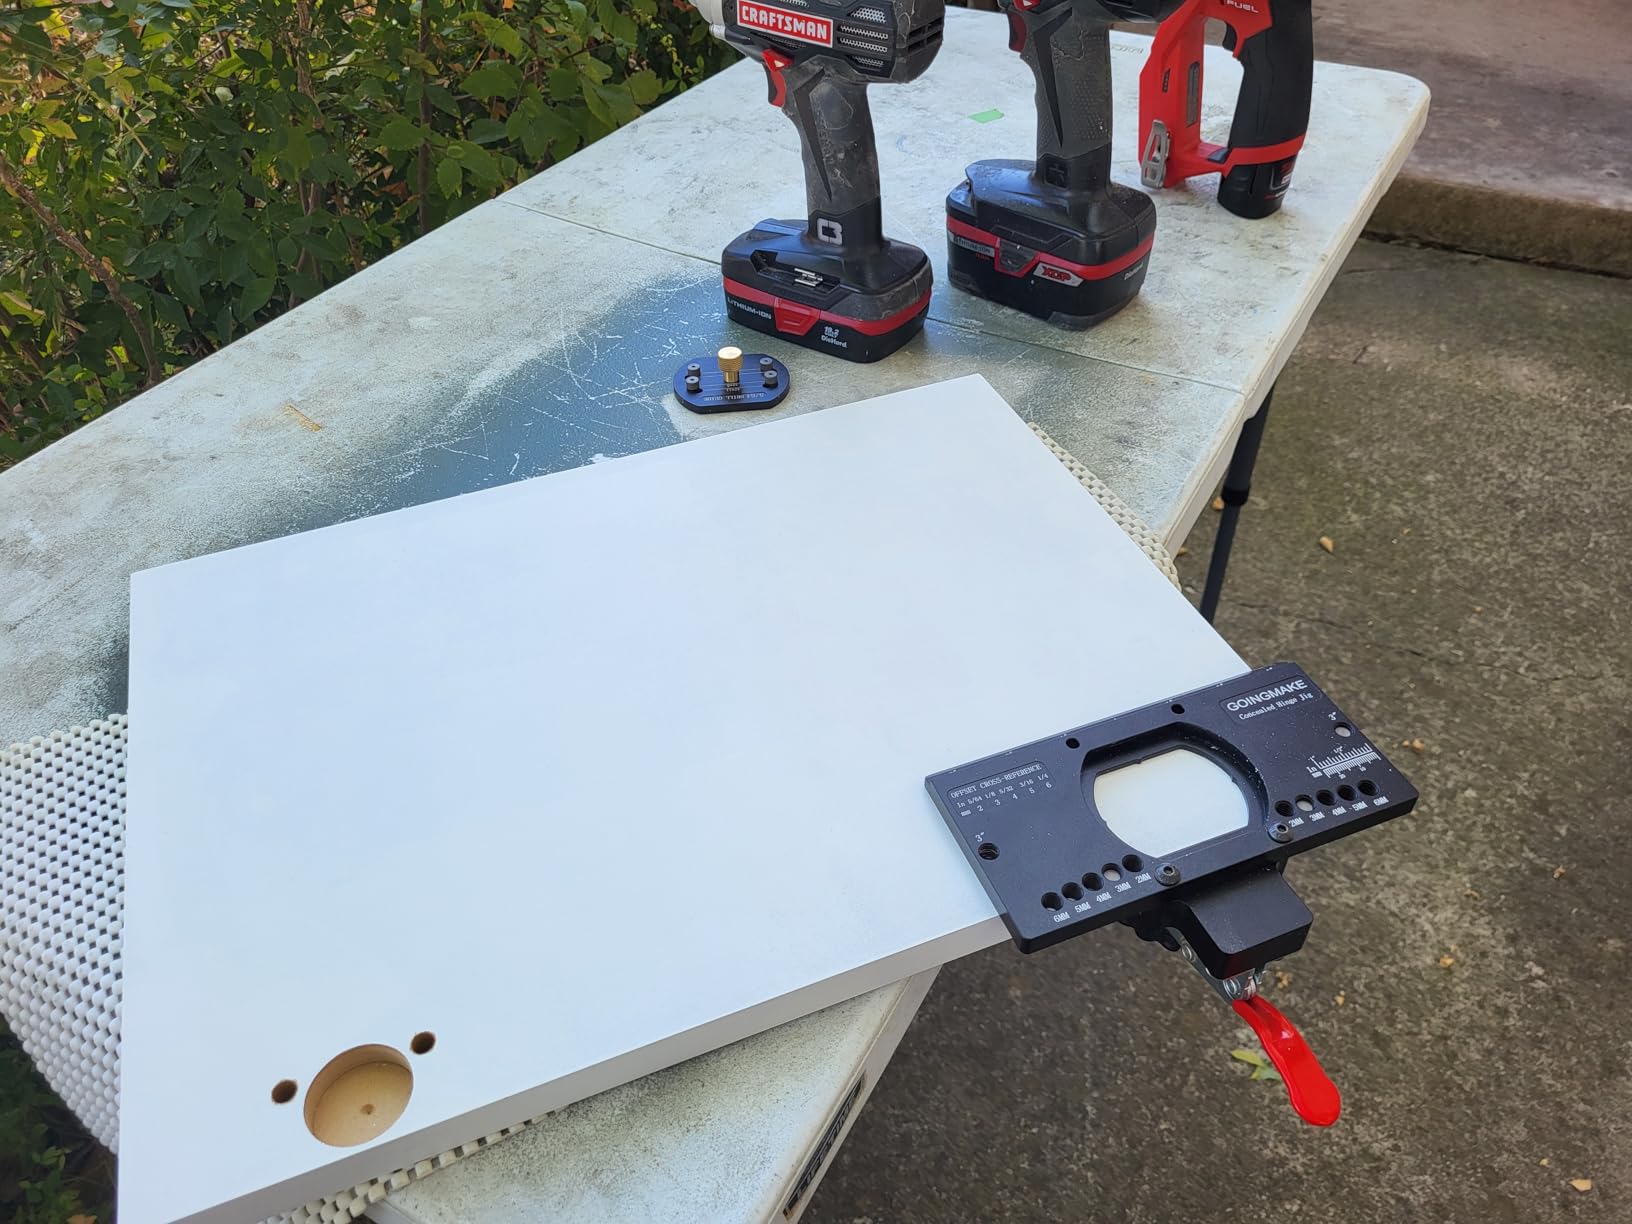
The offset range is 2mm to 6mm, which is wider than most jigs. That 2mm setting is essential for certain inset and half-overlay hinges.
I also appreciate the four screw hole spacing options. The extra drill guides let you mark the mounting plate positions directly from the jig, which saves a separate layout step.
Online feedback consistently praises the build quality. Users say it is solidly built and superior to plastic alternatives.
The vacuum adapter works with standard 1-3/8 inch hoses. One minor issue: wood chips can collect in the bore housing if you do not vacuum continuously.
I keep the vac running while the bit is in the wood, and the chips clear out immediately.
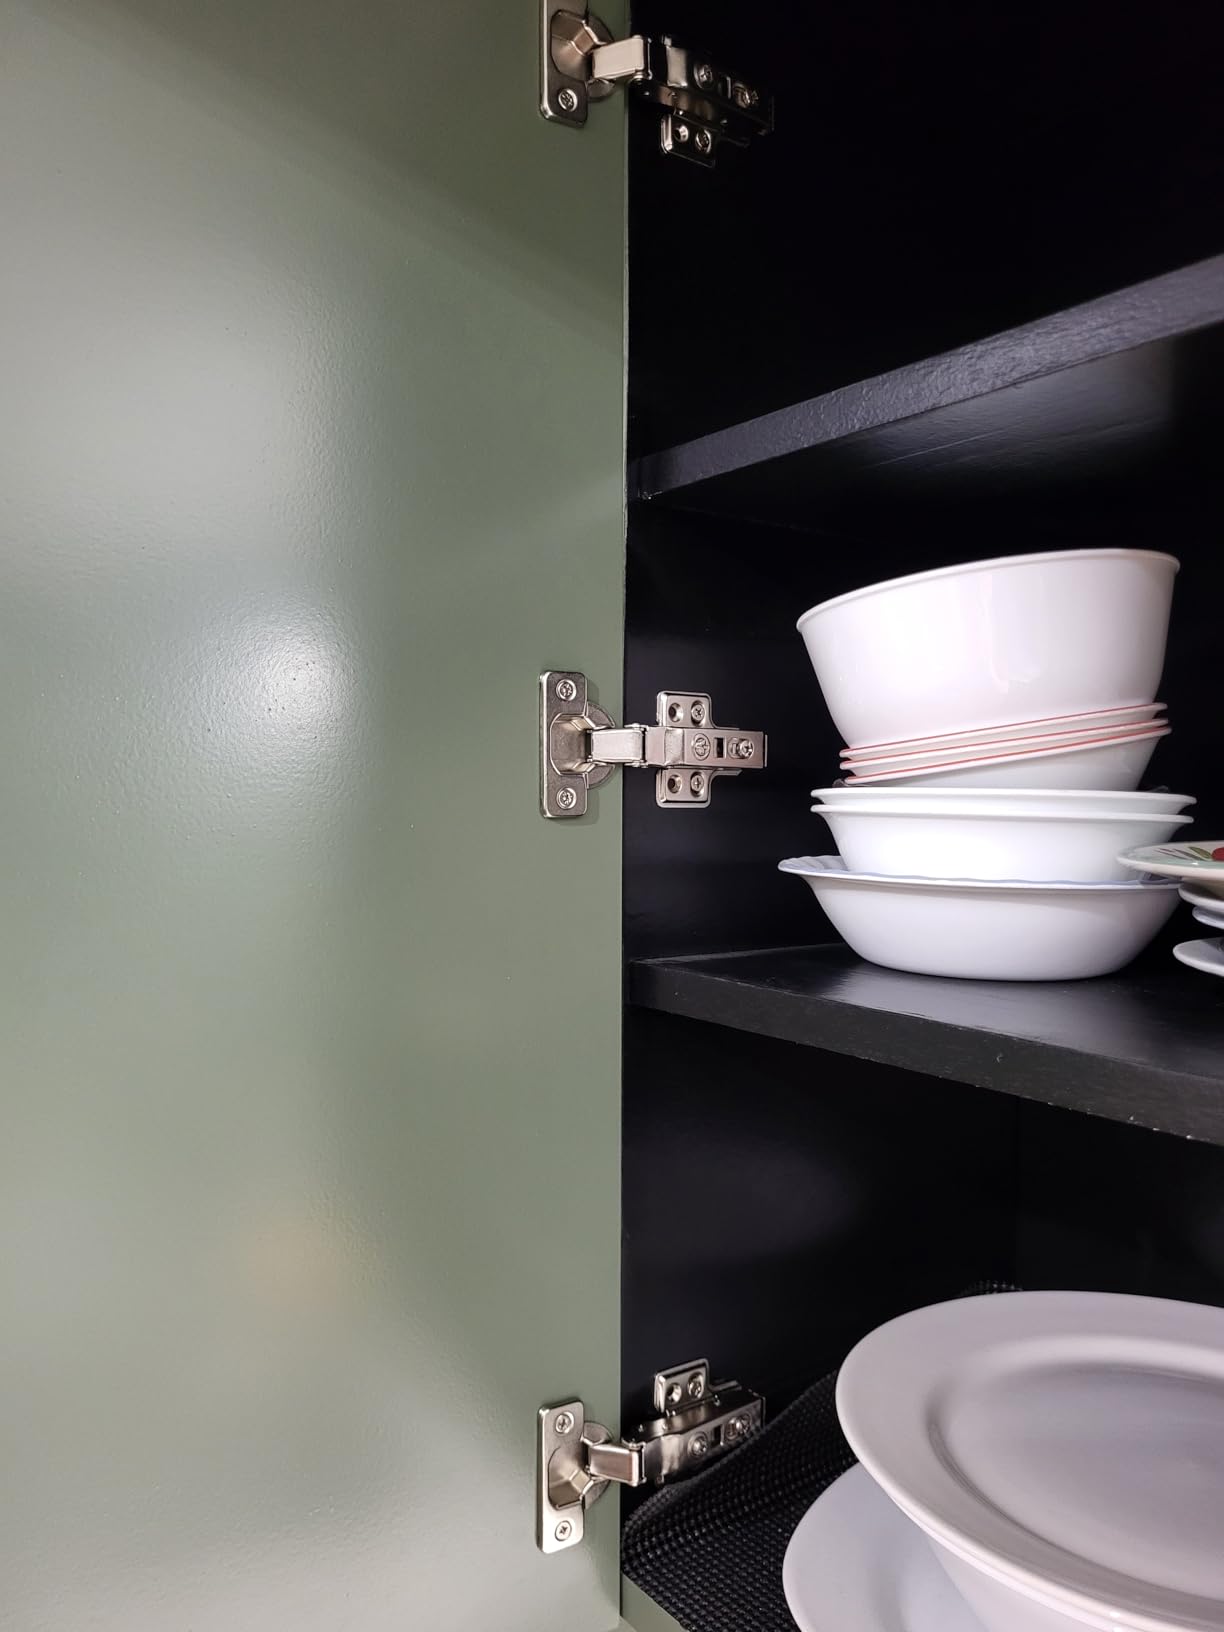
Dust Collection for Indoor Installations
The built-in vacuum adapter is a major advantage for interior work. I drilled inside a finished basement and left the floor spotless.
The adapter draws air through the bore housing, so dust does not have a chance to settle. If you do site work, this feature alone justifies the upgrade.
The 1-3/8 inch fitting is standard for most shop vacuums. I use a Festool extractor with a reducer, and the suction is strong enough to pull chips through the entire depth of the hole.
Offset Range for Specialty Hinges
The 2mm offset is rare in the budget category. If you install inset doors or special overlay hinges, that extra millimeter matters.
The 6mm setting covers full-overlay doors on 3/4 inch panels. Between those two extremes, you have every common scenario covered.
The included 5/64 inch drill bits are for the mounting plate pilot holes. They are sharp and sized correctly for standard screws. I replaced mine after about fifty doors, but they are inexpensive to swap.
10. Milescraft 1229 Hinge Jig PLUS – Dual Clamping Mortiser
Milescraft 1229 HingeJigPLUS – Dual Clamping Door Hinge Jig Door Hinge Mortiser. Complete Hinge Installation Kit Rout Mortises from 2.5” to 4.5”. Strike and Latch Plates Included for Standard Doors
Dual clamping design
Routs 2.5-4.5in mortises
Strike and latch templates
Router bit included
Pros
- Dual clamping design holds jig firmly without damage
- Works on standard 1-3/8 and 1-3/4 thick doors
- Includes templates for strike and latch plates
- Routs hinge mortises from 2.5 to 4.5 inches
- Multiple corner radius options
- Includes router bit with bearing
- Good instructions compared to competitors
Cons
- Plastic construction not as strong as aluminum
- Cannot be used with prefabricated door jamb kits
- Instructions can still be confusing
- Router bit does not leave perfectly clean cuts
- May flex if over-tightened
The Milescraft 1229 is a different beast. It is a door hinge mortiser, not just a cup hole jig.
I used it for a remodeling project where I needed to replace standard butt hinges with concealed hinges on existing doors. The dual clamping design holds the jig firmly without denting the door face, which is important when you are working on pre-finished material.
The kit includes a 12mm router bit with bearing, corner radius inserts, and templates for strike and latch plates. That makes it a complete door hardware installation system rather than just a hinge jig.
I routed mortises for three-inch hinges in a 1-3/8 inch door, and the depth was uniform across all four mortises.
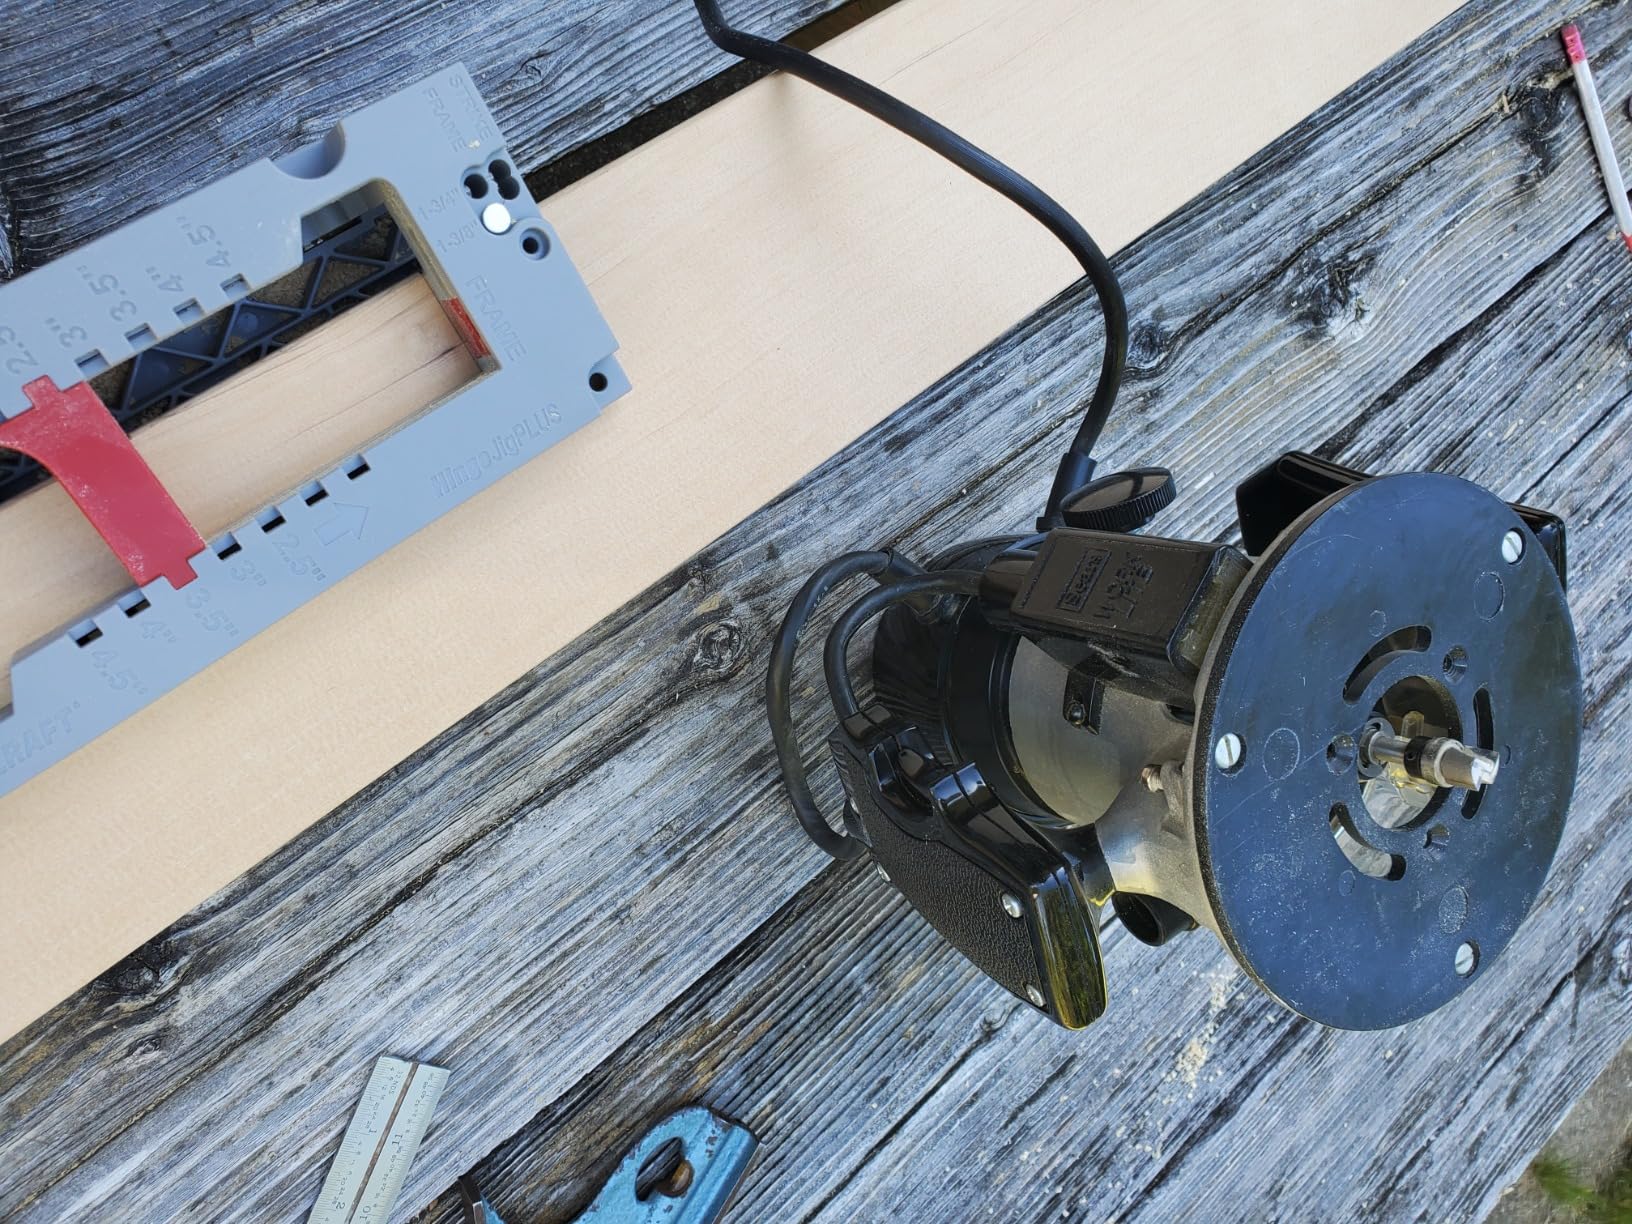
The adjustable hinge spacer covers 2.5 inches to 4.5 inches, which is the standard range for residential door hinges. The corner radius options include 1/4 inch, 5/8 inch, and square corners.
I used the square insert for a utility room door, and the radius insert for a bedroom door. The transition took about thirty seconds.
The instructions are better than most competitors. They include a step-by-step guide with photos.
Even so, I recommend watching a short video before your first attempt. The router bit does not leave perfectly clean corners, so a quick pass with a chisel finishes the job.
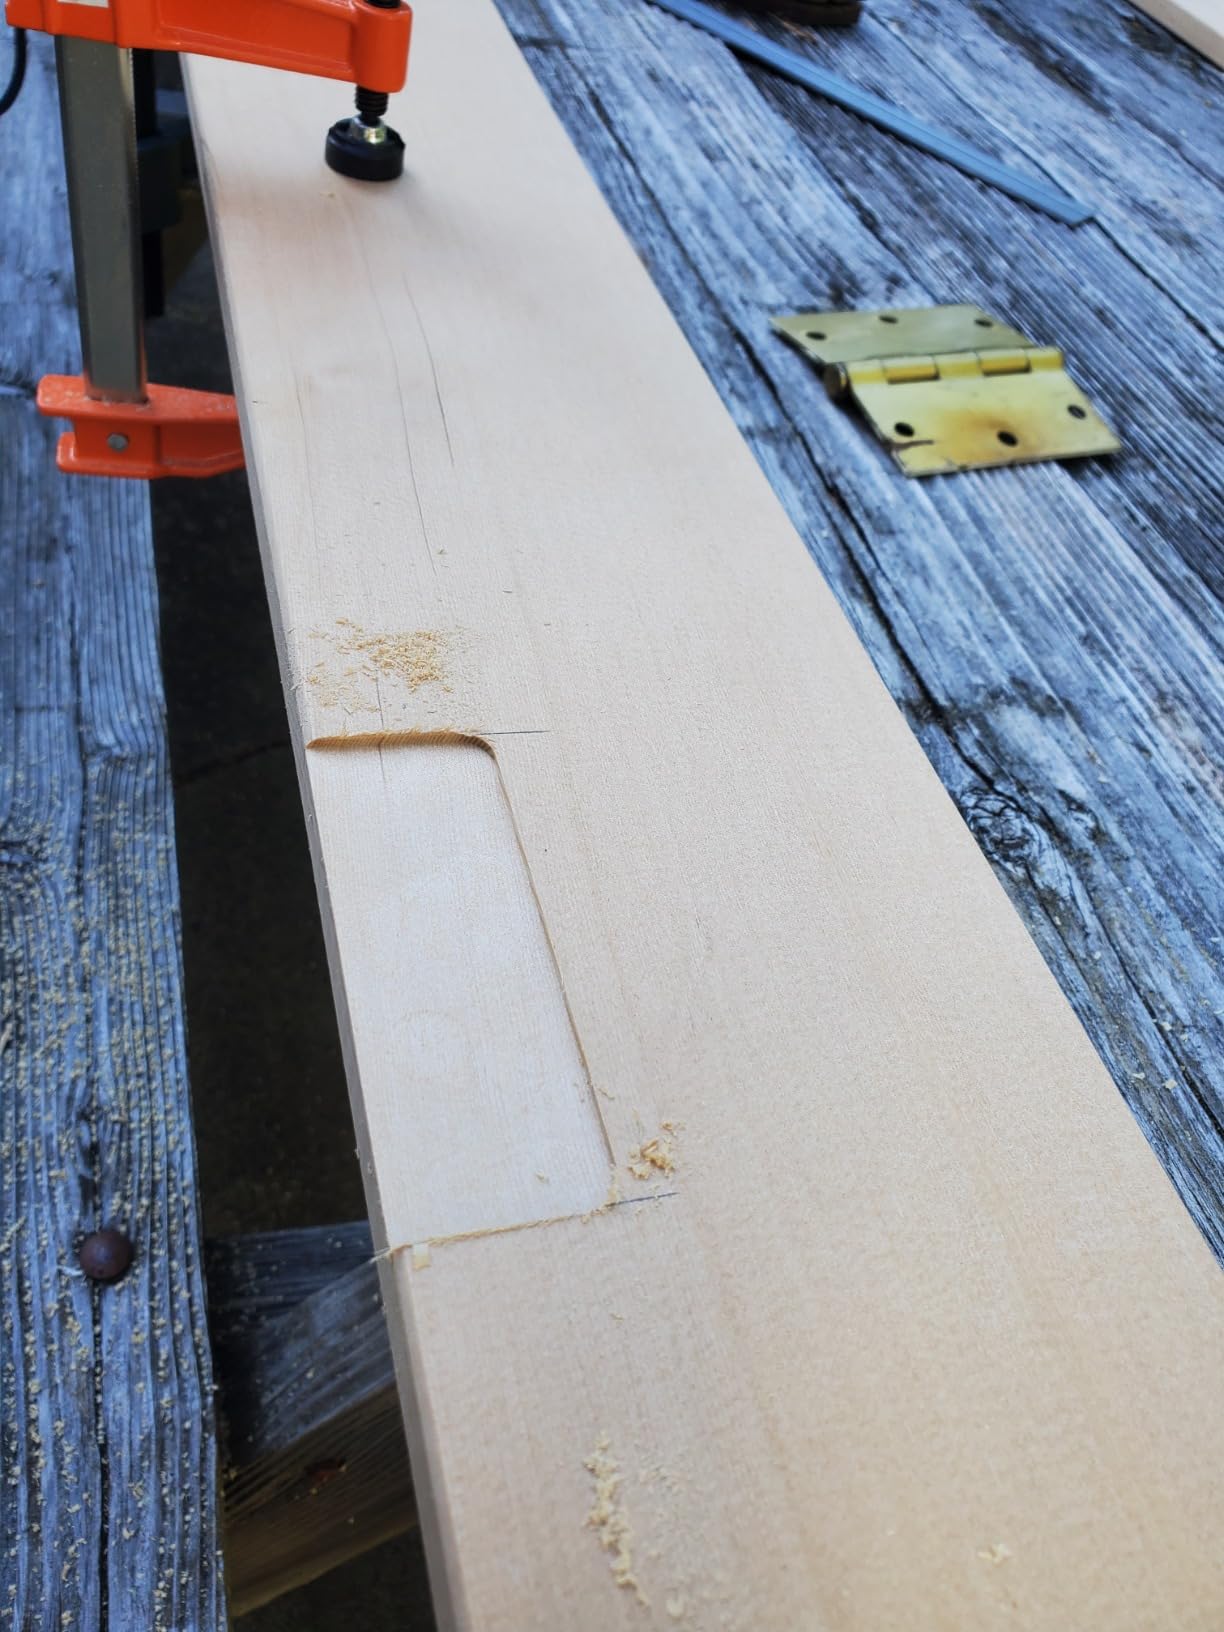
Strike and Latch Plate Templates
The bonus templates for strike and latch plates are genuinely useful. I used the strike plate template to recess a new deadbolt strike in a jamb, and it saved me from buying a separate tool.
The latch template works for standard tubular latches. These extras add real value for a DIY homeowner.
The PinDoctor tool is included as a bonus. It helps align hinge pins during installation. I used it on a sagging door, and it corrected the alignment in minutes.
Limitations with Prefabricated Jambs
The jig cannot be used with prefabricated door jamb kits that have integrated door stops. The clamps need a flat surface to grip, and the integrated stop blocks the jig body.
If you are working with standard split jambs or solid lumber, this is not an issue.
The plastic construction is sturdy enough for homeowner use. If you are a professional carpenter installing doors daily, consider a metal-bodied mortising system. For occasional remodels, this kit is perfectly adequate.
11. BEAMNOVA Upgraded 35mm Concealed Hinge Jig – Wide Compatibility
BEAMNOVA 35mm Concealed Hinge Jig with Drilling Guide Locator Aluminum Alloy Cabinet Door Hinge Jig,Woodworking Tool for Door Cabinets Hinges Mounting,Accurate Locking Hinge Boring Jig, Red
Aluminum alloy body
32-52mm hinge compat
3-6mm edge distance
Adjustable depth
Pros
- High-quality aluminum alloy construction
- Rust-proof and durable
- Precision manufacturing ensures accurate positioning
- Sharp drill bits included
- Versatile drilling guide compatible with most hinges
- Multiple position settings for flexibility
- Well machined and easy to operate
Cons
- Small learning curve
- Setup can be frustrating initially
- Case not included
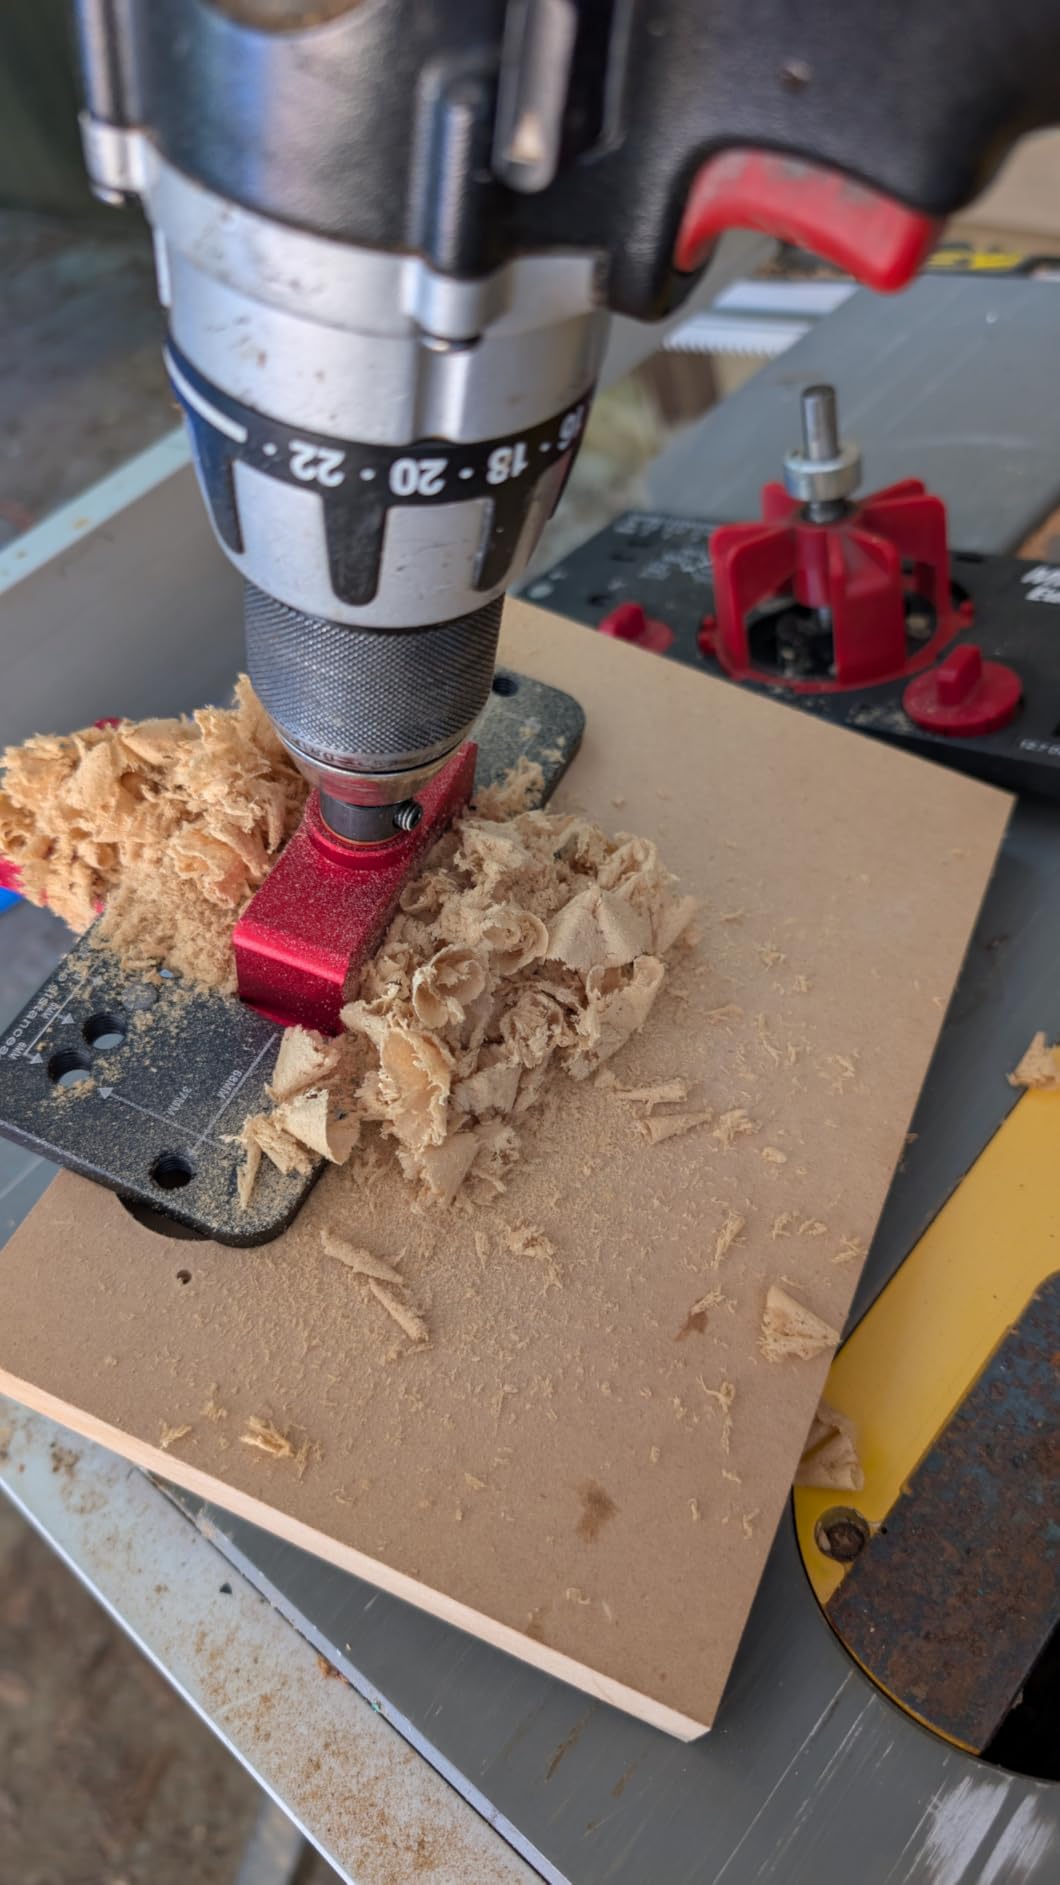
The BEAMNOVA jig is built for versatility. It is compatible with 32mm, 45mm, 48mm, and 52mm hinges, which covers almost every concealed hinge on the market.
I tested it with a 45mm hinge I had sitting in my hardware bin, and the cup hole was perfectly centered. That flexibility is rare in this price range.
The aluminum alloy body is rust-proof and precision machined. Every edge is clean, and the clamping surfaces are flat.
I clamped it to a painted door and did not worry about the finish, because the edges are smooth. The 68mm hole center to edge positioning is standard for larger hinges, and the adjustment clicks are positive.
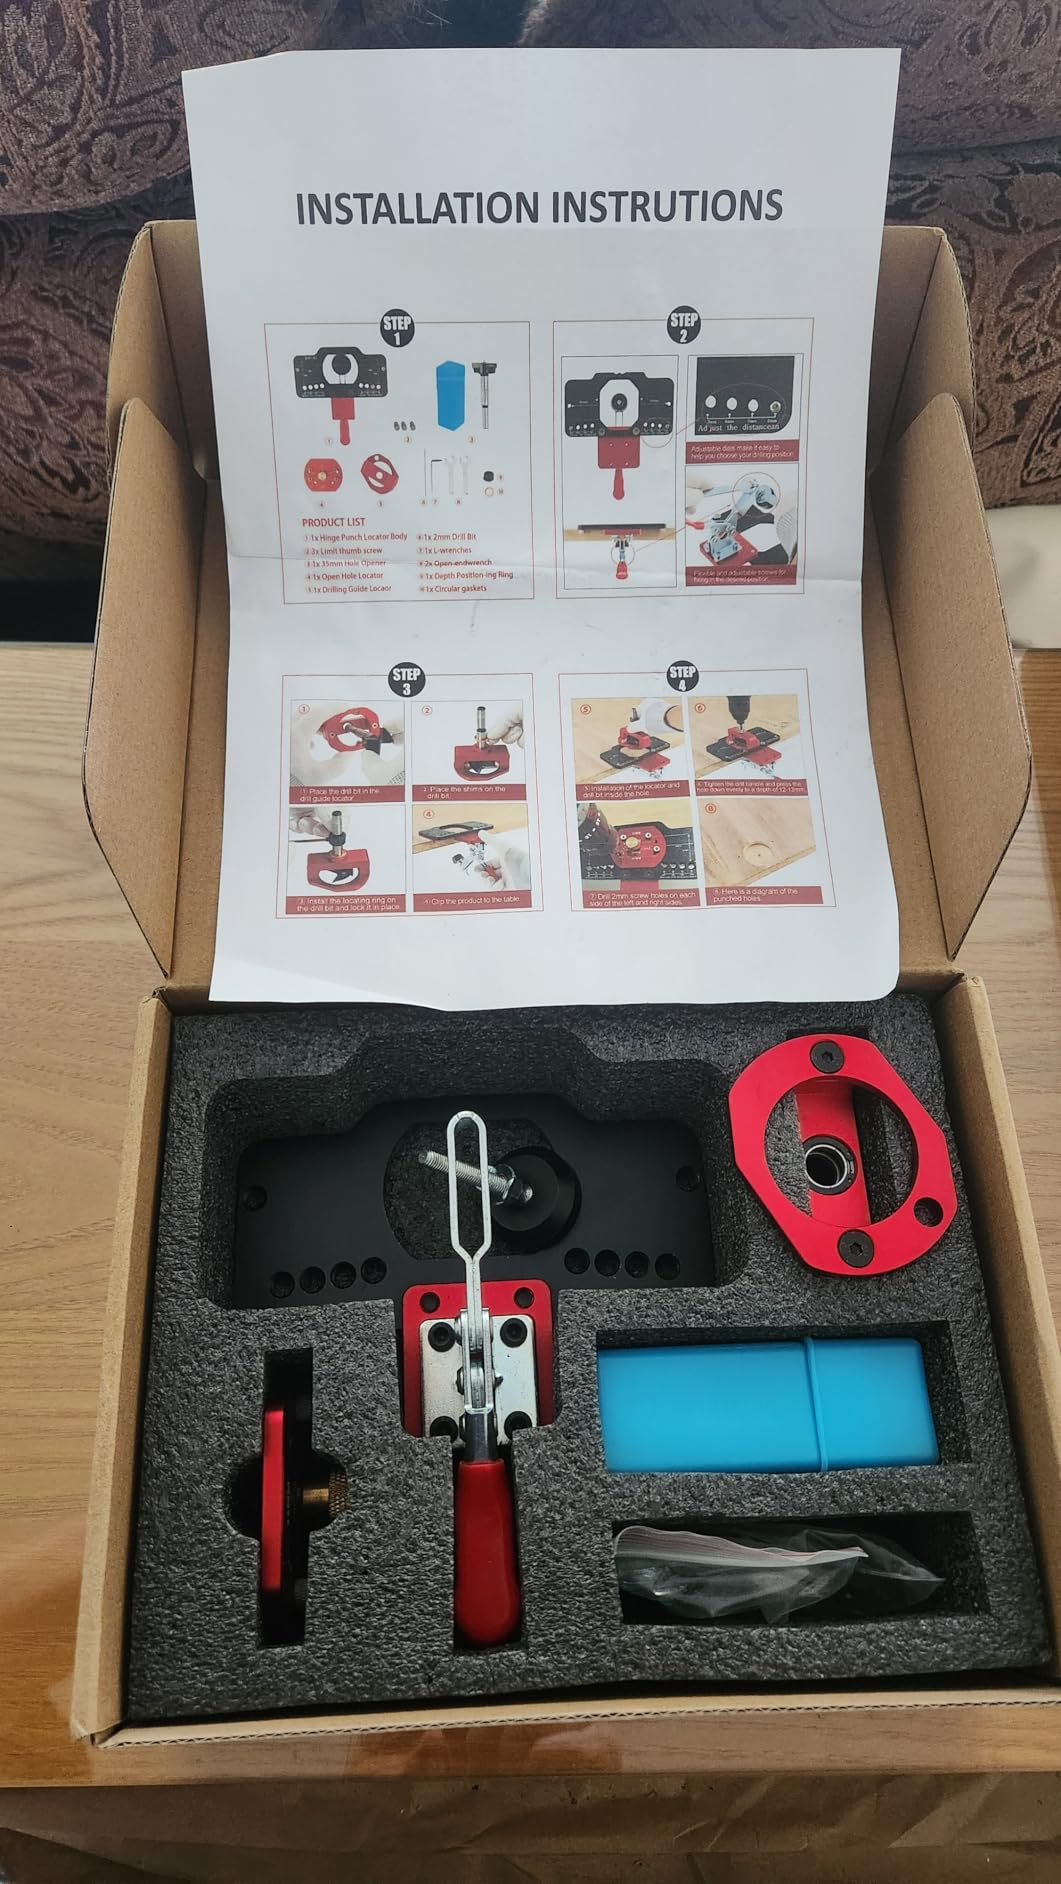
The edge distance adjusts from 3mm to 6mm, and the cup depth ranges from 10mm to 15mm. Those ranges cover the majority of residential and commercial concealed hinges.
The drill bits included are sharp, and the three-bearing sleeve keeps the cut straight. I drilled eight holes in a row, and the depth variation was less than 0.5mm.
The learning curve is real. The first setup took me about fifteen minutes because I had to match the hinge specs to the jig settings.
Once I dialed it in, the remaining doors were fast. I recommend keeping a notepad with your common settings so you do not have to recalculate every time.
Wide Hinge Compatibility
The 32mm to 52mm range is the widest I have seen on a handheld jig. Most jigs only cover 35mm, but this one handles smaller and larger cups.
If you work with imported hardware or specialty hinges, that versatility saves you from buying multiple jigs.
The 3mm to 6mm edge distance is standard, but the additional hinge sizes make this jig future-proof. If you switch hinge brands down the road, you probably will not need a new tool.
Precision Machining for Accuracy
The aluminum is well machined and anodized. The threads are clean, and the clamping knobs turn smoothly.
I have used cheaper jigs where the knobs bind or strip, and that is not a problem here. The tolerances are tight enough for professional work.
The lack of a case is a minor annoyance. I store mine in a padded tool roll to protect the machined surfaces. A hard case would be a nice addition, but the tool itself is what matters.
12. GOINGMAKE 3-Axis Concealed Hinge Jig Ultra – Professional Grade
GOINGMAKE 3-Axis Concealed Hinge Jig Ultra with Extra Hinge Screw Hole Guide and Quick Clamp,Metal Cabinet Hinge Jig,35mm Cabinet Door Hinge Jig Drill Guide,Woodworking Cabinet Doors Mounting Tool
3-axis drill guide
Extra screw hole guide
Quick clamp
Vacuum adapter
Pros
- 3-axis design ensures straight and accurate drilling
- Quick clamp for fast and stable clamping
- 5 times faster drilling than other hinge jigs
- Extra hinge screw hole drill guide included
- Vacuum adapter for dust-free operation
- Wide clamping range for various door thicknesses
- Compatible with Festool and other vacuum brands
Cons
- Slightly pricey compared to simpler jigs
- First-time assembly can be fussy
- Edge guides may not be long enough for some applications
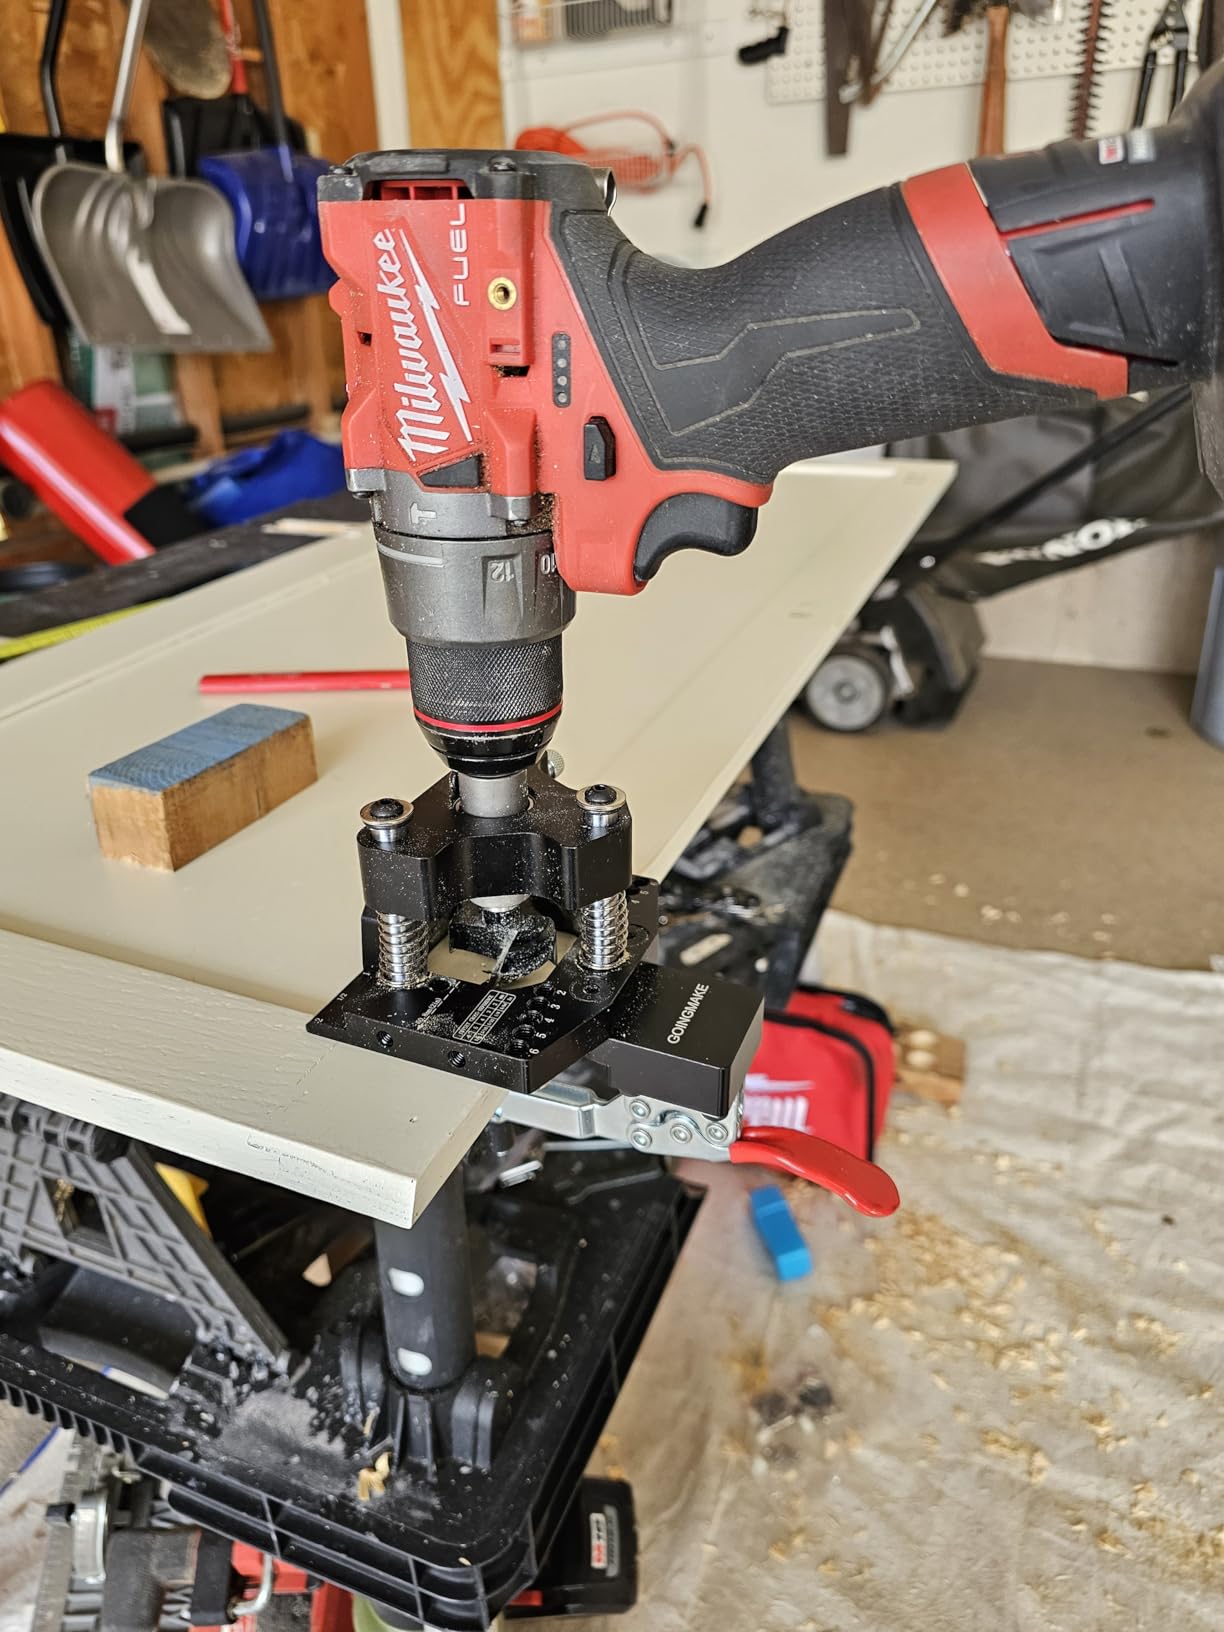
The GOINGMAKE Ultra is the most advanced jig in this roundup. The 3-axis drill guide keeps the bit perfectly vertical and aligned, which is the kind of accuracy I usually expect from a drill press fixture.
I used it for a high-end kitchen with thirty-two doors, and every hole was within a fraction of a millimeter.
The quick clamp is faster than any other system I have tested. You position the jig, flip the lever, and it locks.
The wide clamping range covers 1/2 inch to 1-13/16 inch, so it handles thin panels and thick solid doors. I clamped it to a 1-1/4 inch solid core door, and the pad held tight without slipping.
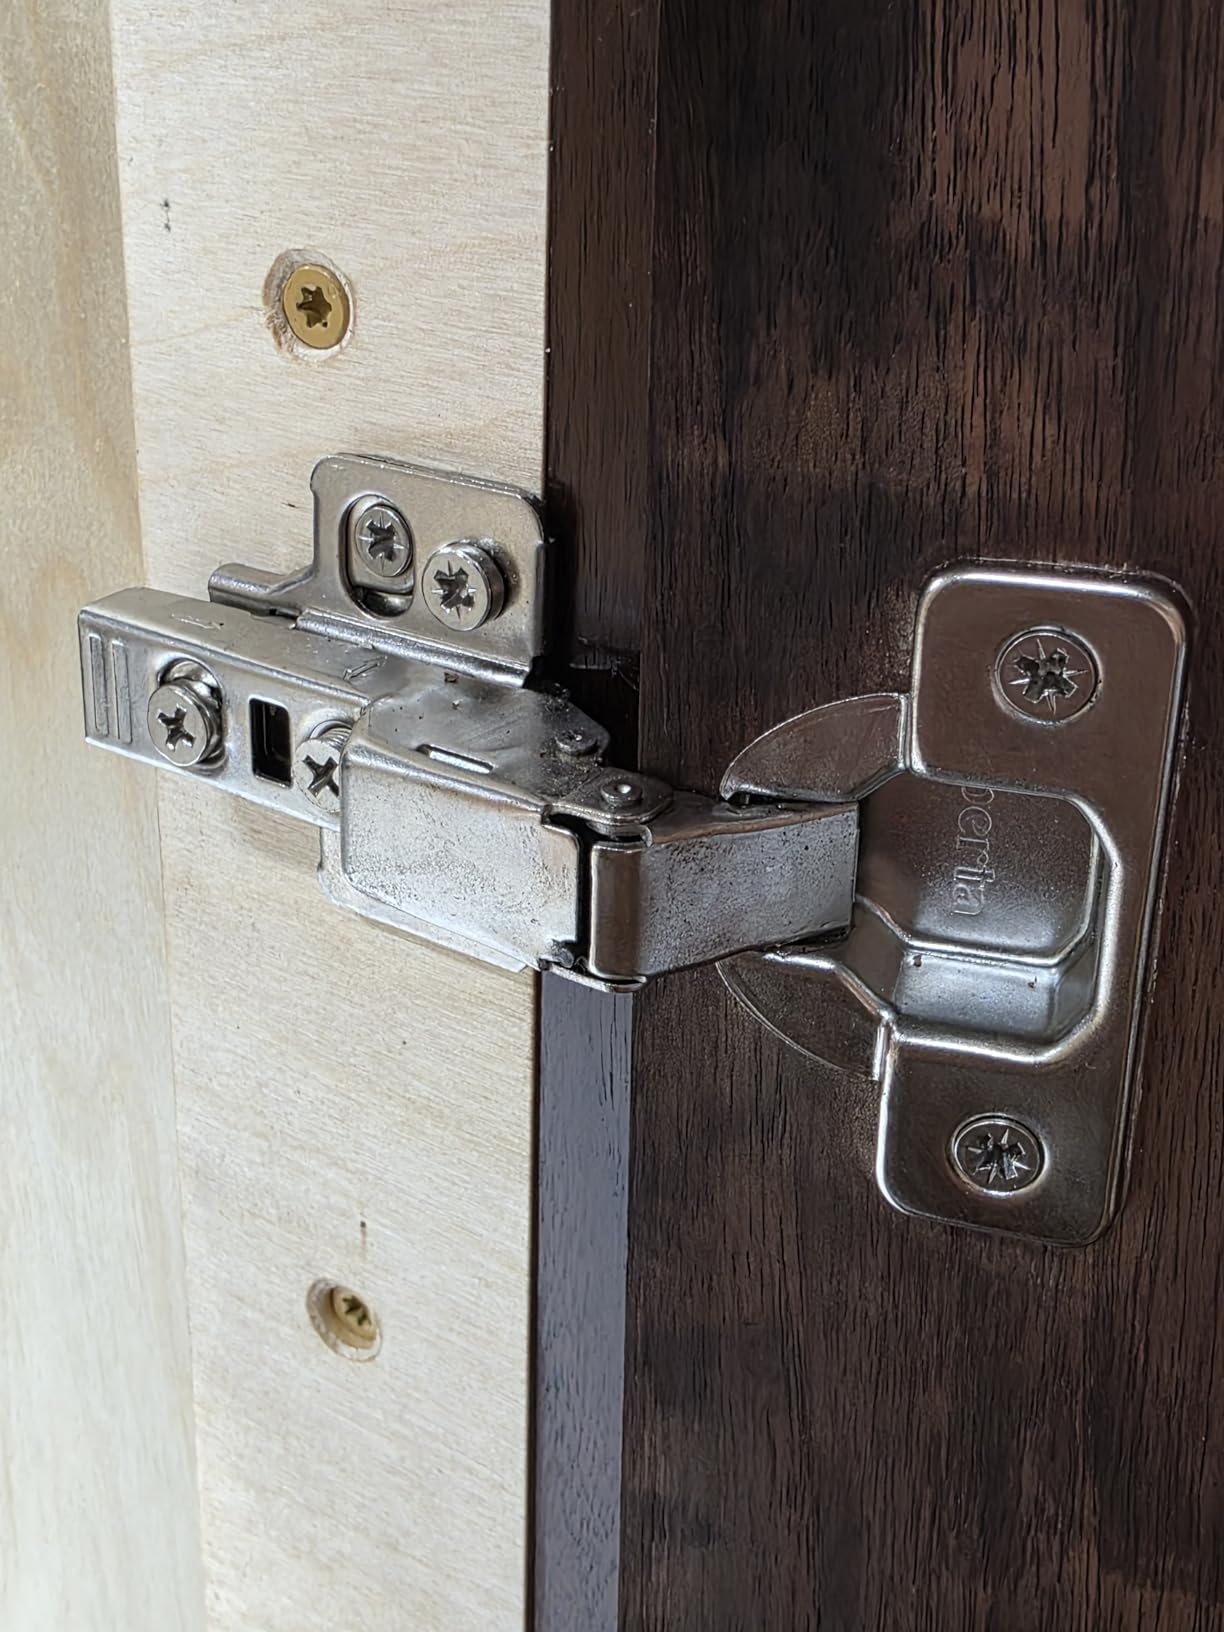
The extra hinge screw hole drill guide is a professional touch. It drills the pilot holes for the mounting plate screws while the jig is still clamped in place.
That eliminates a separate layout step and reduces the chance of misalignment. I drilled the cup hole and the two pilot holes in under twenty seconds per door.
The vacuum adapter accepts both 1-1/4 inch and 1-3/8 inch hoses. I connected it to a Festool extractor, and the suction was strong enough to pull chips out of the bore housing.
The dust-free operation is a major advantage for interior installs. Users online report it is five times faster than simpler jigs, and I would agree after timing my own work.
3-Axis Accuracy for Production Work
The 3-axis guide is the main selling point. It corrects for side-to-side tilt and front-to-back angle, not just vertical alignment.
That matters when you are drilling hundreds of holes and fatigue sets in. I found my last door of the day was just as accurate as the first.
The extra clamping block is included for thicker doors. I did not need it for standard 3/4 inch panels, but it is nice to have for future projects.
The block attaches with the same thumb screws, so switching takes seconds.
Vacuum Compatibility for Clean Sites
The dual-size vacuum adapter covers most shop vacuums and dust extractors. I tested it with a Ridgid shop vac and a Festool CT 26. Both worked without leaks.
The adapter draws air through the bore housing, so dust does not escape into the room.
The first assembly is a bit fussy. The screw hole guide attaches with small screws, and the instructions are pictorial.
I spent about ten minutes on the initial setup, and then it was smooth sailing. The edge guides are adequate for standard doors, though very tall doors may need additional support.
What to Consider When Buying a Cabinet Hinge Boring Jig
Choosing the right cabinet hinge boring jig comes down to four main factors. The first is offset range.
Most Euro hinges use 3mm, 4mm, 5mm, or 6mm offsets. Some specialty hinges require 2mm or 7mm. Check the specs on your hinges before you buy a jig, and make sure the tool covers your needs.
If you work with multiple hinge brands, look for a jig with a wide range like the GOINGMAKE Pro or the BEAMNOVA.
The second factor is material construction. Plastic and polymer jigs are lightweight and affordable. They work well for occasional projects.
Metal and aluminum jigs are heavier and more rigid. They resist flexing under clamping pressure and last longer in high-volume use.
I own both types. For weekend projects, plastic is fine. For production work, metal is worth the extra cost.
The third factor is the clamping system. Some jigs require separate bar clamps or C-clamps. Others have built-in quick clamps.
External clamps give you more flexibility because you can position them anywhere. Built-in clamps save time because they are already aligned with the jig body.
I prefer built-in clamps for speed, but external clamps offer more grip on thick or unusual doors.
The fourth factor is the drill guide quality. A metal bushing or bearing sleeve keeps the bit straighter than a plastic hole.
Look for double-bearing or triple-bearing designs if you plan to drill hardwood. The bearings reduce friction and prevent the bit from wandering.
The Kreg and GOINGMAKE models both use bearing systems, and the difference is noticeable in oak and maple.
Depth control is another detail that matters. A stop collar on the bit prevents drilling too deep.
Some jigs include the collar, while others rely on a built-in depth fixture. I prefer a stop collar because it is easy to adjust.
If you switch between hinge brands, you will appreciate the ability to change depth in seconds. Always set the depth by testing on a scrap piece before you touch your actual doors.
Dust collection is often overlooked. Drilling a 35mm hole creates a surprising amount of chips.
A jig with a vacuum adapter keeps your shop and your lungs cleaner. The GOINGMAKE Pro and Ultra both include adapters, and the Kreg works well with a shop vac held near the bit.
If you drill inside a finished home, dust collection is not optional.
Door thickness compatibility is the final check. Most jigs handle 15mm to 25mm panels.
If you work with thin veneer or thick solid doors, verify the clamping range. Some jigs include extra clamping blocks for thick material.
The GOINGMAKE Ultra covers 1/2 inch to 1-13/16 inch, which is the widest range we tested.
One last tip from the forums: always have your hinges on hand before you drill. Measure the cup depth, the offset, and the screw hole spacing directly from the hardware.
Never trust the packaging alone. I have seen hinges labeled 5mm that actually measured 4.5mm.
A five-minute check with a caliper saves hours of rework later.
Common Mistakes to Avoid
The most common mistake is drilling before verifying the offset. I did this on my first cabinet build.
I assumed all hinges used the same offset, and three of my doors had gaps that were too wide. Now I set the jig using the actual hinge, not the manual.
I place the hinge on the door edge, mark the center line, and then set the jig to match.
Another mistake is failing to support the door from below. The drill bit pushes down as it cuts.
If the door is not supported, it can lift or flex, and the hole becomes angled. I place a scrap board under the door and clamp it to my bench.
That support keeps the door flat and the hole perpendicular.
Finally, let the drill reach full speed before it touches the wood. Plunging the bit while the motor is still ramping up causes the bit to wander.
The first second of contact sets the hole position. A fully spinning bit bites cleanly and stays on target.
This one habit improved my accuracy more than any tool upgrade.
Frequently Asked Questions
What is the best cabinet hardware jig?
The best cabinet hardware jig depends on your project. For most DIYers and professionals, the Kreg Concealed Hinge Jig offers the best balance of accuracy, ease of use, and reliability. If you need metal construction and dust collection, the GOINGMAKE Pro is an excellent upgrade.
Are hinge jigs worth it?
Yes. A hinge jig saves time and eliminates costly mistakes because drilling a 35mm cup hole freehand risks ruining an expensive door. A jig costs less than replacing one cabinet door and pays for itself on the first project.
What is the boring distance for cabinet hinges?
The boring distance, also called the offset, is the distance from the door edge to the center of the 35mm cup hole. Common offsets are 3mm, 4mm, 5mm, and 6mm. Check your hinge specifications to determine the correct distance for your doors.
Can I use a hinge jig for soft-close hinges?
Yes. Soft-close hinges use the same 35mm cup hole as standard concealed hinges, and the cup depth and offset are what matter. Most jigs in this roundup work with soft-close hinges as long as you set the correct depth and offset.
How do I choose the right offset for my cabinet doors?
Measure the offset directly from your hinge. Place the hinge cup on the door edge and measure from the door edge to the center of the cup, then match that measurement to your jig setting. Most European hinges use 3mm, 4mm, 5mm, or 6mm offsets.
Final Recommendations
After testing twelve cabinet hinge boring jigs in real workshop conditions, three models stand out. The Kreg Concealed Hinge Jig is the best all-around choice for most woodworkers.
It is accurate, easy to use, and backed by thousands of positive reviews. The Milescraft 1342 Euro Hinge Jig is the best value, offering a metal drill guide and complete kit at a fair price.
The Bestgle 35mm Concealed Hinge Jig Kit is the best budget option for small projects.
If you need premium features, the GOINGMAKE Pro and Ultra deliver metal construction, dust collection, and wider offset ranges.
The BEAMNOVA is the top pick for wide hinge compatibility. No matter which model you choose, a good jig will save you time and frustration in 2026.
Have your hinges on hand, set the offset with a test piece, and support your doors from below.
With the right jig and a few simple habits, you will hang every door straight and square. Happy building.