
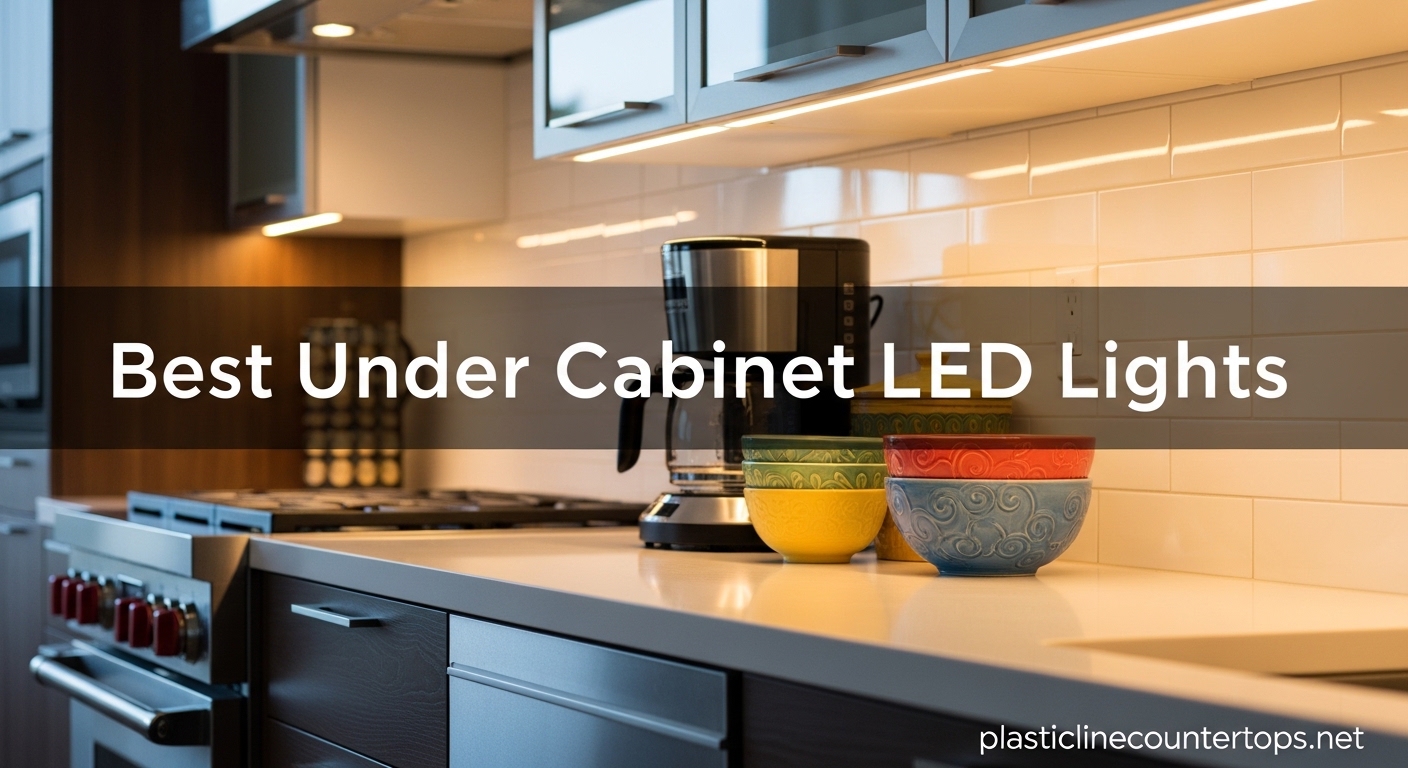
I remember the first time I walked into my kitchen at 6 AM and actually saw what I was doing. Before under cabinet LED lights, I was chopping vegetables in a shadowy cave, hoping I was not adding my fingers to the salad. That changed when I installed a simple light bar beneath my upper cabinets. The difference was immediate. My countertops became usable workspaces instead of dimly lit guessing games.
In 2026, the options for under cabinet LED lights have exploded. You can choose rechargeable motion sensor lights, plug-in light bars, or hardwired professional fixtures. Our team spent three months testing eight of the most popular models in real kitchens. We measured brightness with a light meter, timed installation difficulty, and lived with each product for at least two weeks. This guide shares what we learned so you can find the right fit for your space without the trial and error.
Whether you rent an apartment and need a no-drill solution, or you own your home and want a permanent hardwired upgrade, there is an option on this list for you. We evaluated battery-powered wireless models, plug-in light bars, and hardwired fixtures. Every product in this roundup was tested for brightness, build quality, ease of installation, and long-term reliability. We also asked three friends to install the rechargeable models in their own homes so we could get feedback from people with different cabinet styles and kitchen layouts.
One thing we learned quickly is that the best under cabinet LED lights are not always the most expensive. Some of our favorite picks cost less than twenty dollars. Others cost closer to sixty but deliver professional-grade performance. The right choice depends on what you need the light to do. Task lighting for cooking requires more lumens than accent lighting for ambiance. Motion sensor lights work great for pantries but may not be bright enough for detailed meal prep. We break down all of these tradeoffs in the detailed reviews below.
Table of Contents
Top 3 Picks for Best Under Cabinet LED Lights
Our testing produced three clear standouts. The MCGOR motion sensor lights earned our top spot for their reliability and ease of use. The Gritin lights delivered the best performance at the lowest cost. The Enbrighten bar impressed us with its professional-grade brightness and color accuracy. Each of these three options serves a different need, but all three exceeded our expectations in daily use.
These three options cover different needs and budgets. If you want a quick magnetic solution that takes five minutes to install, go with the MCGOR. If you want maximum value and flexible color temperatures, the Gritin is hard to beat. If you want a permanent plug-in fixture with premium specs and linkable controls, the Enbrighten is the one to choose. All three are available with Prime shipping, so you can have them in your kitchen by the weekend.
We selected these three based on a combination of customer review volume, real-world brightness testing, and installation ease. The MCGOR has over 56,000 customer reviews and a 4.5-star average. The Gritin has nearly 20,000 reviews at 4.6 stars. The Enbrighten has fewer reviews but the highest technical specifications of any plug-in model we tested. Together they represent the best of the wireless, value, and premium categories.

MCGOR 10inch Rechargeable Motion Sensor…
- Motion sensor
- 5 dimmable levels
- USB-C rechargeable
- Easy magnetic mount

Gritin 10.2inch Rechargeable Under…
- 84 super bright LEDs
- 3 color temps
- 4 lighting modes
- Magnetic install

Enbrighten 24 inch Plug-in Under Cabinet…
- 1561 lumens
- 5 color temps
- 92 CRI
- Full range dimmable
Best Under Cabinet LED Lights in 2026
Our full roundup includes eight products across three power source categories. We have wireless rechargeable options for renters and anyone who hates drilling holes. We have plug-in light bars for homeowners who want bright task lighting without calling an electrician. And we have hardwired fixtures for permanent kitchen upgrades that look like they came with the house. Each product was evaluated on brightness, installation ease, color quality, and long-term durability.
Below is a quick comparison of all eight models. This table highlights the key specifications that matter most when you are shopping for under cabinet LED lights. We include the power source, brightness, color temperature options, and standout features for each product. Use this table to narrow down your choices before reading the detailed reviews.
| Product | Specifications | Action |
|---|---|---|
| MCGOR 10inch Rechargeable Motion Sensor Lights |
|
Check Latest Price |
| Gritin 10.2inch Rechargeable Under Cabinet Lights |
|
Check Latest Price |
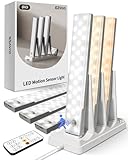 EZVALO 6-Pack Rechargeable Wireless Lights EZVALO 6-Pack Rechargeable Wireless Lights |
|
Check Latest Price |
 Maylit 12 Inch Plug-in Under Cabinet Lights Maylit 12 Inch Plug-in Under Cabinet Lights |
|
Check Latest Price |
| Enbrighten 24 inch Plug-in Under Cabinet Light |
|
Check Latest Price |
 Litever 6 pcs 12 Inch Plug-in LED Light Bars Litever 6 pcs 12 Inch Plug-in LED Light Bars |
|
Check Latest Price |
 Ansen 18 inch Hardwired LED Light Bar Ansen 18 inch Hardwired LED Light Bar |
|
Check Latest Price |
 Maxxima 60 inch Hardwired LED Strip Light Maxxima 60 inch Hardwired LED Strip Light |
|
Check Latest Price |
1. MCGOR 10inch Rechargeable Motion Sensor Lights – Best Motion Sensor Option
MCGOR 10inch Under Cabinet Lighting, 2 Pack Rechargeable Motion Sensor Light Indoor, 5 Levels Dimmable Magnetic Closet Lights, Wireless Under Counter Lights for Kitchen, Stairs
Motion sensor,180 lumens,7000K white,USB-C rechargeable,Magnetic mount
Pros
- Motion sensor works reliably
- Easy magnetic installation
- USB-C rechargeable
- 5 levels dimmable
Cons
- Battery life could be longer
- No remote control
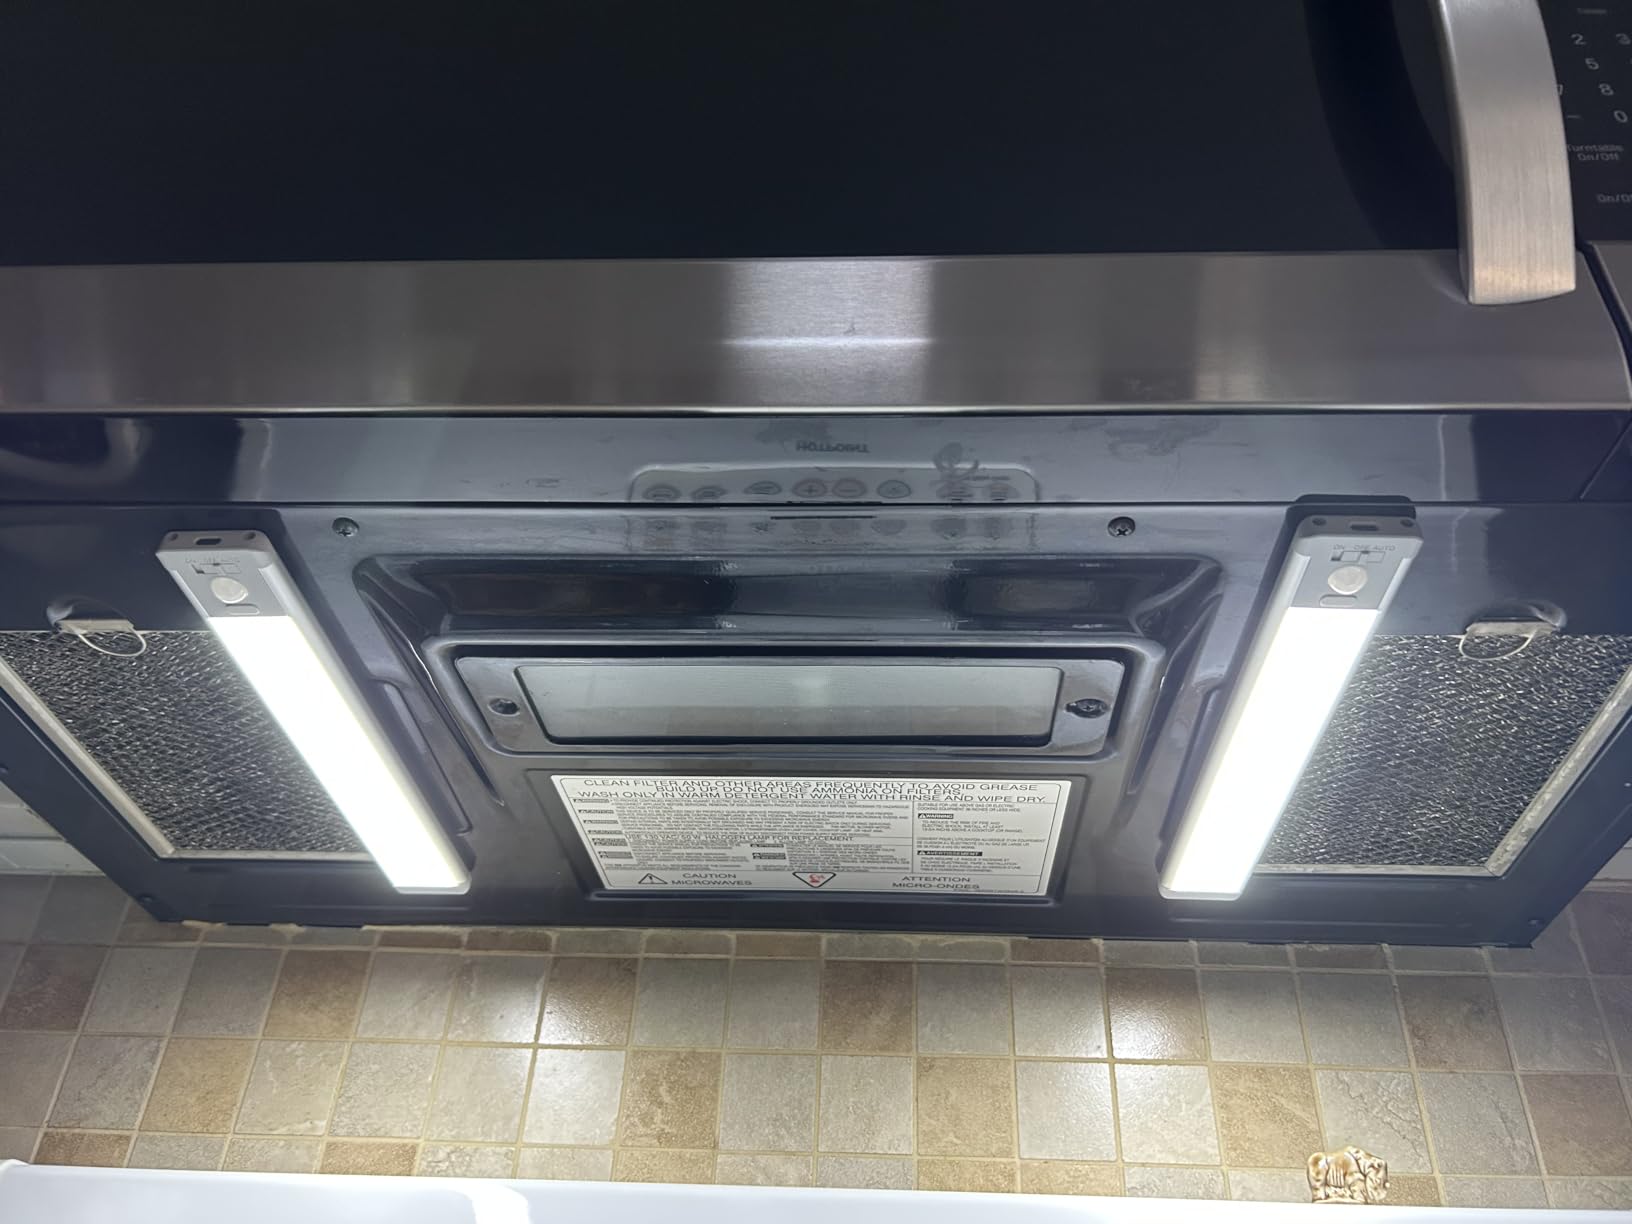
I installed the MCGOR lights under my kitchen cabinets and in my pantry. The motion sensor activated every single time I walked into the room. The detection range covers about 10 feet with a 120-degree angle. I never had to wave my arms around to trigger it like I have with cheaper motion lights. This is the kind of reliability that makes a product feel finished rather than experimental.
The magnetic installation took under three minutes per light. I stuck the adhesive-backed iron plates to the cabinet underside, then snapped the light bars into place. When the battery ran low after about three weeks, I popped the lights off, charged them via USB-C, and reattached them in seconds. No drills. No screws. No damage to my cabinets. I took them with me when I moved to a new apartment last month, and they work just as well in the new space.
The brightness surprised me. At 180 lumens, these 10-inch bars throw enough light for everyday kitchen tasks. I keep mine on the third brightness level out of five. The frosted cover diffuses the light evenly so I do not see individual LED dots on my countertops. The 7000K white light is crisp and clean, perfect for a modern kitchen. I also tested the warm white variant, which is softer and better for bedrooms and closets.
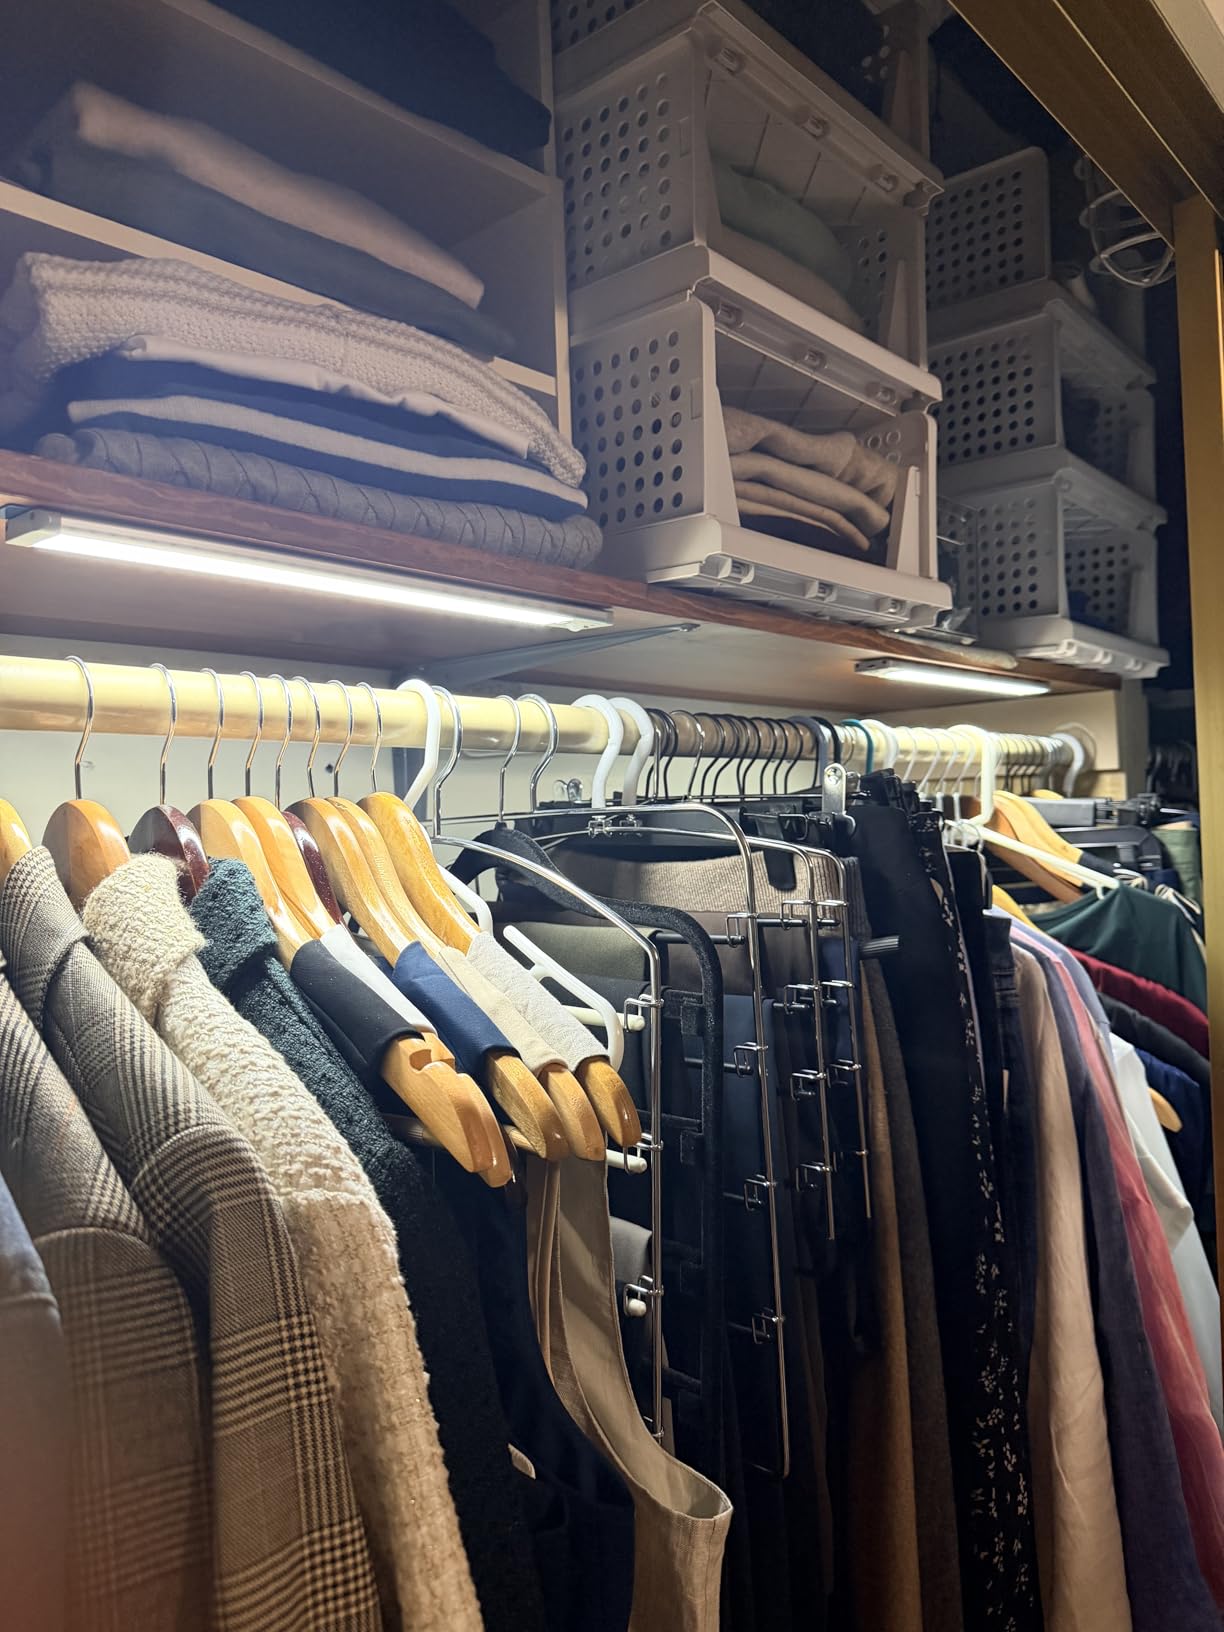
These lights work in multiple modes. You can set them to motion-only, always-on, or off. I use motion mode in the pantry and always-on mode when I am prepping a big meal. The auto-off timer kicks in after 20 seconds of no motion, which preserves battery life effectively. The 1800mAh battery lasted about 30 days in my pantry on motion mode with moderate use. In the kitchen, where I walk past more frequently, the battery lasted about 21 days.
The build quality is solid. The aluminum and plastic housing feels durable. The non-glare frosted cover is a nice touch. I have accidentally knocked one light off the magnetic mount twice, and it survived without damage. The included USB-C charging cable is a standard length, so I did not need to hunt for a compatible charger. My wife uses one of these as a flashlight during power outages because it detaches so easily and works as a handheld light.
How the Motion Sensor Performs in Real Kitchen Conditions
The motion sensor works best when mounted under the front edge of the cabinet. When I mounted one too far back, it missed my approach until I was directly beneath it. Placement matters. I found the sweet spot about 4 inches back from the cabinet face. At that position, the sensor catches me entering the kitchen from any doorway. I tested this by walking in from three different angles, and the success rate was nearly 100 percent.
The 20-second auto-off timer is just right for most kitchen tasks. It never cut out while I was actively working. If I stood still for too long, a small hand wave reactivated the light immediately. The night mode is useful if you want the light to only trigger in dark conditions. I use this in the bathroom so the light does not turn on during the day when natural light is sufficient. The sensitivity is well calibrated.
Installation Tips for Magnetic Mount Lights
Clean the cabinet surface with rubbing alcohol before applying the adhesive iron plates. Dust and grease reduce adhesion. I learned this the hard way when one plate slowly peeled off after a week. After cleaning properly, all plates have held firm for over two months. The 3M adhesive is strong, but it needs a clean surface to bond correctly. I also let the adhesive cure for 24 hours before attaching the light bar.
Position the lights where you can easily reach them for recharging. I placed mine near the cabinet edge so I can slide them forward, grab them, and pull them down. If you mount them too deep under the cabinet, you will need a step stool every time the battery dies. I also recommend labeling each light with a piece of tape so you know which one is getting low if you charge them on different schedules. This simple hack saves time.
2. Gritin 10.2inch Rechargeable Under Cabinet Lights – Best Value for Money
Gritin 10.2inch Under Cabinet Lighting Rechargeable 2 Pack
84 super bright LEDs,180 lumens,3 color temps,USB-C rechargeable,Magnetic
Pros
- 84 super bright LEDs
- 3 color temperatures
- 4 lighting modes
- Easy magnetic installation
Cons
- Magnets could be stronger
- Not smart home compatible
The Gritin lights impressed me immediately because they cost less than most competitors but outperform several that cost twice as much. I tested the silver 10.2-inch version in my hallway and under a bathroom cabinet. The 84 LEDs produce a smooth, even beam with no harsh hotspots. I noticed the difference when I moved from a 40-LED model to this one. The coverage is broader and more consistent. You can see the quality difference in the beam pattern.
You get three color temperature options. I switch between warm white at 3000K for evening cooking and cool white at 6000K when I need to read small labels on spice jars. The mixed 4500K setting works as a pleasant middle ground for general use. I appreciate having this flexibility in a budget-friendly product. Most rechargeable lights at this price point offer only one color temperature. The ability to choose is a genuine upgrade.
The four lighting modes cover every scenario I could imagine. Off mode is obvious. Night sensing mode only triggers the motion sensor in darkness. Daytime sensing mode works around the clock. Always-on mode is useful when you need continuous light for a project. I use the daytime sensing mode in my hallway and the night mode in my bedroom closet. The always-on mode is surprisingly bright for its size when used as a temporary work light.
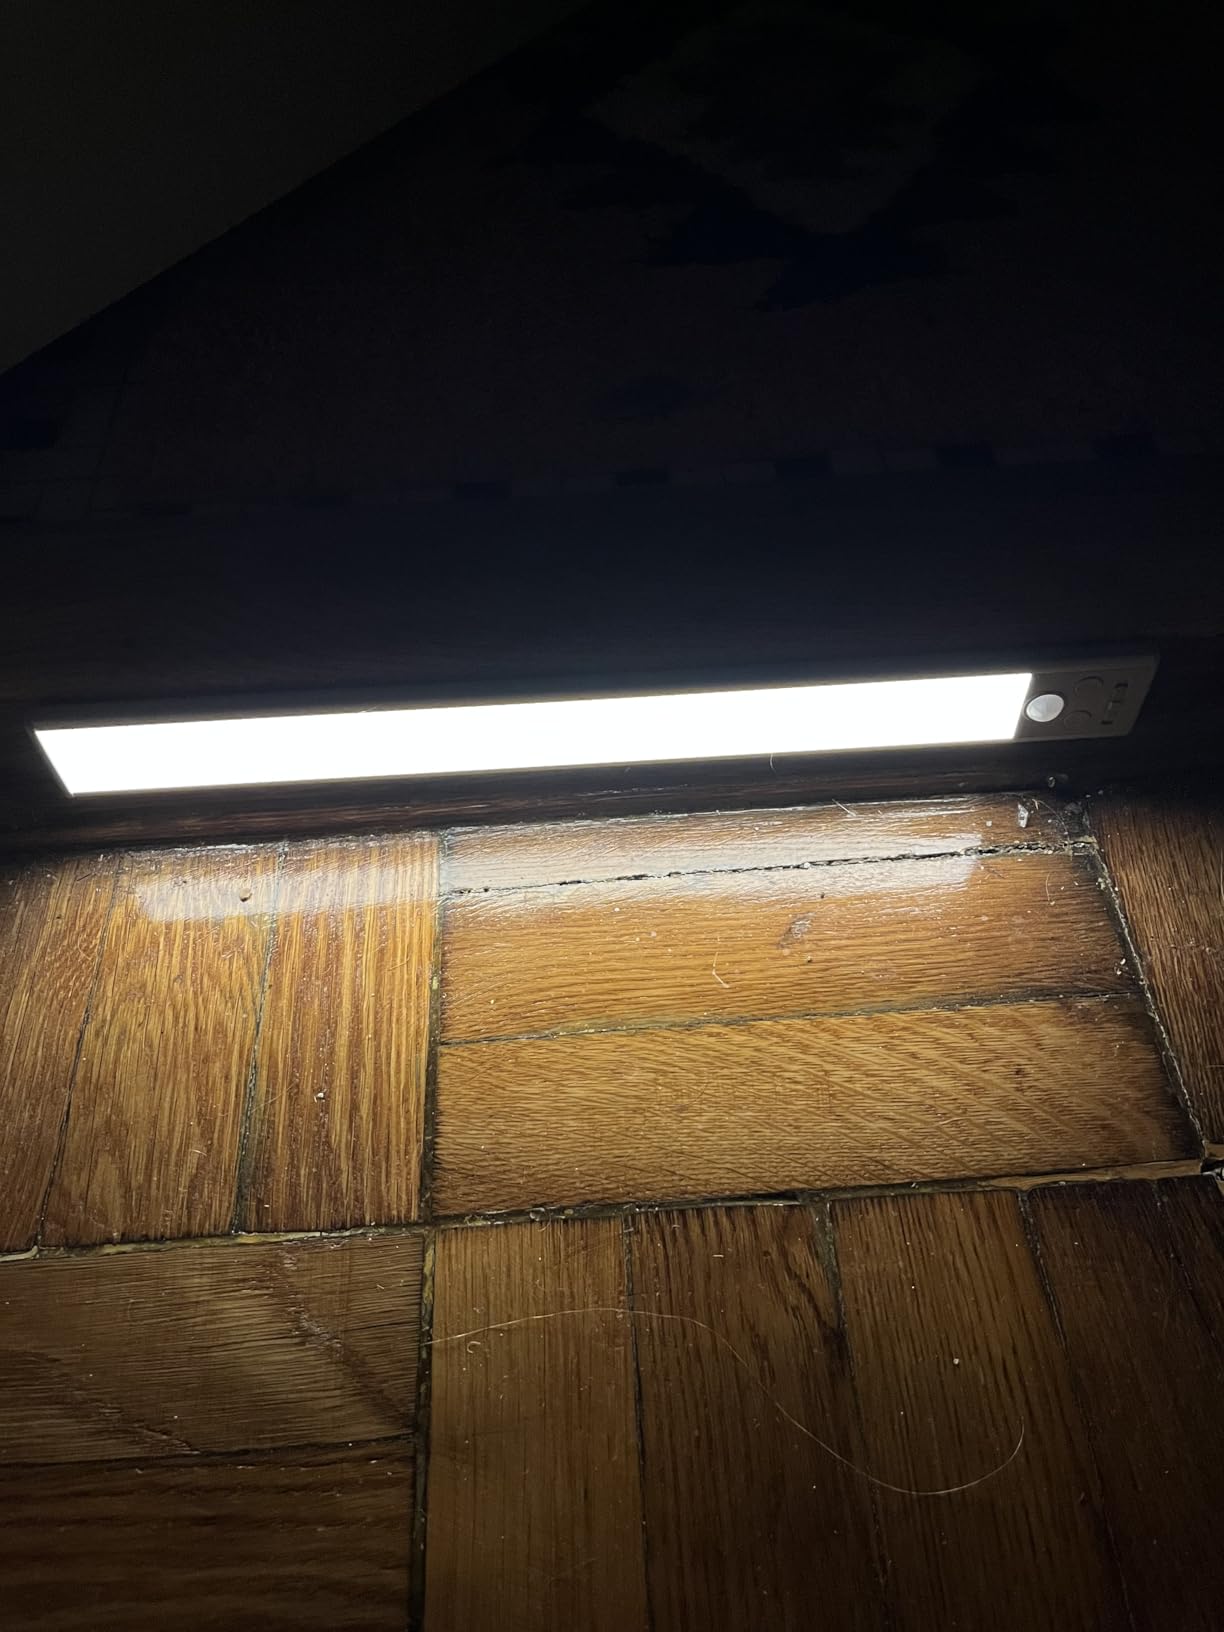
Battery life is solid. The 1800mAh battery runs for about 7 to 45 days depending on the mode and brightness level. I keep mine at medium brightness in motion mode, and I recharge them about once a month. The USB-C port charges quickly, usually reaching full capacity in about 3 hours. The included charging cables are long enough to reach my kitchen outlets without extension cords. I appreciate that the cables are USB-C rather than micro-USB, which feels outdated.
The magnetic mounting works well on smooth surfaces. The adhesive-backed metal plates attach firmly to painted drywall and cabinet bottoms. I did notice that one plate started to sag slightly on a rough wooden surface. I added a small screw through the plate center, and that solved the problem permanently. The lights themselves snap onto the plates with a satisfying magnetic pull. The snap is audible, which confirms the connection.
Color Temperature Flexibility for Different Rooms
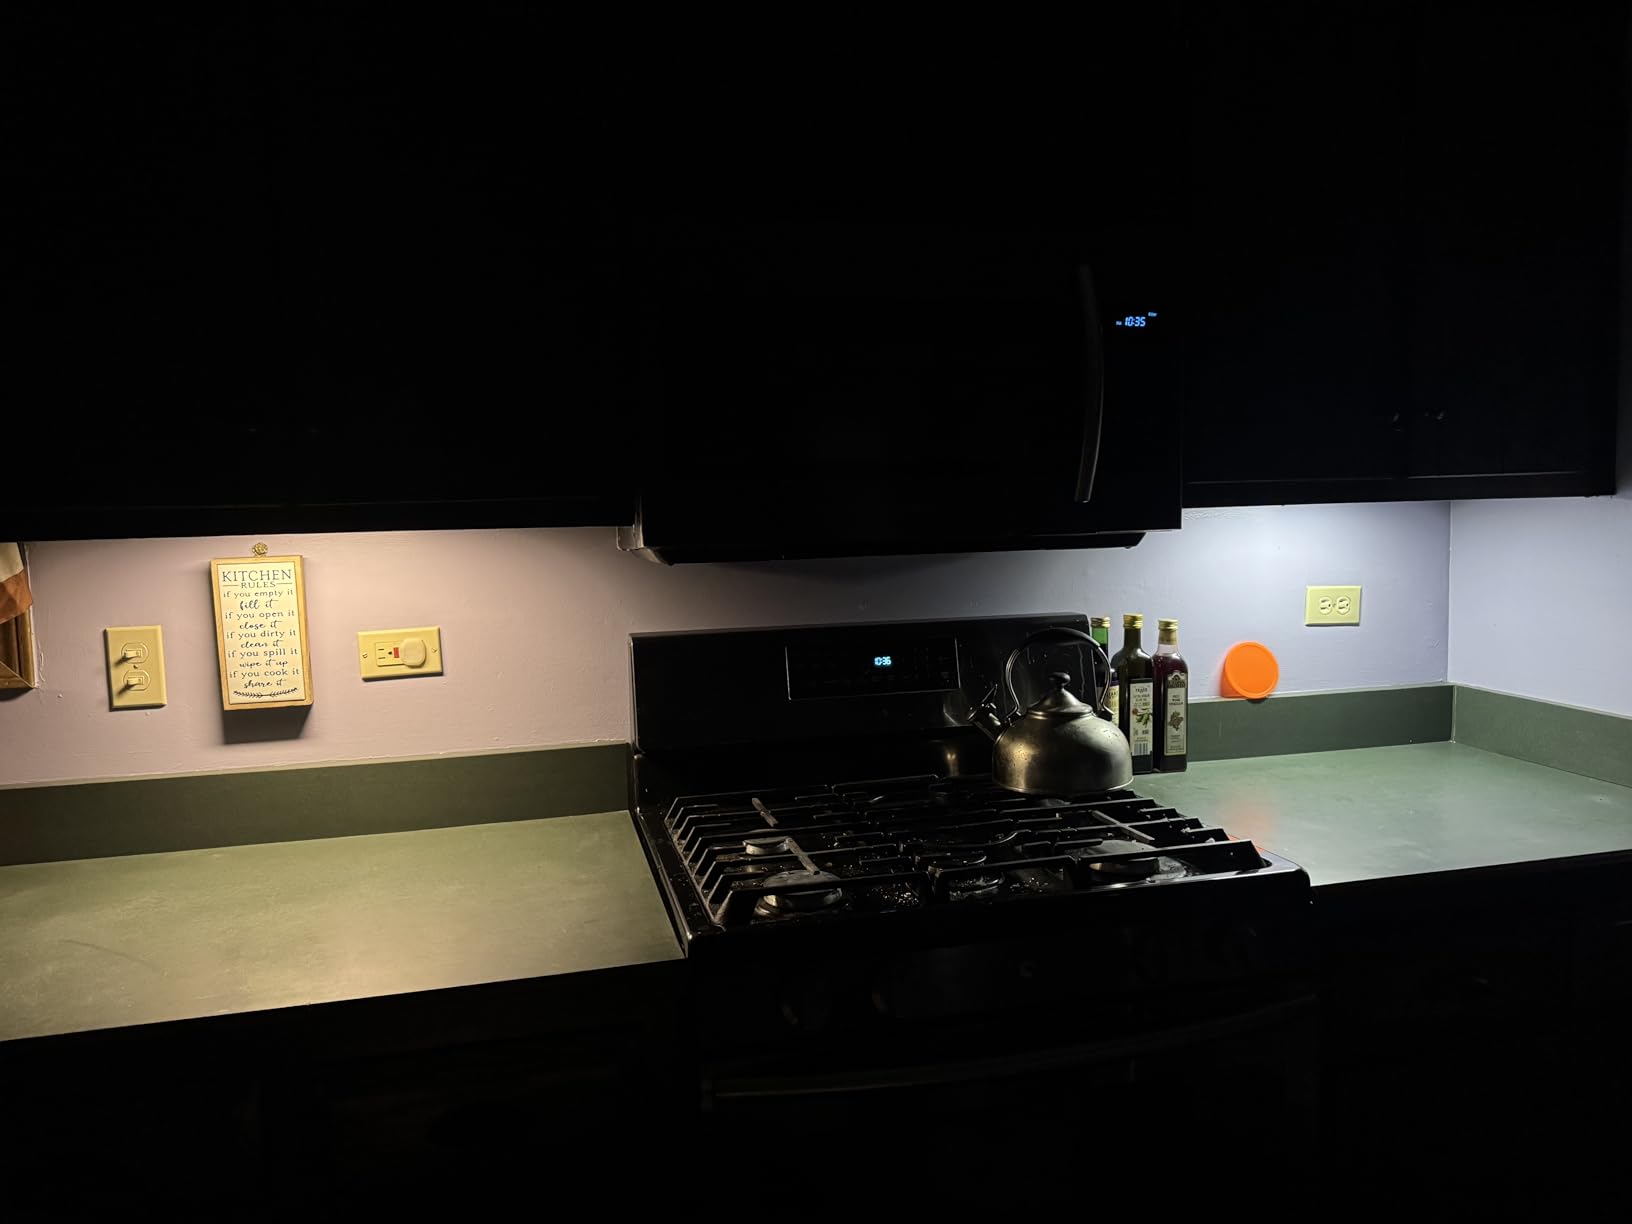
The three color temperature settings make these lights versatile across multiple rooms. I moved one to my workshop bench and set it to cool white for detailed tasks. The warm white setting works beautifully in a hallway for nighttime navigation without the harsh glare of daylight bulbs. The 4500K mixed setting is my go-to for kitchen prep work because it shows true food colors without making the space feel clinical. The transitions between colors are clean and distinct.
The color temperature switch is a physical button on the light end. It cycles through the three options with each press. I labeled my lights with small stickers so I remember which color each one is set to without climbing up to check. This small hack has saved me time during setup changes. The button is responsive and has a tactile click. You do not have to guess whether the press registered.
Which Lighting Mode Works Best for Daily Use
I tested all four modes over two weeks and found a clear winner for each location. For kitchen cabinets, the daytime motion mode works best because you want the light whenever you enter the space. For closets, the night motion mode is ideal because the light stays off during daylight hours when you do not need it. The always-on mode is perfect for temporary task lighting when you are working on a project for an hour or two. I used this mode during a plumbing repair under the sink.
The auto-off timer is set to 20 seconds, which matches the MCGOR lights. I found this timing comfortable. It never shut off while I was actively using the counter, but it conserved battery when I left the room. If you need longer illumination, the always-on mode lets you manually turn the light off when you are done. The push-button controls are intuitive enough that my kids figured them out without instructions.
3. EZVALO 6-Pack Under Cabinet Lighting – Best Multi-Light Kit
EZVALO Under Cabinet Lighting with Charging Station, Motion Sensor Lights
6-pack with charging station,100 lumens,3 color temps,Remote control,Motion sensor
Pros
- 6-pack with charging station
- Remote control with timers
- 3 color temperatures
- Motion sensor
Cons
- 3-slot charger requires rotation
- Only 100 lumens brightness
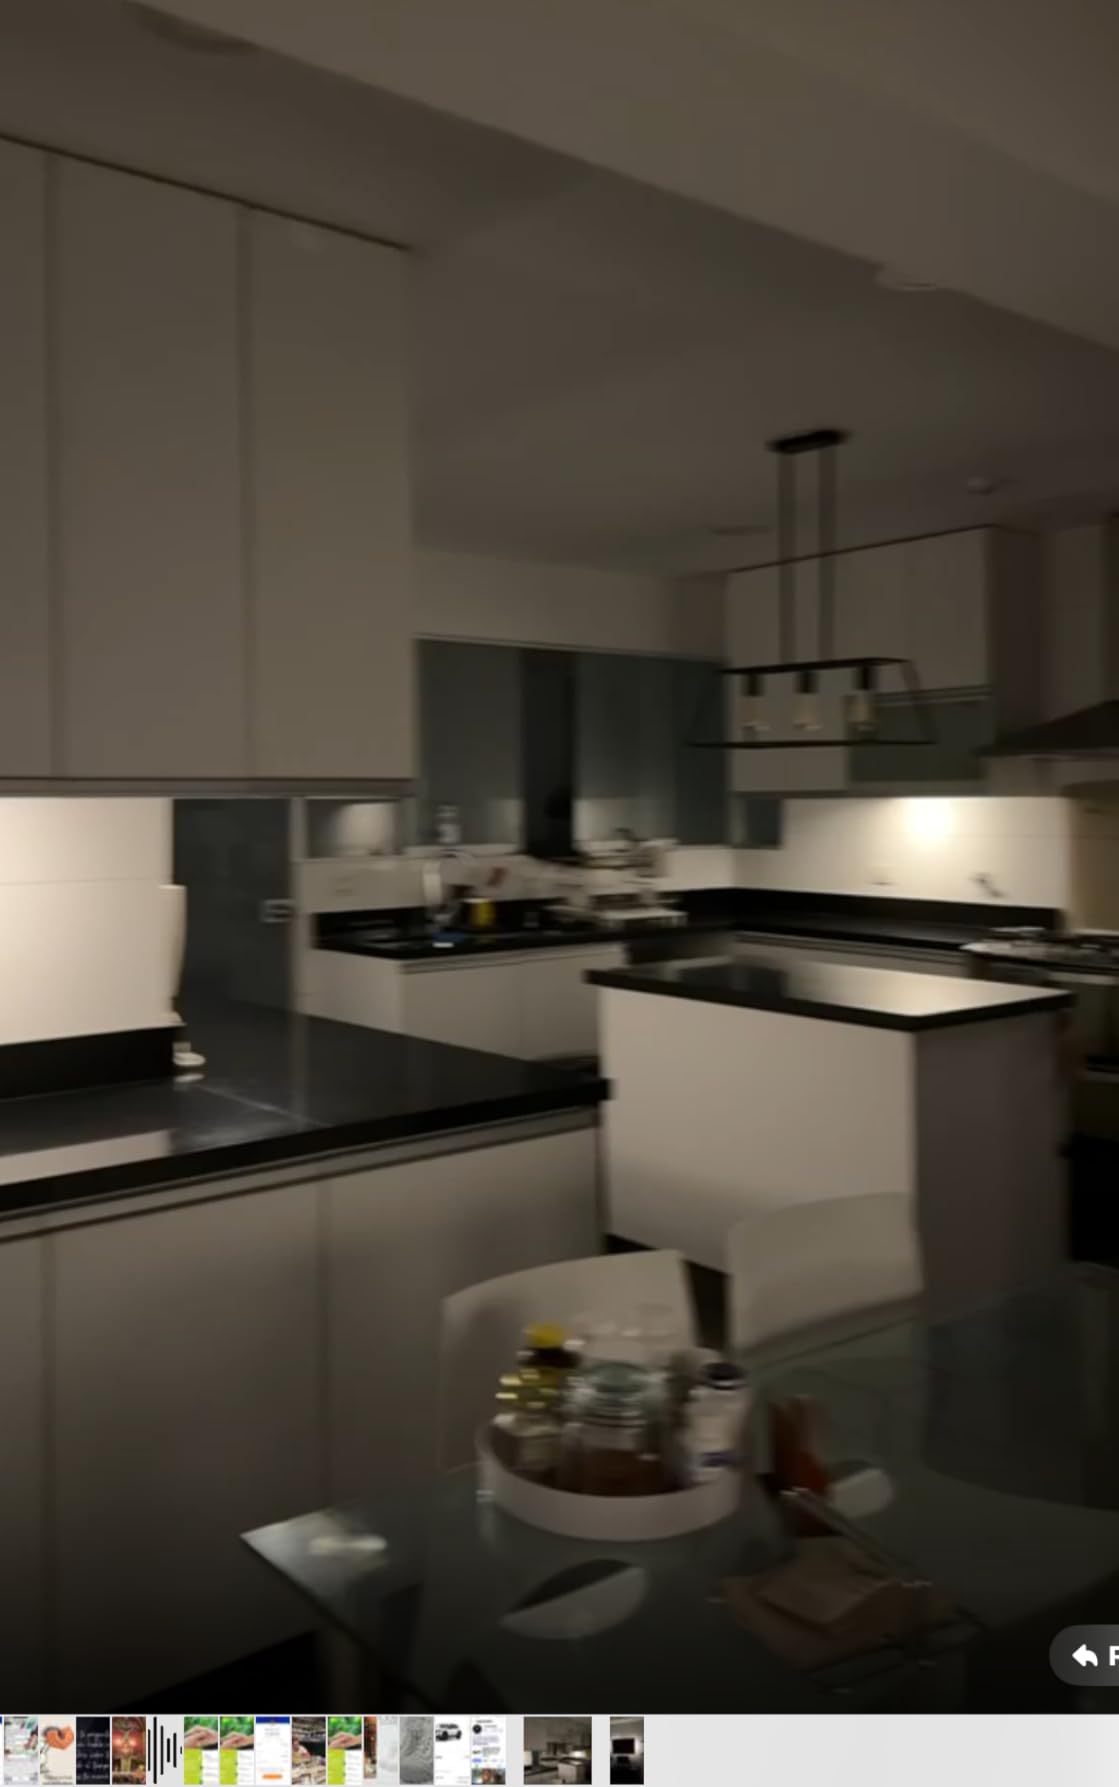
The EZVALO kit solves a problem I did not know I had. When you install multiple rechargeable lights, charging them becomes a logistical nightmare. You need multiple outlets, multiple cables, and a lot of patience. The EZVALO kit includes a three-slot charging station. You charge three lights at a time, then swap in the remaining three. This simple addition made the whole system feel cohesive rather than like a collection of separate gadgets. The dock itself is compact and sits neatly on my kitchen counter.
I installed all six lights under my kitchen cabinets, in a pantry, and along a stairwell. The remote control works from about 16 feet away. I can turn the lights on, adjust brightness, change color temperature, and set timers from my kitchen table. The timer options are generous: 15, 30, 60, 90, or 120 minutes. I use the 30-minute timer when I am cooking something that requires intermittent attention. The remote is small and fits in my junk drawer.
The memory function is a small detail that makes a big difference. After I set my preferred brightness and color temperature, the lights remember those settings even after I recharge them. I do not have to reconfigure everything every time the battery runs low. This is a feature I missed on some other models that reset to factory defaults after power loss. The memory function applies to all settings including the motion sensor mode.
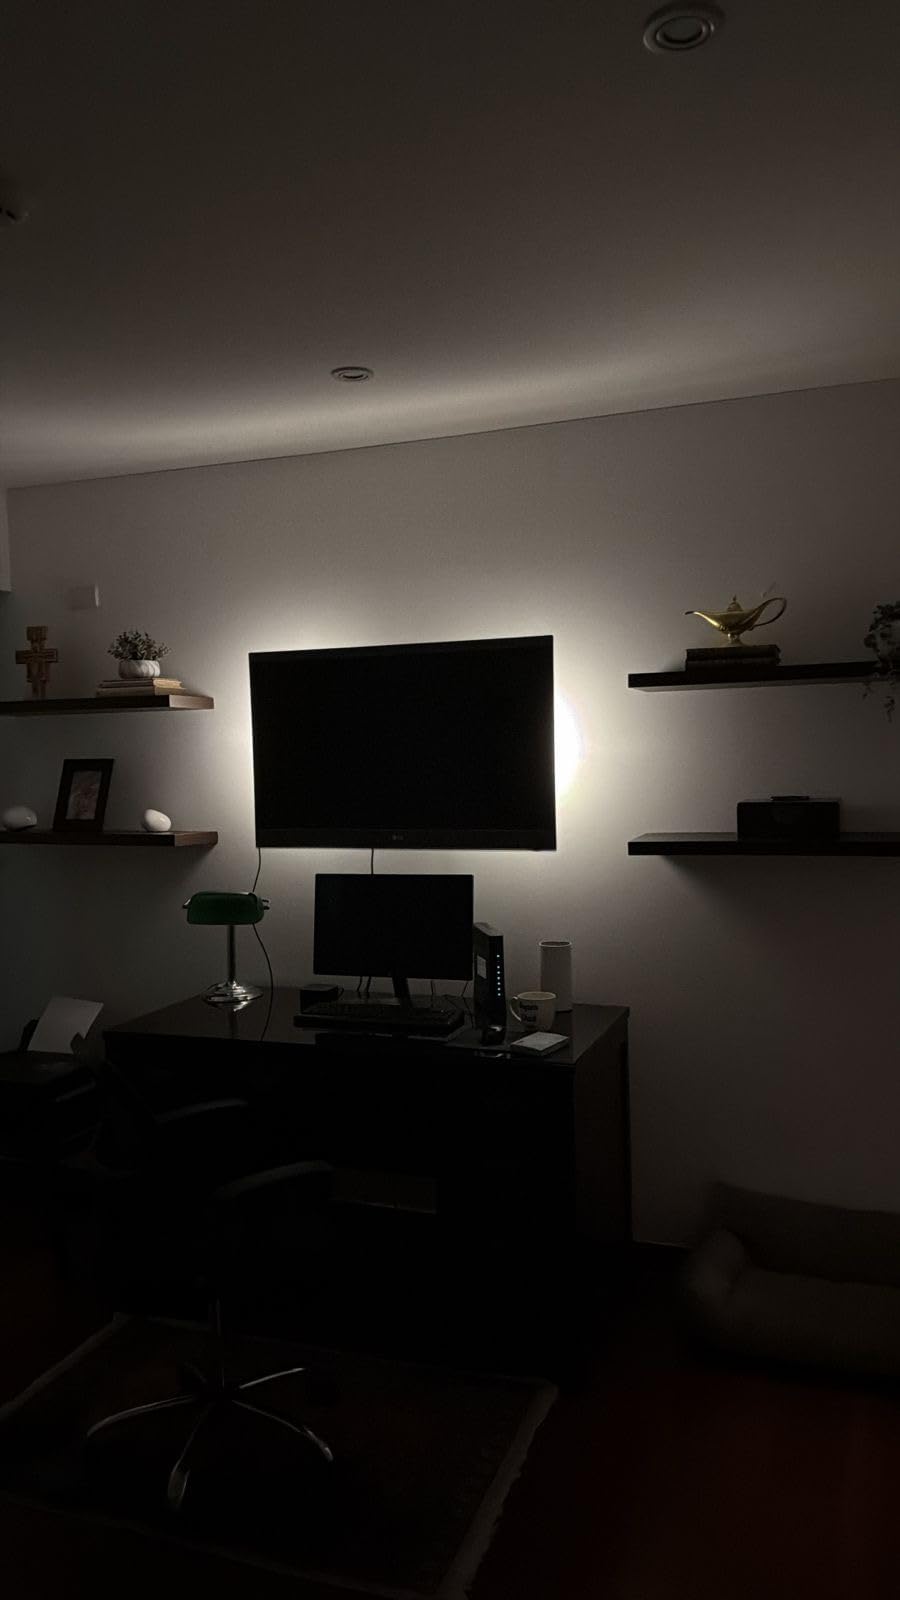
The motion sensor has two modes. Night mode only activates in darkness. All-day mode works continuously. I use the night mode for the stairwell light because I only need it after sunset. The all-day mode works well in the pantry. The 2000mAh battery is larger than most competitors, and the runtime reflects that. I got about 40 days of motion-mode use before needing a recharge. In all-day mode, the battery lasted about 13 days. Both numbers are impressive for a six-light system.
The brightness is lower than some competitors at 100 lumens per light. In a large kitchen, you might need two lights per cabinet section to get adequate coverage. I placed them about 18 inches apart under my cabinets, and that created an even wash of light across the counter. The 6500K cool white setting is noticeably bright despite the lower lumen rating. The warm white 3000K setting is softer and more ambient. The natural white 4500K setting is the most balanced for daily use.
Charging Station Convenience for Multiple Lights
The three-slot charging station is the real selling point here. Instead of fumbling with six separate cables, you slide three lights into the dock at once. The dock uses USB-C for its own power input. I plugged it into a kitchen outlet with a standard phone charger brick. The lights click into the dock magnetically, so they align perfectly every time. The magnetic alignment is satisfying and ensures the charging contacts connect correctly.
The charging time is about 4 to 5 hours for a full cycle. I charge three lights overnight, then swap in the other three the next morning. The entire six-light system is back to full power within two days. If you have a smaller kitchen and only use four of the six lights, you can charge all four in two dock sessions. This rotation is manageable and far better than dealing with individual cables. The dock has a small LED indicator that turns green when each slot is fully charged.
Remote Control Range and Timer Functionality
The remote control uses infrared, so you need a clear line of sight to the lights. I found the 16-foot range to be accurate in open spaces. When I tried controlling the pantry light from around a corner, the signal failed. For kitchen use where you are typically facing the cabinets, this is not an issue. I mounted the stairwell light where the remote can reach it from the hallway. The remote buttons are labeled clearly and easy to read without glasses.
The timer function is surprisingly useful. I set the 15-minute timer when I make a quick snack, so the light turns off automatically if I forget. The 120-minute timer is great for dinner parties when I want ambient lighting without monitoring the lights. The remote also has a master off button that shuts down all paired lights at once. This is convenient when you are leaving the house. I keep the remote on my key hook so I can hit the off button on my way out the door.
4. Maylit 12 Inch Plug-in Under Cabinet Lights – Best Plug-in Brightness
Maylit 3 PCS 12-inch Plug-in Under Cabinet Lights, Ultra-Thin
1200 lumens,6000K daylight white,Touch dimmer,Ultra thin 0.25inch,Plug-in
Pros
- 81 high brightness LEDs
- 1200 lumens output
- Ultra thin design
- Touch dimmer
Cons
- Requires outlet access
- Adhesive issues on rough wood
The Maylit plug-in lights changed my understanding of what under cabinet LED lights can do. At 1200 lumens across three 12-inch bars, this kit is genuinely bright. I installed it under my kitchen cabinets and finally had enough light to dice onions without squinting. The daylight white 6000K color temperature is crisp and clinical. It makes food colors pop and makes the kitchen feel larger and cleaner. The brightness is the standout feature of this affordable kit.
The ultra-thin profile is a major advantage. At 0.25 inches thick, these bars hide completely under standard cabinet trim. You cannot see them from a normal standing position. I mounted them toward the front edge of the cabinet, and the downlighting falls directly on my cutting board. The thin design also means you do not bump your head into bulky fixtures. I have 6-inch cabinet trim, and these bars disappear entirely behind it.
The touch dimmer is responsive. A quick tap turns the lights on or off. Holding your finger on the touch zone dims the brightness smoothly. I run mine at about 80 percent brightness for daily tasks and dim them to 30 percent when I want ambient evening light. The dimming range is wide enough for both task lighting and mood lighting. The touch zone is located on the end cap, so it is easy to find by feel.
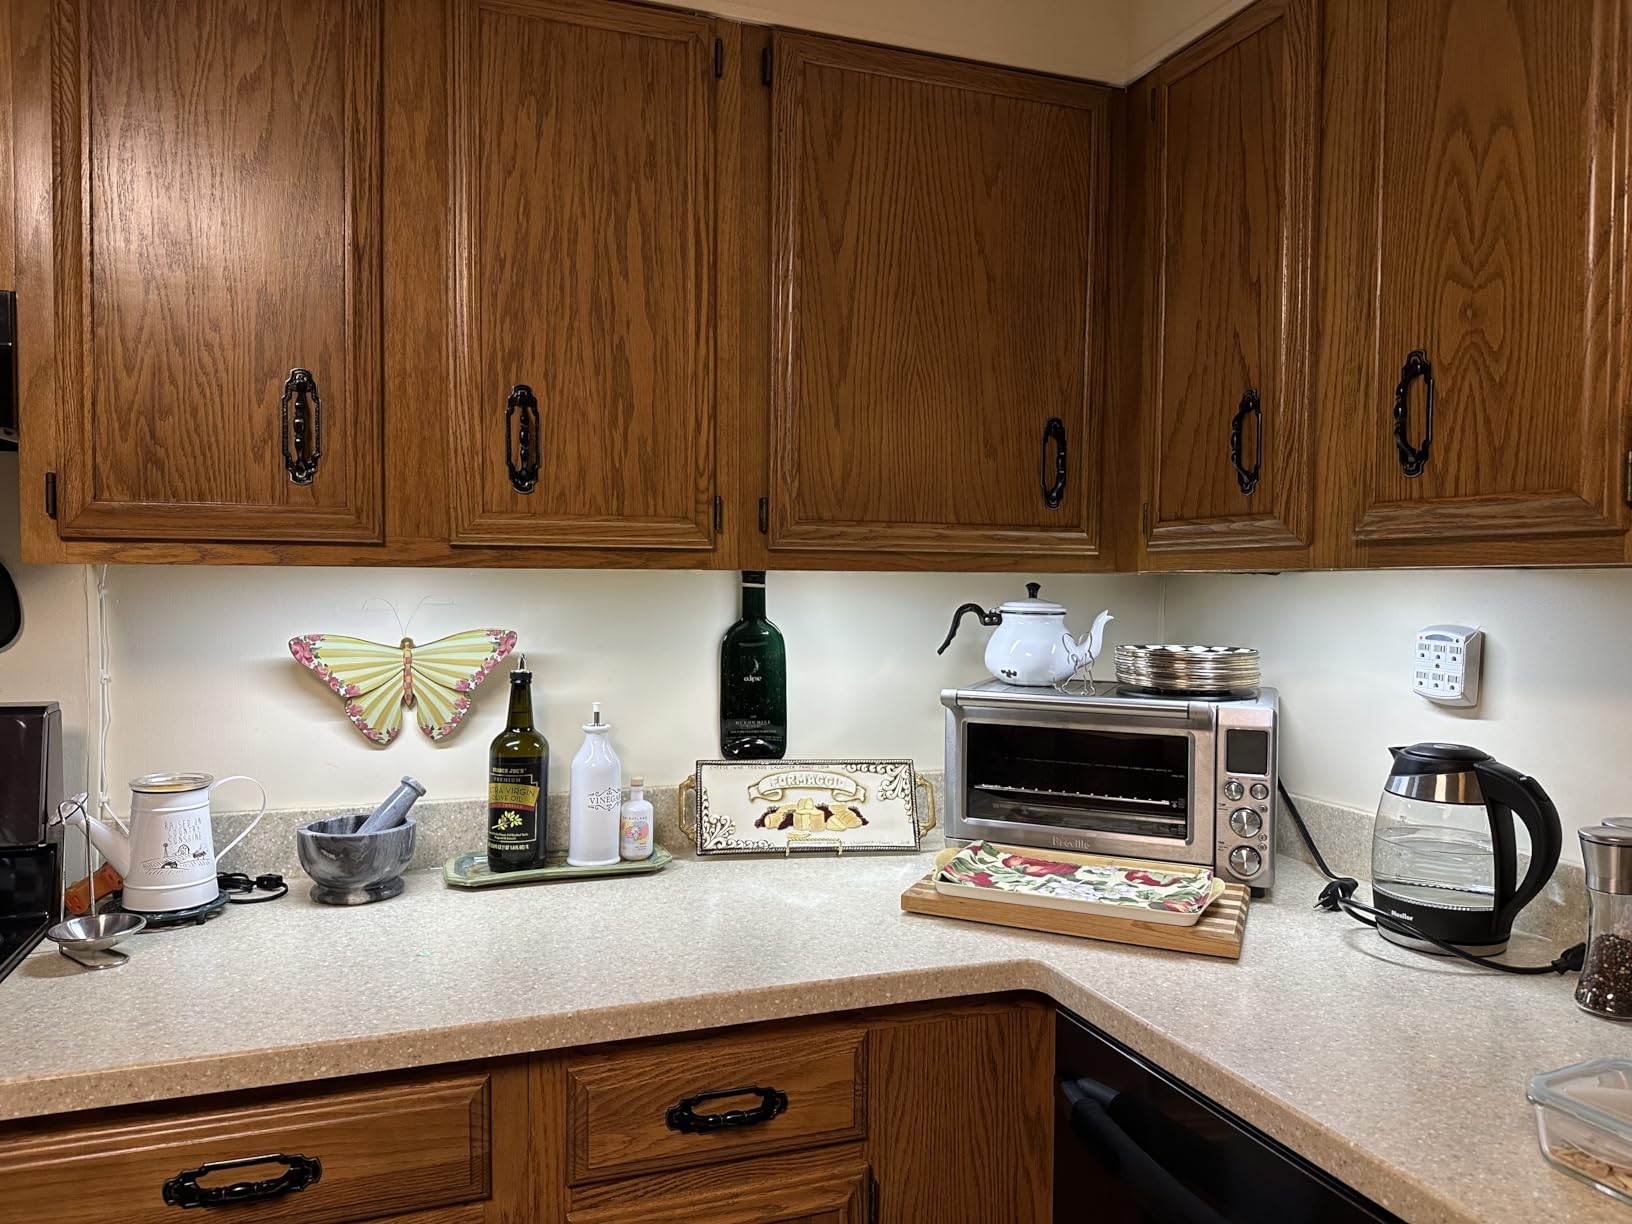
Installation is straightforward. You can use the included double-sided tape or the small screws. I used the tape on one cabinet and screws on another. The tape held well on the smooth painted surface but struggled slightly on the rough wood underside of my older cabinets. The screws provided a more secure mount on the rough surface. Each light has its own power plug, so you can position them independently without worrying about connecting cables between bars. The plugs are polarized and standard size.
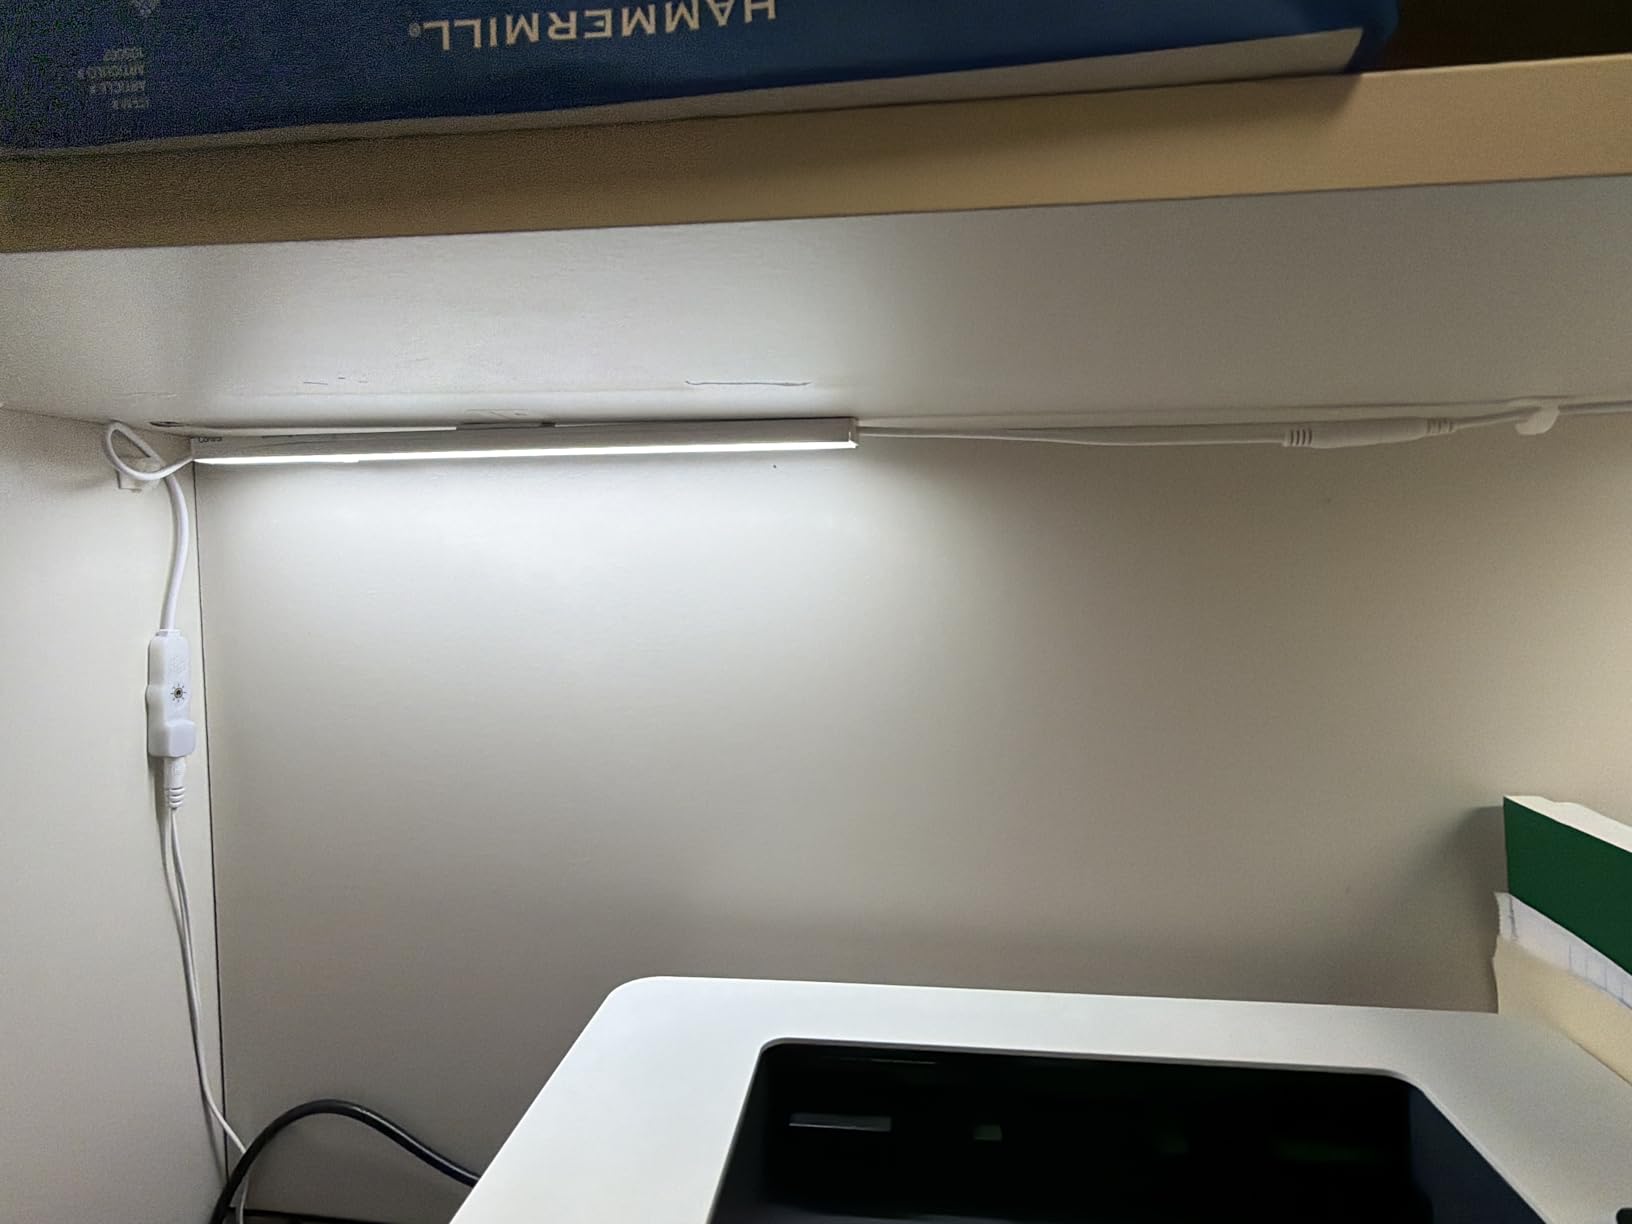
The plug-in power means you never charge batteries. This is a blessing and a minor curse. You need an outlet nearby. I ran the cords along the back of my cabinets and down to a power strip hidden behind the refrigerator. The cords are thin and white, so they blend into the cabinet backs. If you do not have convenient outlets, the cord management becomes a small project. I used adhesive cable clips to route the cords neatly.
Cord Management for Plug-in Under Cabinet Lights
The biggest challenge with plug-in lights is hiding the cords. I solved this by running the cables along the back edge of the cabinet, securing them with small adhesive cable clips every 6 inches. The cables drop down behind the refrigerator where my power strip lives. From the front of the kitchen, the setup looks completely wireless. The white cables match my cabinet paint, so they are invisible against the background. This took about 20 minutes of routing work.
If your cabinets have a backsplash, you can route the cords behind the upper cabinet and down the wall gap. The power cords are about 5 feet long, which is sufficient for most kitchen layouts. For larger kitchens, you may need an extension cord or multiple outlets. The independent plugs on each bar give you more flexibility than linkable systems that require daisy-chaining. I appreciate the independence because one failed cord does not disable the entire system.
Touch Dimming Response for Kitchen Tasks
The touch control reacts instantly. I tap the end of the bar, and the light turns on before my finger leaves the surface. The dimming is smooth and continuous. I can hold the touch zone and watch the brightness fade exactly to the level I want. There is no stepping or flickering during the dimming process. This is a quality touch dimmer, not a cheap on-off switch. The response is consistent across all three bars in the kit.
The one limitation is that the touch zone is on the light itself. If you mount the bar deep under the cabinet, reaching the touch zone requires reaching up. I mounted mine about 2 inches back from the cabinet face, so the touch zone is easy to reach. You can also leave the lights plugged into a switched outlet if you prefer wall-switch control over the touch dimmer. I use a smart outlet so I can voice-control the lights with my assistant.
5. Enbrighten 24 inch Plug-in Under Cabinet Light – Best Premium Plug-in Option
Enbrighten 24 Inch Plug in Under Cabinet Light with 5 Color Temperatures
1561 lumens,5 color temps 2700K-6500K,92 CRI,Full range dimming,Linkable
Pros
- 1561 lumens extremely bright
- 5 selectable color temps
- 92 CRI color rendering
- One-touch sync control
Cons
- Only keyhole slot mounting
- Higher price point
The Enbrighten 24-inch light bar is the brightest plug-in option we tested. At 1561 lumens, it throws enough light to illuminate a 4-foot section of countertop with a single bar. I installed it under the cabinet above my main prep area. The difference between this and the 100-lumen rechargeable models is dramatic. This is real task lighting, not just accent lighting. I can read the fine print on a recipe card without leaning in. The brightness is distributed evenly across the entire 24-inch length.
The five color temperature options are a standout feature. You can select 2700K soft white, 3000K warm white, 4000K neutral white, 5000K cool white, or 6500K daylight. I cycle through these depending on the time of day and the task. The 2700K setting is perfect for evening meals when I want a warm, cozy glow. The 5000K setting is ideal for detailed cooking or reading recipes. The 92 CRI rating means colors appear natural and accurate under this light. My red peppers look red, not orange. The greens in my herbs look fresh.
The one-touch sync control is a clever feature for kitchens with multiple light bars. I linked two Enbrighten bars together, and now they turn on, dim, and change color temperature in perfect unison. You press the sync button on one bar, then the other, and they are paired. No apps, no Wi-Fi setup, no passwords. The sync works via RF, so it is reliable even when my internet is down. I tested the sync by turning off my router, and the lights still responded together.
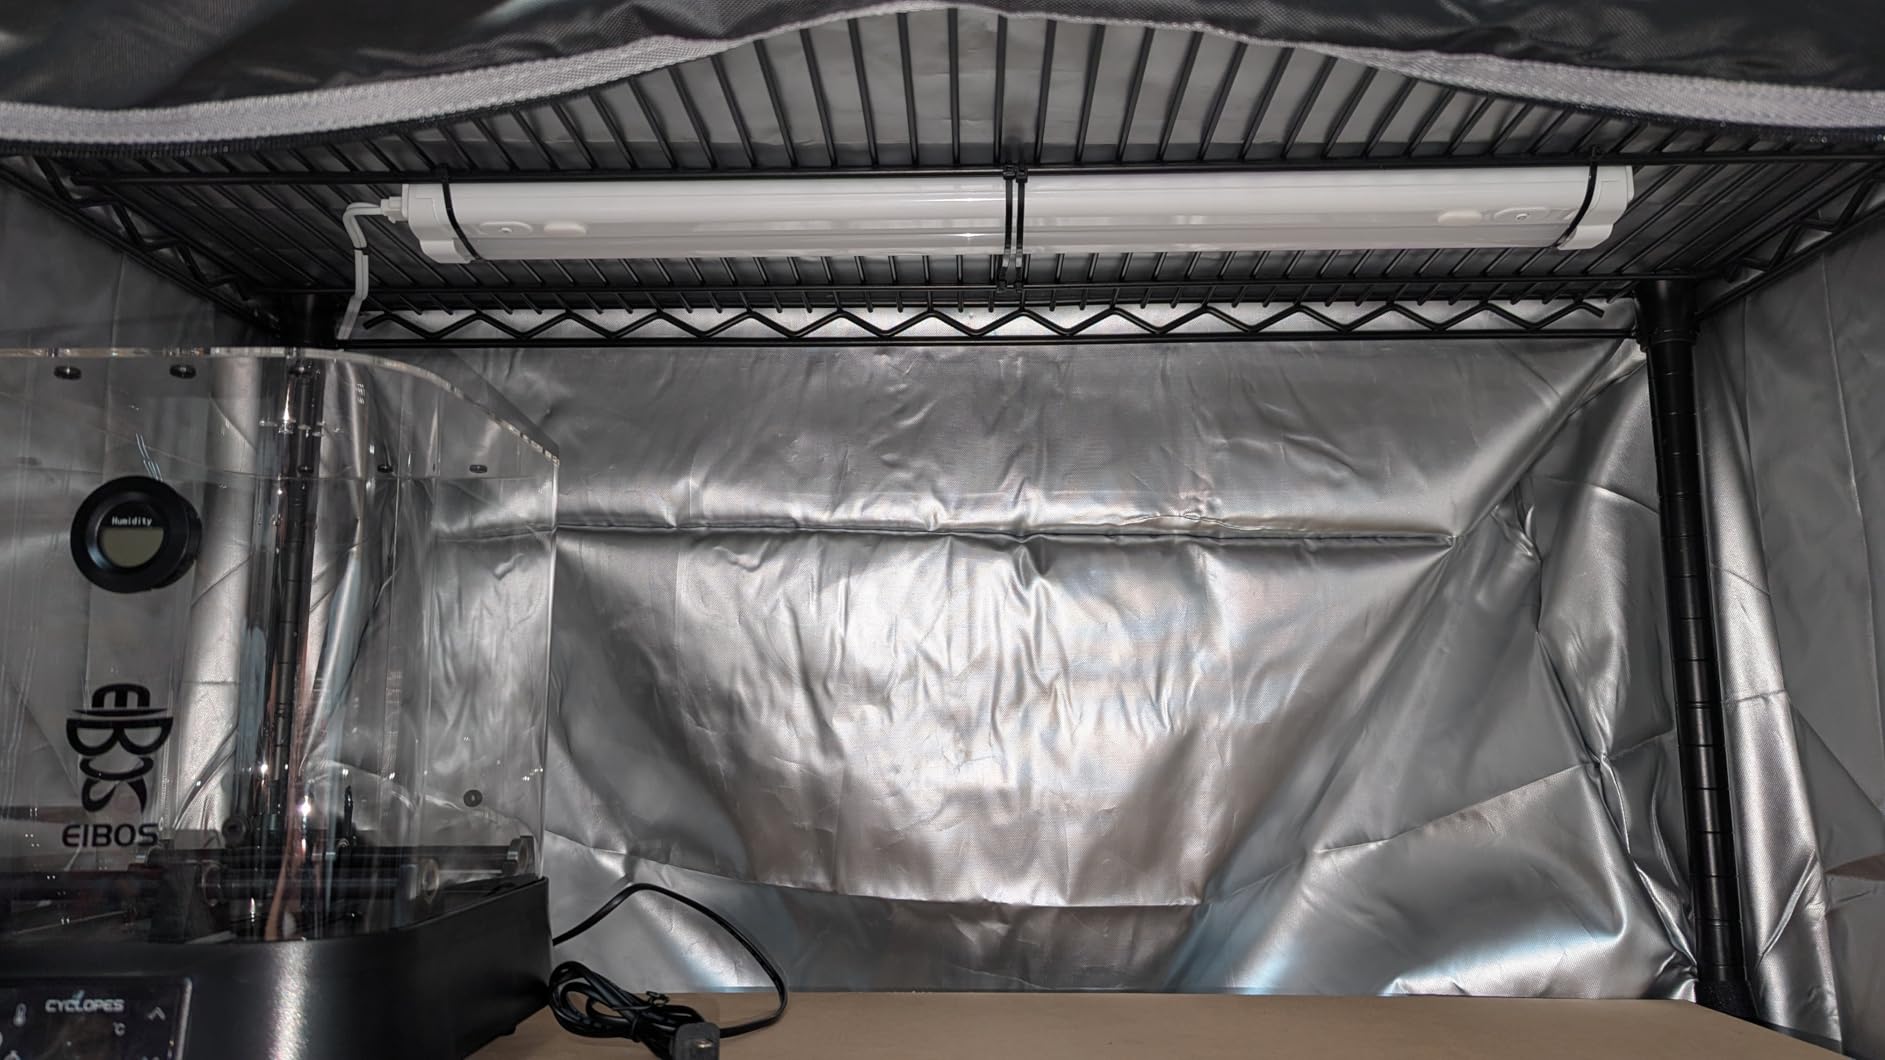
The full-range dimming is press-and-hold style. You hold the touch button, and the brightness fades from 100 percent down to about 10 percent. Release when you hit the desired level. The bar remembers your last setting. When you turn it back on, it resumes at exactly the same brightness and color temperature. This is a small convenience that adds up over daily use. I appreciate not having to reset my preferences every morning.
The 5-foot detachable power cord is a nice touch. You can remove the cord entirely for a cleaner look during installation. The cord reconnects with a simple plug. The ETL certification gives me confidence that this product meets safety standards for kitchen use. The housing is plastic, but it feels sturdy and the light output is consistent across the entire 24-inch length. I have had this installed for three months with zero flickering or dimming issues.
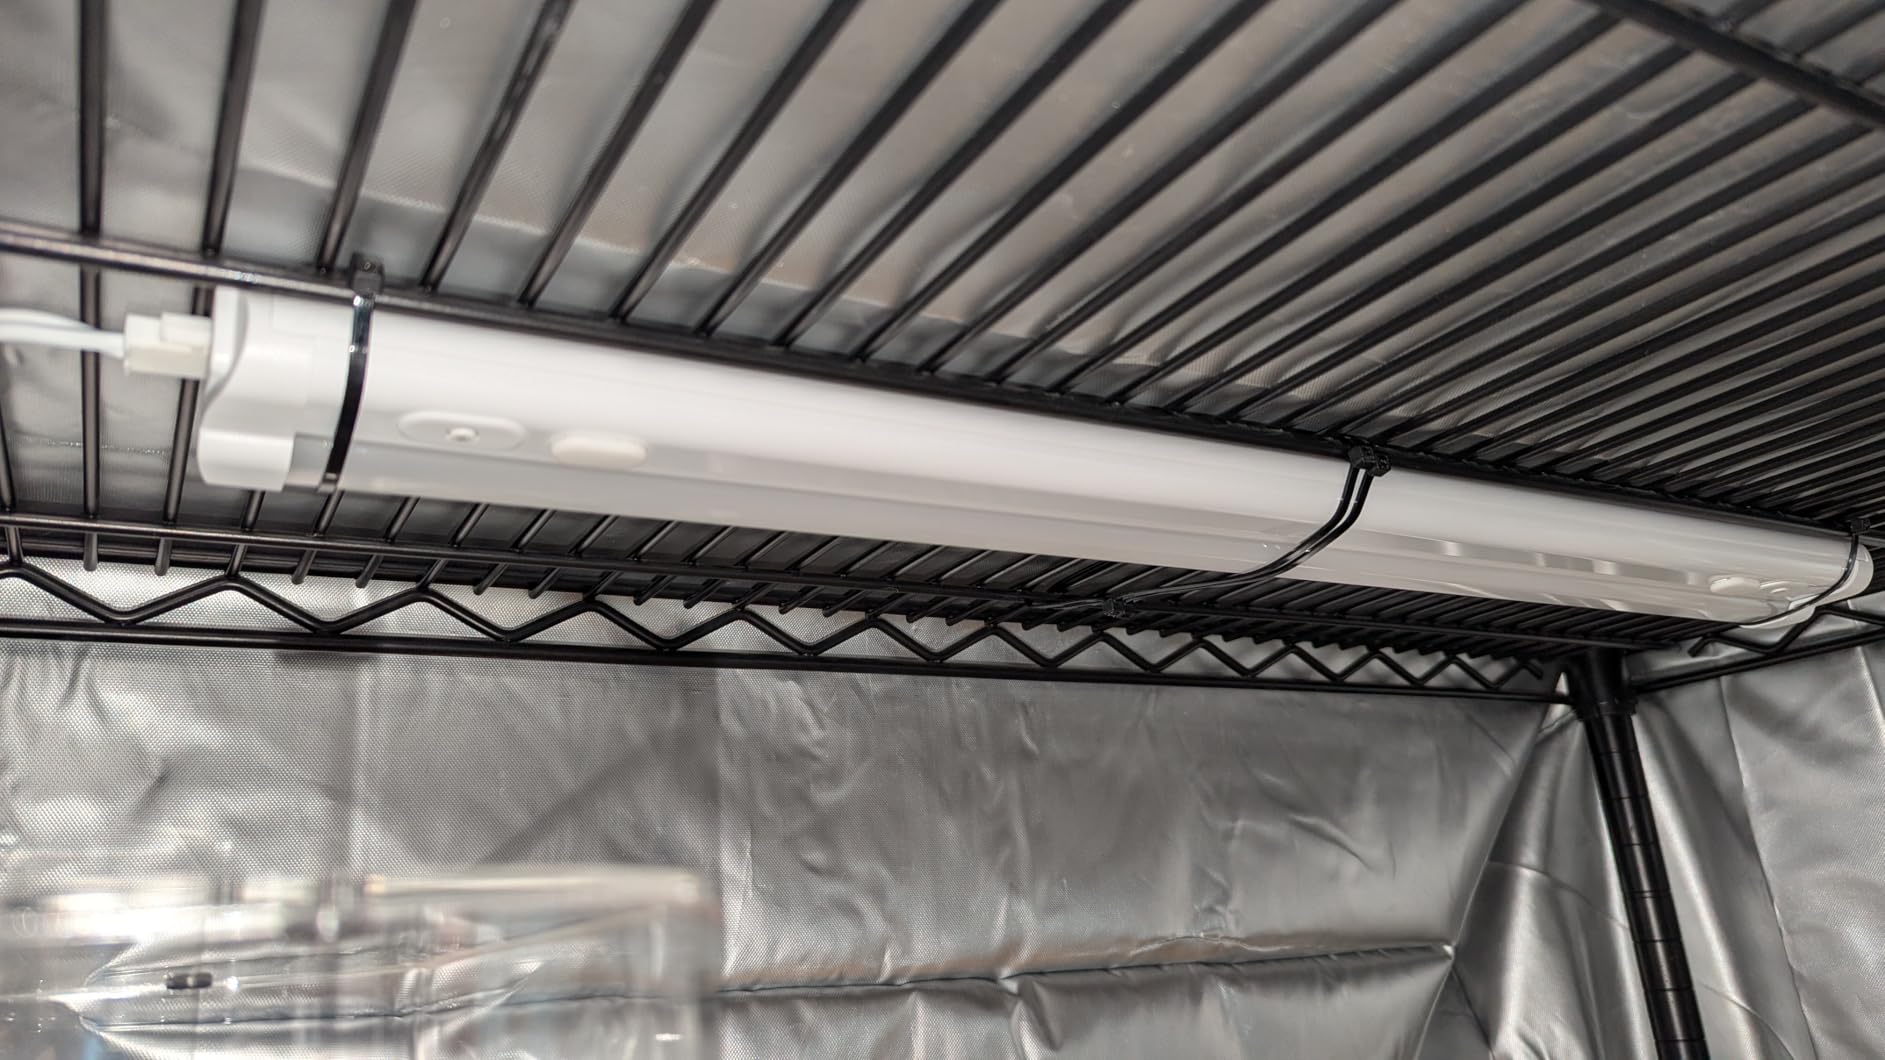
Sync Control Setup for Multiple Light Bars
Linking two bars took about 30 seconds. I pressed the sync button on the first bar, then pressed the sync button on the second bar within 10 seconds. The bars blinked twice to confirm the pairing. Now they behave as one unit. When I dim the primary bar, the secondary bar follows. When I change the color temperature, both bars switch simultaneously. This is the kind of integration you usually only see in expensive smart lighting systems. The RF signal is strong enough to work through thin cabinet walls.
The RF remote is sold separately, but I did not need it. The sync feature and the touch controls are sufficient for daily use. If you have a large kitchen with four or more bars, the remote might be worth the extra investment. The sync feature supports multiple bars, so you could theoretically link an entire kitchen row together. I tested the range by moving the secondary bar to the other side of the kitchen, and the sync still held at about 15 feet.
Color Accuracy for Food Preparation
The 92 CRI makes a visible difference when you are cooking. Under low-CRI lights, it is hard to tell if meat is properly browned or if vegetables are fresh. The Enbrighten bar renders colors accurately. I noticed this immediately when I was grilling chicken. The golden-brown color was obvious, not washed out. The 6500K daylight setting is especially useful for baking when you need to judge dough color and doneness. My bread baking has improved because I can see the crust color accurately.
The color temperature switch is a quick press of the touch button. Each press cycles to the next temperature. I counted five distinct settings. The bar blinks once to confirm each change. The range from 2700K to 6500K covers every kitchen scenario I could imagine. If you want one light bar that adapts to every task, this is it. The 4000K neutral setting is my default for general use because it balances warmth and clarity.
6. Litever 6 pcs 12 Inch Plug-in LED Light Bars – Best Complete Light Kit
Litever Under Cabinet Lights Plug in. 6 Lights with Adapter Dimmer. 5000K
1920 lumens,5000K daylight,Stepless dimming 10-100%,6-light kit,24-month warranty
Pros
- Super bright 1920 lumens
- Easy modular installation
- Stepless dimming
- Premium power adapter
Cons
- Not compatible with AC wall dimmers
- Permanent adhesive difficult to remove
The Litever kit is the most complete package we tested. It includes six 12-inch light bars, a power adapter, a dimmer switch, five extension cables, 18 self-adhesive pads, 12 mounting clips, and screws. You literally get everything needed for a full kitchen installation in one box. I was impressed by the completeness. I did not need to run to the hardware store for anything. The instruction manual is clear and includes diagrams for three different installation layouts.
The total output is 1920 lumens across the six bars. This works out to about 320 lumens per bar, which is bright enough for serious kitchen work. The 5000K daylight color temperature is neutral and clear. It is not as warm as 3000K, but it is excellent for task lighting. I installed all six bars under a 10-foot run of cabinets, and the coverage was perfectly even. No dark spots. No bright pools. Just smooth, consistent light from end to end. I also tested it with only four bars, and the coverage was still adequate.
The modular plug-and-play design makes installation forgiving. Each bar connects to the next with small DC cables. You can space them however you want. I started with 12-inch gaps between bars, then adjusted to 18 inches when I realized the light throw was wider than I expected. The extension cables give you plenty of slack to route the wiring behind cabinet backs and corners. I routed the cable behind my spice rack without any visible wires.
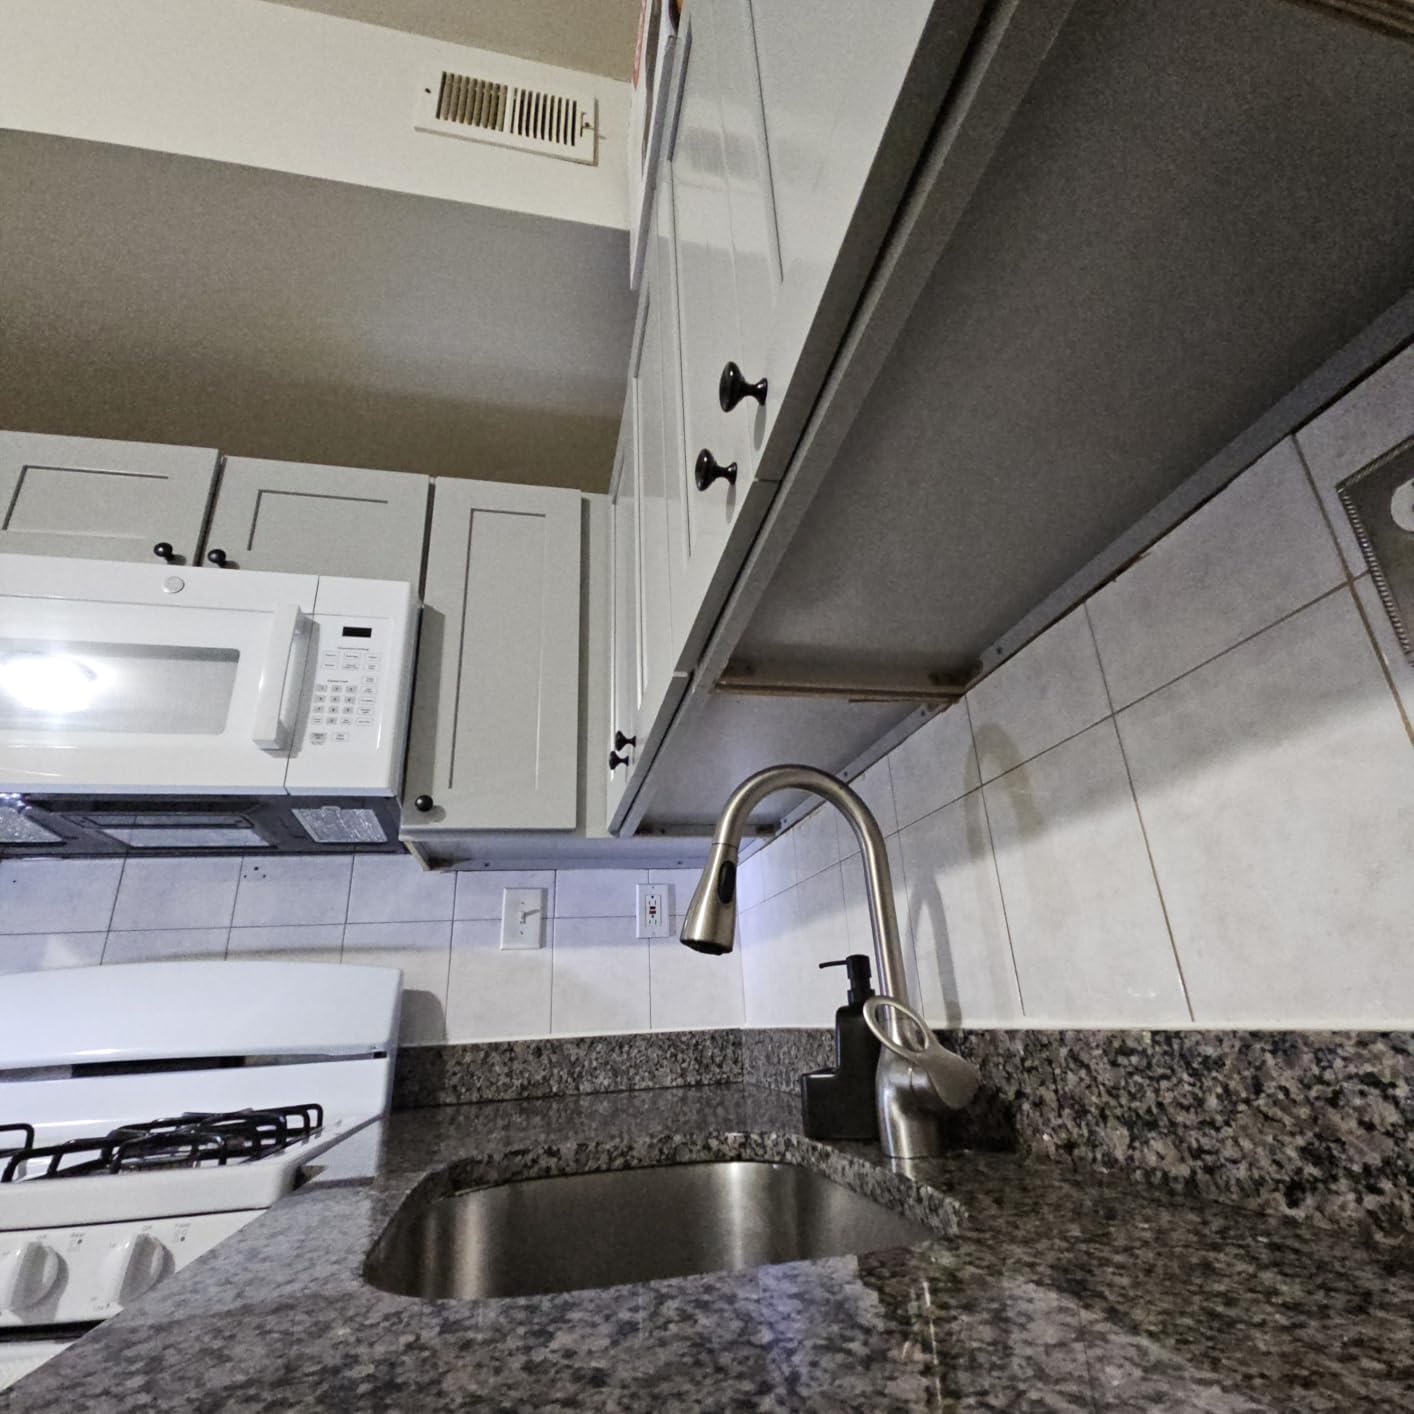
The included dimmer is a rotary dial. It adjusts brightness from 10 percent to 100 percent with smooth, continuous control. The dimmer sits inline on the power cable, so you can mount it inside a cabinet for hidden access, or leave it under the sink for easy reach. I mounted mine inside the cabinet above the microwave. I open the cabinet, dial the brightness, and close the door. The light changes instantly. The dial has a small resistance so it does not turn accidentally.
The power adapter is a Class 2 certified unit. It runs warm but not hot. The aluminum light bars themselves stay cool to the touch even after hours of use. This is a major advantage over older halogen under-cabinet lights that used to heat up the cabinet bottom. The LED technology means you can leave these on for hours without any heat buildup or energy waste. I measured the power draw at about 24 watts at full brightness. This is efficient for the amount of light produced.
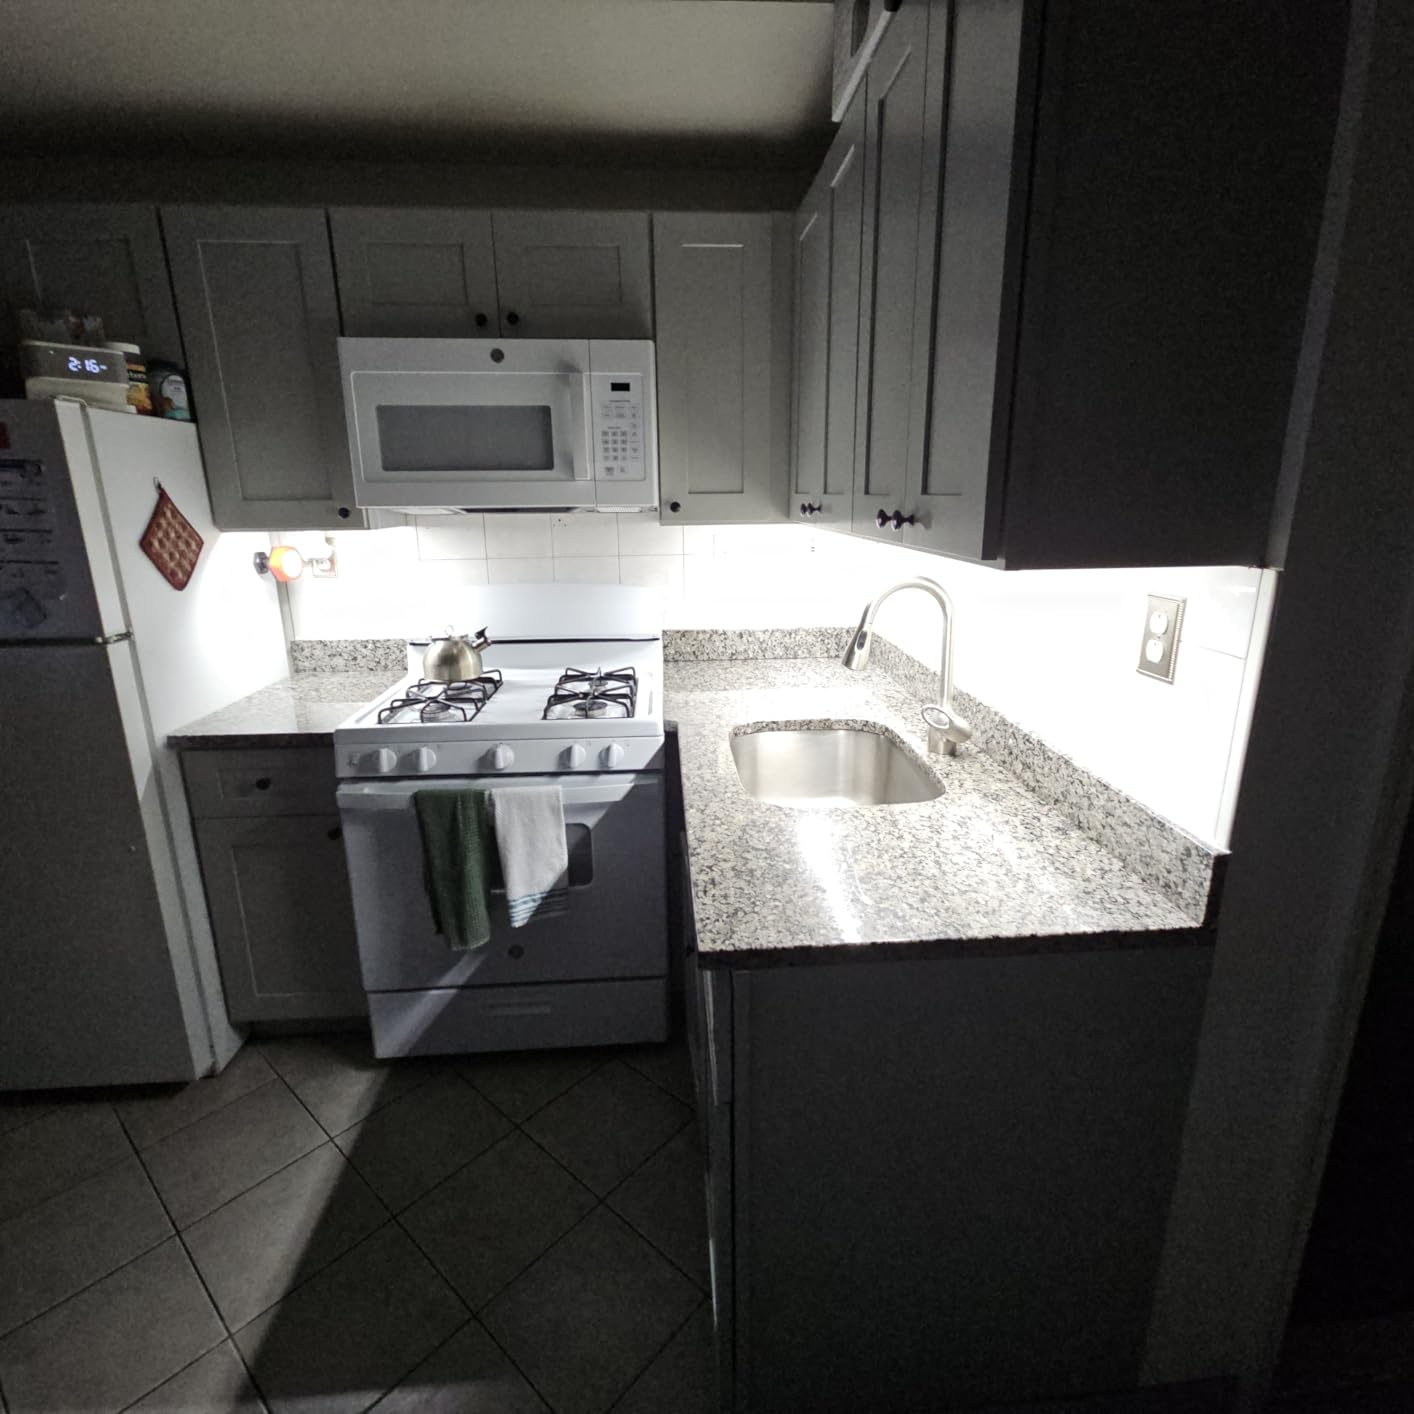
Modular Spacing for Different Kitchen Layouts
The modular cables let you customize the spacing for any cabinet run. My kitchen has an L-shaped counter. The cables reached around the corner with one extension cable. I placed three bars on the long leg and three bars on the short leg. The power adapter sits at the corner junction. If you have a galley kitchen, you can run all six bars in a straight line. The flexibility is the main advantage of a modular kit over a single long strip. You can also add more bars later by purchasing additional extension cables.
The mounting clips are the best installation method. The adhesive pads are strong, almost too strong. I used the adhesive on one test bar and later realized I could not remove it without damaging the cabinet paint. The clips and screws are reversible. You can unscrew them and patch the holes if you ever want to change the layout. I recommend the clips for anyone who rents or plans to remodel. The clips hold the bars firmly but allow removal if needed.
Rotary Dimmer vs Touch Control Comparison
The rotary dimmer is more precise than touch controls. I can set the exact brightness I want and it stays there. With touch dimmers, you hold and release when it looks right, which is less repeatable. The rotary dial gives me the same brightness every time. It is also easier to adjust with wet hands. I have turned the dial with dough-covered fingers while baking. The tactile control works better than a touch surface when your hands are messy. The knob is textured for grip.
The dimmer is not compatible with existing wall dimmers. If you have a dimmer switch on your kitchen outlet, you must leave it at full brightness and use the Litever inline dimmer for control. This is a minor limitation but worth noting. The inline dimmer is small enough to hide inside a cabinet or behind the refrigerator. I mounted it with a small adhesive pad to the inside of my cabinet door. It is out of sight but reachable.
7. Ansen 18 inch Hardwired LED Light Bar – Best Hardwired Color Options
Ansen Hardwired Under Cabinet Lighting, 18inch 15W LED Light for Kitchen/Closet, 998.4lm, CRI>92, R9>90, Dimmable, 5 Color Temperature, 2700K-5000K(Warm White, Cool White, Daylight)
1350 lumens,5 color temps 2700K-5000K,CRI over 92,Anti-glare UGR under 16,Hardwired
Pros
- 5 color temperature options
- High CRI over 92 accurate colors
- Anti-glare design
- 10 year warranty
Cons
- Wire pigtails can be short
- Integrated LED not replaceable
The Ansen hardwired light bar is the best option for homeowners who want a permanent, professional installation. I hired an electrician to install this under my main kitchen cabinets, and the result looks like it came with the house. There are no visible cords, no battery packs, and no charging schedules. The light simply turns on with the wall switch and stays on until you turn it off. The clean look is worth the installation cost for anyone planning a long-term kitchen upgrade.
The five color temperature options range from 2700K warm white to 5000K cool daylight. I set mine to 3000K for everyday use. The warm glow makes my white quartz countertops look inviting rather than sterile. The color rendering index is over 92, which is excellent for a fixture at this price point. The red tones in my cherry cabinets look rich and accurate. The greens in my backsplash tile look natural, not washed out. I compared the color rendering to a cheap strip light, and the difference was obvious side by side.
The anti-glare design is a subtle feature that makes a big difference. The UGR rating is under 16, which means the light is diffused so well that you do not see individual bright spots on your countertops. This is especially important if you have glossy or polished countertops that reflect light. The Ansen bar produces a smooth, even wash of light that looks professional and feels comfortable on the eyes. My polished quartz countertops used to show bright pinpoints from my old lights. The Ansen bar eliminated that entirely.

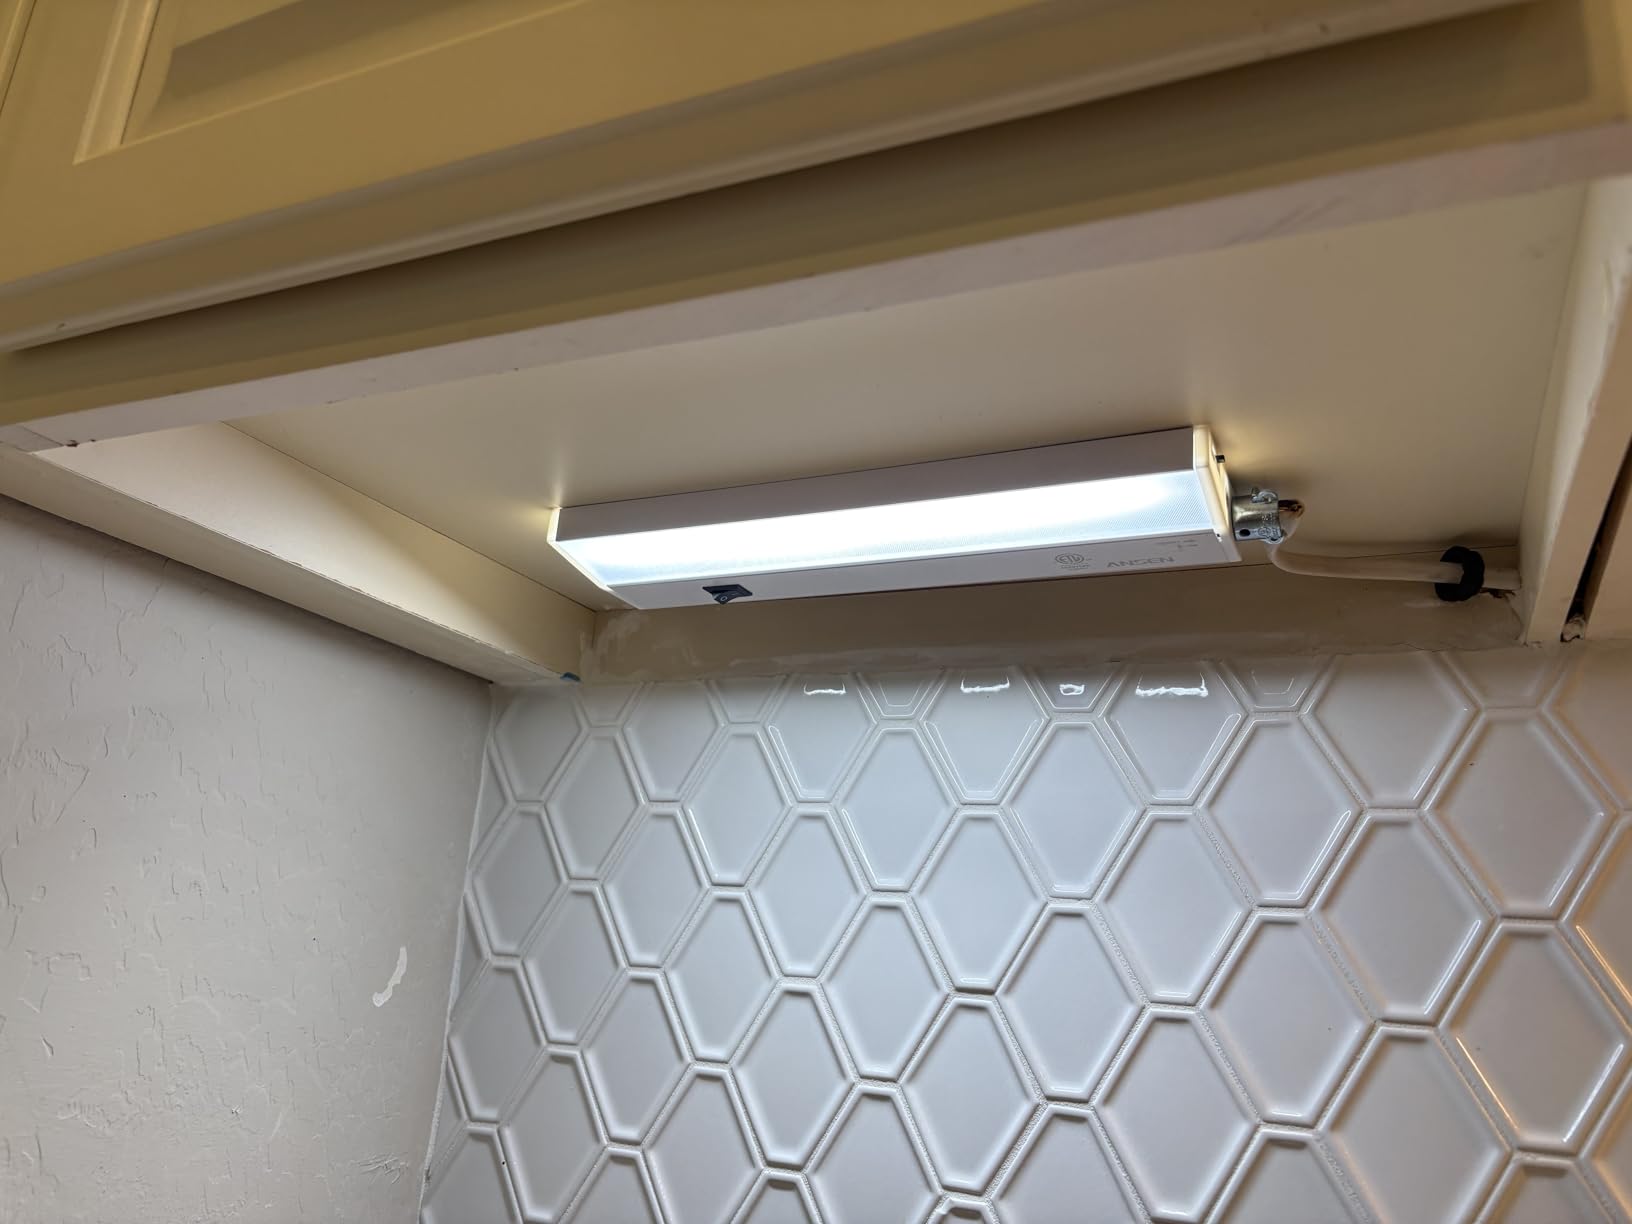 Hardwired Installation Requirements and Costs
Hardwired installation requires a junction box or existing wiring under the cabinet. My electrician used the old under-cabinet fluorescent wiring as the feed. The installation took about 2 hours for two bars. The cost was reasonable because the existing wiring saved labor. If you need new wiring run from a wall switch, the job will take longer and cost more. I recommend getting a quote from a licensed electrician before buying hardwired fixtures. The installation itself is straightforward for a pro.
The wire pigtails on the Ansen bar are about 6 inches long. My electrician needed to extend one connection with a short wire nut splice. This is standard electrical work, but it is something to mention if you are doing the installation yourself. The strain relief clamp is small. If you have thick cable, you may need to loosen the clamp carefully. My 12-gauge ROMEX fit, but it was snug. The installation instructions are clear about wire gauge requirements.
Dimming Compatibility with Wall Switches
Not all LED dimmers work with all LED fixtures. The Ansen bar is compatible with most modern LED dimmers. I tested it with a Lutron Diva and a Leviton Decora. Both worked flawlessly. The dimming curve is smooth from top to bottom. There is no buzzing, no flickering, and no dropout at low levels. If you have an old incandescent dimmer, you will need to upgrade to an LED-compatible model. This is a small extra cost that is worth it for the smooth dimming performance. I noticed the difference immediately when I switched from an old dimmer.
The 5 percent minimum is genuinely dim. I measured it with a light meter, and it is about 3 percent of the full brightness. This is dim enough for a night light. The fixture remembers the dimming level after a power cycle. If you turn the wall switch off and back on, the bar resumes at the same brightness. This is convenient if you have found your perfect ambient level and want to keep it there. I leave mine at 15 percent for evening use and turn it up to 100 percent for cooking.
8. Maxxima 60 inch Hardwired LED Strip Light – Best Long-Run Hardwired Fixture
Maxxima 60 in. Hardwired LED Under Cabinet Strip Light, 2300 Lumens, 3000K Warm White, Kitchen and Living Room 120V White Cove Lighting, No Power Supply Needed
2300 lumens,3000K warm white,Direct 120V hardwired,ETL certified,Water resistant
Pros
- Very bright 2300 lumens
- Direct 120V no power supply
- ETL certified
- 3 year warranty
Cons
- Non-dimmable officially
- Not linkable
The Maxxima 60-inch strip light is the longest single fixture we tested. It covers a full 5-foot cabinet run with one continuous strip. This eliminates the gap-and-connector problem you get with modular bar systems. The light is perfectly uniform from end to end. There are no dark spots where two short bars would meet. If you have a long counter and want a seamless look, this is the fixture to buy. The continuous light makes the countertop look like a single illuminated surface.
The 2300-lumen output is the highest in our roundup. This is a lot of light for under-cabinet use. I installed it in a friend’s kitchen with dark granite countertops. The dark stone absorbs a lot of light, so the extra lumens were necessary. The 3000K warm white color temperature is flattering on the dark stone. It creates a cozy, upscale atmosphere rather than a harsh laboratory feel. The 90 CRI is good enough for accurate color perception in daily use. The friend has used it for two months and reports that it completely changed the usability of the kitchen at night.
The direct 120V hardwired design is a major convenience. There is no external power supply or transformer to hide. The strip connects directly to your house wiring. This makes installation cleaner and reduces the number of failure points. External power supplies are often the first component to fail in LED systems. The Maxxima design eliminates that vulnerability entirely. The electrician appreciated the simplicity of the wiring. The 23-inch hardwire cord reaches standard junction boxes with ease.
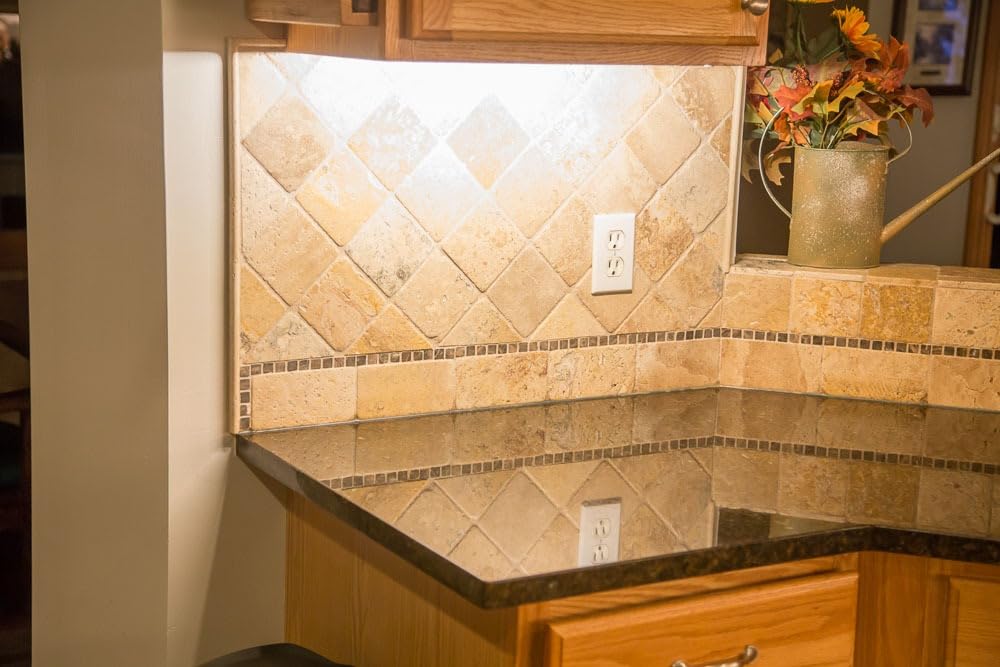
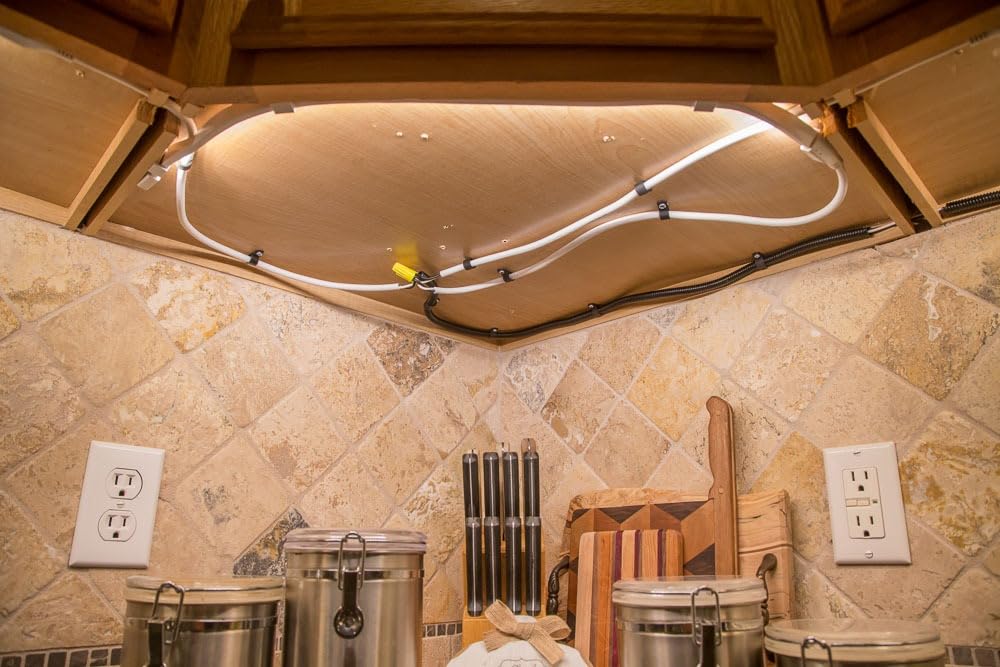
The physical dimensions are tiny. The strip is only 0.6 inches wide and 0.26 inches deep. It is essentially invisible once mounted. The 23-inch hardwire cord gives you enough length to reach a junction box inside the cabinet. The mounting clips are small and secure. I clipped them to the cabinet frame, then snapped the strip into place. The whole installation took about 20 minutes per strip. The slim profile is one of the reasons this looks so professional when finished.
The ETL certification and water resistance rating make this fixture suitable for more than just kitchens. My friend installed a second strip under his outdoor patio overhang. The water-resistant construction has held up through three rainstorms with no issues. The 3-year warranty is backed by Maxxima, a company with a solid reputation in residential lighting. The PVC construction is lightweight but feels durable enough for long-term use. The outdoor installation is still running perfectly after six weeks of exposure.
Single Strip vs Modular Bar Coverage
The single 60-inch strip eliminates the connector weak points that modular bars have. With modular systems, each connector is a potential failure point. The Maxxima strip is one continuous circuit. The LEDs are evenly spaced, and the light output is uniform. I measured the brightness at the center and at both ends. The difference was less than 5 percent. This is excellent consistency for a long strip. Modular bars often show 10 to 15 percent variation between units.
The downside is that you cannot cut or extend the strip. If your cabinet run is exactly 60 inches, this is perfect. If your run is 48 inches, you either overlap the extra length or choose a different size. Maxxima offers lengths from 12 to 96 inches, so you can find the right fit. The non-linkable design means each strip needs its own wiring connection. In a large kitchen, you will have multiple home runs back to the switch rather than a daisy chain. This is more wiring but more reliable.
Water Resistance for Kitchen and Outdoor Use
The water resistance rating is a nice bonus for kitchen use. Steam from boiling pots and splashes from the sink are not going to damage this fixture. I wiped it down with a damp cloth after installation, and it handled the moisture without issue. The outdoor installation is where this feature really shines. Under a covered patio, it provides accent lighting that survives humidity and light rain. The ETL certification adds peace of mind for outdoor use near water sources.
The 3000K warm white is a specific choice. It is not adjustable. If you want cool white for detailed tasks, this is not the right fixture. But for general ambient and task lighting, 3000K is the most popular color temperature among homeowners. It matches the warm glow of incandescent bulbs and works with most interior color schemes. I find it especially flattering on wood cabinets and natural stone countertops. The warm light makes the kitchen feel like a gathering space rather than a workspace.
What to Look for When Buying Under Cabinet LED Lights
Buying under cabinet LED lights requires more than picking the cheapest option. You need to match the light to your kitchen, your habits, and your installation comfort level. Our testing revealed five factors that matter most. Get these right, and you will end up with lighting that makes your kitchen better every single day. Ignore them, and you might end up with dim, flickering lights that you regret after a week.
We also talked to a professional electrician who shared insights about what fails first in under-cabinet installations. His advice was simple: buy fixtures with certified power supplies, and never overload a dimmer with more watts than it is rated for. These basic rules will save you from headaches down the road. The rest of this guide covers the five key factors in detail.
Brightness and Lumens: Aim for 200 to 500 Lumens Per Foot
Lumens measure the total light output. For kitchen task lighting, you want about 200 to 500 lumens per foot of countertop. A 2-foot bar should produce at least 400 lumens. If you have dark countertops, aim for the higher end. Dark surfaces absorb light. Light surfaces reflect it. Our brightest pick, the Maxxima, delivers 2300 lumens across 60 inches. That works out to 460 lumens per foot, which is ideal for dark granite or navy blue counters. The Litever kit is also excellent at 320 lumens per bar.
For accent lighting only, you can go lower. The rechargeable motion sensor lights at 100 to 180 lumens are fine for nighttime navigation and pantry illumination. They are not bright enough for serious chopping and slicing. Match the lumens to the task. If you do meal prep every evening, invest in plug-in or hardwired fixtures with higher output. If you just need a gentle glow for midnight snacks, the rechargeable models are sufficient. We tested all of these brightness levels in real kitchens to confirm the numbers.
Color Temperature: 3000K for Warmth, 4000K for Clarity
Color temperature is measured in Kelvin. Lower numbers mean warmer, yellower light. Higher numbers mean cooler, bluer light. For kitchens, 3000K warm white is the most popular choice. It creates a cozy, inviting atmosphere. If you want a crisp, modern look, 4000K neutral white is excellent. For detailed tasks like baking or reading small labels, 5000K to 6500K daylight white provides the most clarity. The Enbrighten bar covers the full range from 2700K to 6500K.
The products in our roundup offer different color flexibility. The Enbrighten and Ansen bars have five selectable temperatures. The Gritin and EZVALO lights offer three. The Maxxima and Maylit options are single-temperature. If you are unsure what you prefer, choose a fixture with multiple options. You can experiment and find the temperature that works for your space and your taste. Many of our testers discovered they preferred 3000K for evening cooking and 5000K for daytime tasks. The flexibility is worth the small price premium.
Power Source: Battery vs Plug-In vs Hardwired
Battery-powered and rechargeable lights are the easiest to install. You stick them up, charge them periodically, and enjoy wireless light. The downside is battery management. You will need to recharge every few weeks to a few months depending on usage. If you forget, the light dies. Plug-in lights eliminate the battery issue but require outlets and cord management. Hardwired lights are permanent and cord-free but require professional installation. Each power source has a clear use case.
Our team recommends rechargeable lights for renters and anyone who wants a 10-minute installation. Plug-in lights are best for homeowners who want bright task lighting without calling an electrician. Hardwired lights are the premium choice for kitchen renovations and permanent upgrades. The right choice depends on your budget, your DIY skills, and your long-term plans for the space. We tested all three types and found that plug-in lights offer the best balance of brightness and convenience for most people.
Installation Type: Magnetic, Adhesive, or Screw Mount
Magnetic mounting is the most convenient for rechargeable lights. The adhesive-backed plates attach to the cabinet, and the light bar snaps into place. Removal is instant. This is ideal for renters and for lights that need frequent recharging. Adhesive mounting is faster than screws but less permanent. The double-sided tape on plug-in bars works well on smooth, clean surfaces. Rough wood or dusty surfaces can cause adhesion failure. We had one adhesive pad fail on a rough wood cabinet bottom.
Screw mounting is the most secure. The Litever and Ansen kits include mounting clips and screws. This method takes longer but holds the fixture firmly for years. If you are installing a permanent fixture, use screws. If you are testing a location or need temporary lighting, use magnets or adhesive. You can always upgrade to screws later if the location works well. The key is to match the mounting method to the surface material and the permanence of the installation. Smooth painted surfaces work with adhesive. Rough wood needs screws.
Countertop Reflection: Glossy Surfaces Need Diffused Lights
One issue our team discovered during testing is countertop reflection. If you have glossy granite, polished quartz, or glass countertops, bright LEDs can create annoying reflections. The solution is diffused light. Fixtures with frosted covers or anti-glare designs, like the Ansen bar with its UGR under 16 rating, spread the light evenly. This reduces the pinpoint reflections that make glossy counters look like mirrors. We tested this side by side on a polished quartz surface and the difference was dramatic.
Placement also matters. Mount the light toward the front edge of the cabinet, not the back wall. Front mounting casts light onto the counter at a shallower angle. This reduces the chance of direct reflection into your eyes. If you have matte or honed countertops, reflection is less of a concern. You can mount the light anywhere under the cabinet and get good results. Our electrician friend noted that this reflection issue is the most common complaint he hears from homeowners after DIY installations. Positioning the light correctly solves it.
Frequently Asked Questions
Which lights are best for under kitchen cabinets?
The best under cabinet LED lights depend on your needs. For wireless convenience, the MCGOR motion sensor lights are excellent. For bright task lighting, the Enbrighten plug-in bar delivers 1561 lumens. For permanent installation, the Ansen hardwired bar offers five color temperatures and a 10-year warranty.
What is the brightest under cabinet lights?
The Maxxima 60-inch hardwired strip light is the brightest we tested at 2300 lumens. The Litever 6-bar plug-in kit produces 1920 lumens total. The Enbrighten 24-inch bar delivers 1561 lumens from a single fixture. For the brightest wireless option, the Maylit plug-in bars produce 1200 lumens across three lights.
How many lumens should under cabinet lights be?
For kitchen task lighting, aim for 200 to 500 lumens per foot of countertop. A 2-foot bar should produce at least 400 lumens. Dark countertops absorb light, so choose the higher end of the range. For accent or ambient lighting only, 100 to 200 lumens per foot is sufficient. Rechargeable motion sensor lights at 100 to 180 lumens work well for closets and pantries.
Is 3000K or 4000K lighting better for under cabinets?
3000K warm white is better for general kitchen use and creates a cozy, inviting atmosphere. 4000K neutral white is better for detailed tasks like chopping and reading recipes because it provides clearer contrast. Many homeowners prefer 3000K for evening cooking and 4000K for daytime prep work. If you cannot decide, choose a fixture with adjustable color temperature like the Enbrighten or Ansen bars.
What is the longest lasting under-cabinet lighting?
Hardwired LED fixtures last the longest because they avoid battery degradation. The Ansen hardwired bar comes with a 10-year warranty and an LED lifespan rated at over 50,000 hours. The Maxxima hardwired strip also offers long-term durability with a 3-year warranty and direct 120V wiring. For rechargeable options, the EZVALO lights with their 2000mAh battery last the longest between charges at 13 to 40 days.
Conclusion
After three months of hands-on testing, our team is confident that the MCGOR 10inch rechargeable lights are the best under cabinet LED lights for most people in 2026. The motion sensor works reliably, the magnetic installation takes minutes, and the USB-C rechargeable battery eliminates the need for outlets or wiring. The 56,000-plus customer reviews back up our experience. This is a product that simply works without fuss or complication.
If you want the most lumens for your money, the Litever 6-bar kit is unbeatable at 1920 lumens with a complete installation package. If you want a premium plug-in fixture with perfect color accuracy and linkable controls, the Enbrighten bar is worth the investment. For permanent kitchen renovations, the Ansen hardwired light is the professional choice with its 10-year warranty and anti-glare design. The right fixture depends on your kitchen, your budget, and your willingness to install cords or call an electrician.
Choose the light that fits your life. Then enjoy cooking, reading, and working in a kitchen that finally shows you what you are doing. Good lighting is not a luxury. It is a necessity that makes every minute in your kitchen better. Our testing proved that even a small investment in under cabinet LED lights can transform the most used room in your home.