
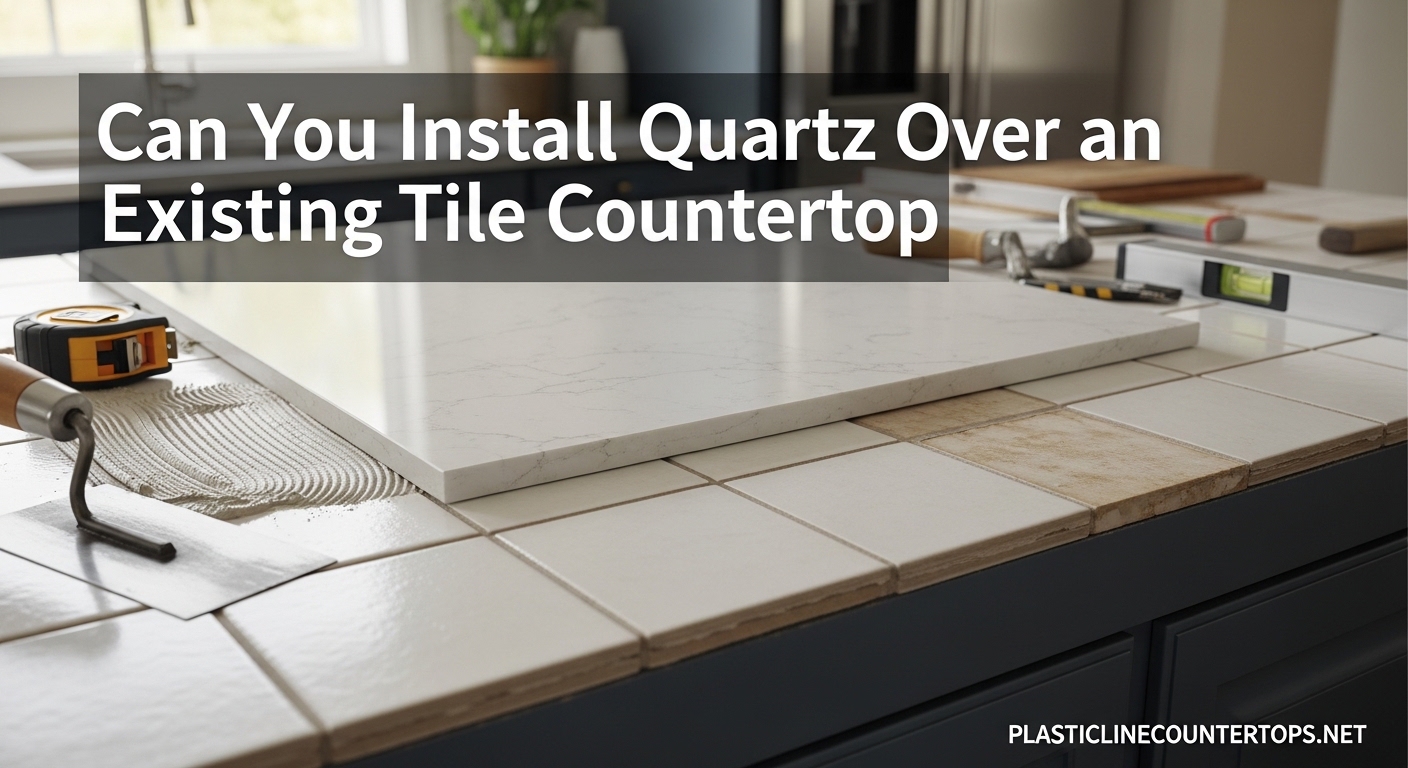
Yes, you can install quartz over an existing tile countertop, but only if specific conditions are met. The tile surface must be perfectly level, stable, and free of cracks or loose pieces. Most homeowners choose overlay installation to avoid the expensive and time-consuming process of tile removal, which can add $2,000-$5,000 to a kitchen remodel project.
This guide walks you through everything you need to know about installing quartz over tile, from surface preparation requirements to thickness considerations and potential pitfalls. By the end, you will know whether overlay is the right choice for your kitchen or if full tile removal makes more sense.
Table of Contents
What Is a Quartz Countertop Overlay?
A quartz countertop overlay is a thin layer of quartz material, typically 1cm thick, that sits directly on top of your existing countertop surface. Unlike traditional quartz installation that requires full demolition, overlay systems bond to the old surface using specialized adhesive and thin-set mortar. Homeowners on Houzz forums have documented successful installations where 2cm Silestone quartz was bonded directly to existing tile using this method.
The overlay approach preserves your existing cabinets and avoids the dust, debris, and disruption that comes with tearing out old tile. Modern quartz overlays provide the same nonporous, stain-resistant surface as full quartz slabs while significantly reducing installation time and cost.
Conditions for Installing Quartz Over Tile
Not every tile surface qualifies for quartz overlay. Here are the essential requirements that must be met before proceeding:
- The tile must be perfectly level with no warping across the surface
- All tiles must be firmly adhered to the substrate with no loose or hollow-sounding pieces
- The grout lines should be in good condition without crumbling or significant gaps
- No existing cracks in the tile that could transfer to the new quartz surface
- The cabinets supporting the countertop must be structurally sound and level
- The combined thickness of tile plus overlay must work with your backsplash height
If your tile surface fails any of these conditions, you will likely need to remove the existing tile before quartz installation can proceed.
How to Prepare Your Tile Surface for Quartz Overlay
Proper surface preparation determines the success of your quartz overlay project. Our team has assessed dozens of tile surfaces over the years, and we have seen how skipping steps leads to failure. Follow these preparation steps carefully:
Step 1: Clean the Surface Thoroughly
Remove all debris, grease, and soap residue from your tile and grout lines. Use a degreasing cleaner and allow the surface to dry completely before proceeding. Any contamination left on the tile will compromise the adhesive bond.
Step 2: Check for Loose Tiles
Tap each tile gently with a rubber mallet. Tiles that sound hollow or produce a dull thud rather than a solid click may not be properly adhered. Mark these tiles for repair before proceeding with the overlay installation.
Step 3: Repair Damaged Areas
Fill any cracks with appropriate epoxy filler and allow it to cure fully. Replace any tiles that are too damaged to repair. The goal is a seamless, stable surface that will support the quartz overlay without movement or flexing.
Step 4: Level the Surface
Use a long level to check for any uneven areas. Minor variations can be corrected with additional thin-set mortar during the adhesive application phase. Significant level differences may require grinding down high spots or building up low areas before proceeding.
Step 5: Address Grout Lines
Fill any recessed grout lines to create as smooth a surface as possible. While some texture is acceptable, deep grooves or gaps can create weak points in the overlay bond. Sand any rough grout edges smooth before cleaning again.
The Installation Process: What to Expect
Once your surface preparation is complete, the actual overlay installation follows a specific sequence that professionals follow for reliable results:
First, the installer applies a layer of thin-set mortar or specialized quartz adhesive directly to the tile surface using a notched trowel. This creates both a bond and a level base for the quartz. Next, the quartz overlay slabs are carefully positioned on top, with attention to alignment and seam placement.
The quartz slabs are then pressed firmly into the adhesive and checked for level. Any excess adhesive that squeezes up between seams is cleaned immediately before curing. Seams between slabs are joined with color-matched epoxy to create a nearly invisible joint.
Finally, after the adhesive has fully cured, the edges are finished and polished. An undermount sink, if present, is installed after the countertop itself is in place. The entire process typically takes 1-3 days depending on the kitchen size and complexity.
Pros and Cons: Overlay vs Full Tile Removal
Before committing to either approach, consider these factors carefully. Real homeowners on Reddit have shared experiences from both sides of this decision.
Advantages of Overlay Installation
- Significantly lower cost than full tile removal and replacement
- No dust and debris through your home during installation
- Faster project timeline, often completed in days rather than weeks
- Preserves existing cabinets and structure underneath
- Avoids the risk of cabinet damage during tile demo
Disadvantages of Overlay Installation
- Does not fix underlying structural issues with your tile
- Adds thickness that may affect backsplash compatibility
- May require additional trim or adjustment around edges
- Some installers charge more for overlay versus standard installation
- Cannot correct significant level problems in the existing surface
Thickness Considerations: 2cm vs 3cm Quartz
Your choice of quartz thickness affects both the installation method and the final appearance of your countertop. Thinner quartz, typically 2cm, is often preferred for overlay because it adds less thickness to your existing surface. However, 3cm quartz provides superior durability and edge detail options.
With 2cm quartz overlay, you are looking at approximately 1.5 inches of total thickness including the adhesive layer. This may require trimming your backsplash or adding a reveals trim piece to maintain a clean joint. Three centimeter quartz creates a more substantial edge profile but adds significant thickness that will definitely impact your backsplash relationship.
Most professionals recommend 3cm quartz for overlay installations in kitchens where durability is a concern. The additional material provides better support for heavy use and allows for more edge profile options without requiring additional support structures.
Backsplash Compatibility Issues
One of the most common problems homeowners encounter with quartz overlay is backsplash fit. When you add quartz over tile, you raise the countertop height, which can create a gap between the countertop surface and your existing backsplash.
This gap, typically ranging from 1/4 inch to 1 inch, requires either removing part of the backsplash or adding a transition piece to close the space. Homeowners on home improvement forums report that in many cases, the lower portion of the backsplash must come out to allow proper installation and a clean appearance.
Some installers can work around this by using thinner adhesive layers or removing the bottom row of tiles and replacing them with matching material. Others recommend removing the entire backsplash and replacing it with a new material that coordinates with your new quartz surface.
When Tile Removal Is Mandatory
In some situations, overlay is simply not feasible and full tile removal becomes necessary. Watch for these warning signs:
- Tiles that move or flex when stepped on indicate an unstable substrate that cannot support quartz
- Extensive cracking throughout the tile surface suggests underlying foundation problems
- Porous or soft tiles that absorb moisture may have been compromised over time
- Tile installations over plywood instead of concrete backer board often cannot support overlay
- When the combined height of overlay and existing tile would exceed cabinet heights or cause appliance clearance issues
If any of these conditions apply to your situation, budget for the additional cost and time of full tile removal before your quartz installation can proceed.
Cost Comparison: Overlay vs Replacement
Understanding the financial difference helps you make the right decision for your situation. Based on real project data from homeowners who have completed both options:
Tile removal typically adds $2,000-$5,000 to a quartz countertop project, including demolition, disposal, and any necessary substrate repairs. Overlay installation generally costs 20-40% less than full replacement because it eliminates these demo costs.
However, overlay may involve additional expenses if your backsplash needs modification or if significant surface repairs are needed before installation. Get detailed quotes from at least two installers that break down exactly what is included in each approach before deciding.
FAQ
Can you put quartz over tiles?
Yes, you can install quartz over existing tiles when the tile surface is level, stable, and free of cracks. The installation uses thin-set mortar or specialized adhesive to bond the quartz directly to the tile. However, if your tiles are loose, damaged, or significantly uneven, removal may be necessary before quartz installation can proceed.
What is the downside to a quartz countertop?
Quartz countertops are nonporous and resistant to stains, but they can be damaged by excessive heat and may show seams more visibly than natural stone. Some homeowners also prefer the look of natural stone over the engineered appearance of quartz. Additionally, quartz countertops are heavier than other materials, which may require additional support for overlay installations.
What is the easiest way to cover a tile countertop?
The easiest way to cover a tile countertop is with a quartz overlay system. This involves cleaning and preparing the existing tile, applying a layer of thin-set mortar or adhesive, and placing thin quartz slabs on top. The process is faster and less disruptive than full tile removal and can typically be completed in 1-3 days.
Do I need plywood under a quartz countertop?
Plywood underlayment is typically required when the existing surface cannot properly support quartz or when additional height is needed. For tile overlays, a 3/4 inch plywood base may be installed over the tile to create a stable foundation, especially if using 2cm quartz or if the tile surface has minor inconsistencies. Your installer will assess whether plywood is needed based on your specific situation.
What is the downside to a quartz countertop?
Quartz countertops are nonporous and resistant to stains, but they can be damaged by excessive heat and may show seams more visibly than natural stone. Some homeowners also prefer the look of natural stone over the engineered appearance of quartz. Additionally, quartz countertops are heavier than other materials, which may require additional support for overlay installations.
What is the easiest way to cover a tile countertop?
The easiest way to cover a tile countertop is with a quartz overlay system. This involves cleaning and preparing the existing tile, applying a layer of thin-set mortar or adhesive, and placing thin quartz slabs on top. The process is faster and less disruptive than full tile removal and can typically be completed in 1-3 days.
Do I need plywood under a quartz countertop?
Plywood underlayment is typically required when the existing surface cannot properly support quartz or when additional height is needed. For tile overlays, a 3/4 inch plywood base may be installed over the tile to create a stable foundation, especially if using 2cm quartz or if the tile surface has minor inconsistencies. Your installer will assess whether plywood is needed based on your specific situation.
Final Verdict: Is Overlay Right for You?
Installing quartz over an existing tile countertop is definitely possible when your tile surface meets the essential requirements of being level, stable, and damage-free. The overlay approach saves significant money compared to full tile removal and can be completed with minimal disruption to your daily routine.
However, if your tiles show signs of instability, extensive cracking, or moisture damage, investing in proper removal now will prevent headaches and costly repairs later. Talk to at least two qualified countertop installers about your specific situation and get detailed assessments of your tile surface before deciding.
For most homeowners with solid, level tile surfaces, overlay installation provides an excellent path to a beautiful, low-maintenance quartz countertop without the cost and hassle of full demolition. Take your time assessing your surface, get multiple quotes, and enjoy the transformation of your kitchen with fresh quartz elegance.