
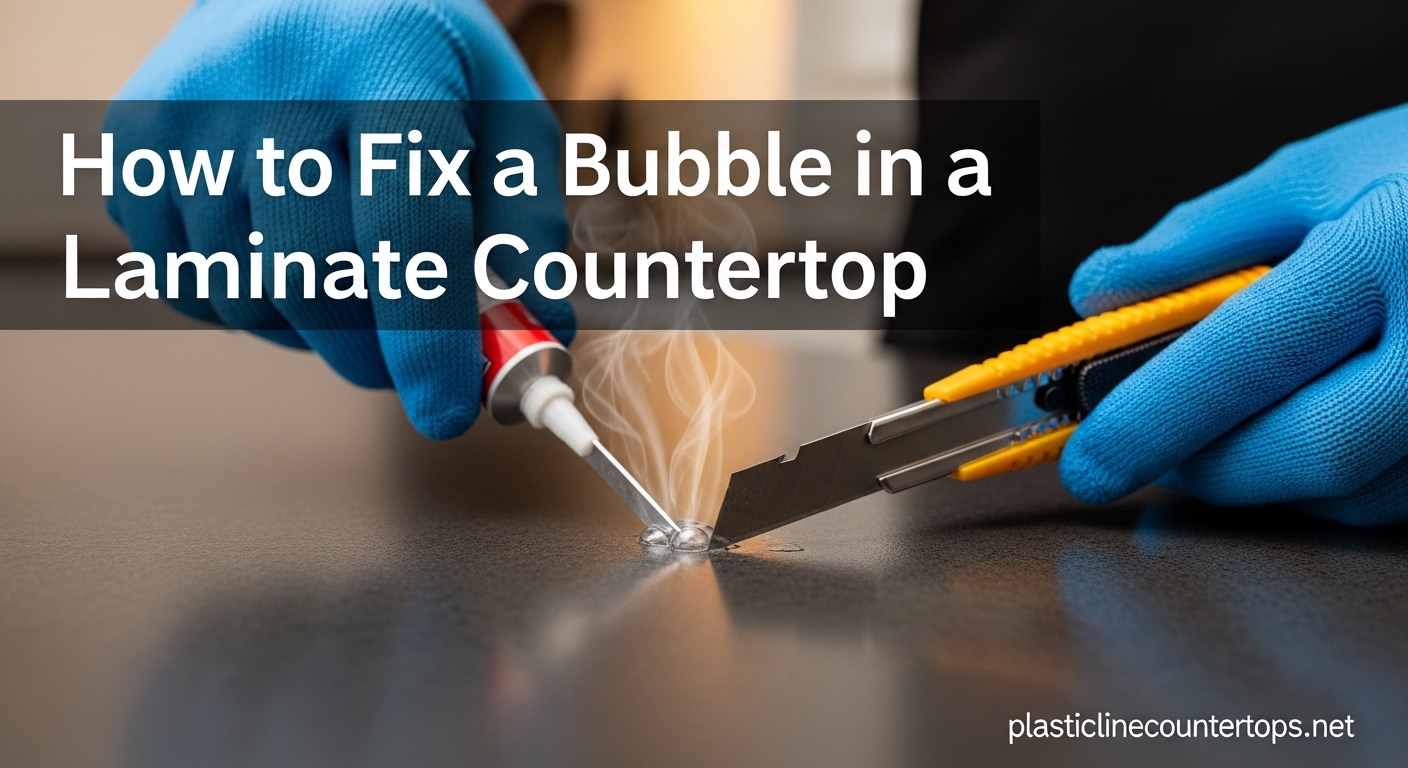
A bubble in a laminate countertop is an air pocket where the laminate surface has separated from the substrate beneath it. This delamination creates a visible blister that often worsens over time if left untreated. Our team has researched multiple repair methods used by professionals and DIYers alike to help you fix this common issue.
The most common cause of bubbling laminate is dimensional incompatibility between the laminate and the substrate beneath it. When the materials expand and contract at different rates due to temperature or humidity changes, the bond between them weakens. Heat damage from hot pots, moisture seeping through seams, or poor initial installation can all trigger this problem.
Table of Contents
Understanding What Causes Bubbles in Laminate Countertops
The primary culprit behind most laminate bubbles is adhesive failure between the countertop surface and its substrate. This typically happens when contact cement loses its bond due to dimensional changes in the materials. Particleboard substrate is particularly susceptible because it absorbs moisture easily and expands when wet.
According to forum discussions and professional sources, heat damage is another frequent cause. Setting a boiling pot directly on the laminate surface can soften the adhesive beneath it, creating a bubble. Water damage near sinks or seams can also compromise the bond over time. In many cases, the problem traces back to improper acclimation during installation, where the laminate and substrate were not given enough time to adjust to the room’s temperature and humidity before being joined together.
The key to fixing a bubble depends entirely on identifying its cause and severity. Small surface blisters from minor adhesive failure respond well to heat and pressure methods. Larger bubbles caused by heat damage or extensive moisture may require injection repair or, in severe cases, countertop replacement.
Method 1: The Iron and Cloth Technique
The iron method works by reactivating contact cement beneath the laminate through controlled heat application. This technique has been used successfully by homeowners and professionals for decades. Start by gathering a clothes iron, a clean cotton cloth, and a J-roller for pressing the surface down.
Set your clothes iron to medium heat with no steam. Place the cloth over the bubble area and press the warm iron onto the cloth for 15-30 seconds. The heat softens the old adhesive beneath the laminate. Move the iron in small circular motions to distribute heat evenly without scorching the surface.
After heating, immediately roll the J-roller firmly over the area while the surface is still warm. Apply firm downward pressure working from the center of the bubble toward the edges. This forces the laminate back into contact with the substrate while the adhesive is still soft. Repeat the heat-and-roll process 2-3 times if needed.
For stubborn bubbles, some professionals recommend drilling a small hole in the substrate beneath the bubble to release trapped air. This hole should be made from underneath the countertop if accessible. The technique allows the laminate to lay completely flat once heated and pressed.
Method 2: Heat Gun Approach
A heat gun offers more precise temperature control compared to a clothes iron, making it ideal for targeted repairs. Hold the heat gun 2-3 inches above the bubble surface and move it in slow circles. Monitor the laminate closely for any signs of blistering or discoloration, which indicates too much heat.
Safety precautions are essential when using a heat gun. Work in a well-ventilated area since heating laminate can release fumes. Wear heat-resistant gloves to protect your hands, and keep the heat gun moving to prevent scorching. The goal is to warm the adhesive without damaging the decorative surface layer.
Once the area is heated sufficiently, apply pressure using the J-roller as described above. The heat gun method works particularly well for bubbles located near edges or in corners where the clothes iron might be too bulky to maneuver effectively.
Method 3: Injection Repair for Severe Cases
Large bubbles or those that do not respond to heat methods may require injection of fresh contact cement. This approach involves using a syringe to deliver solvent-based adhesive directly beneath the laminate where it has separated from the substrate. This method works well for elongated bubbles along seams or in areas with extensive delamination.
Begin by mixing or preparing your contact cement according to product instructions. Solvent-based adhesive provides a stronger bond than water-based alternatives for this type of repair. Use a utility knife to create a small injection point at one end of the bubble, being careful not to damage the surrounding laminate surface.
Insert the syringe tip beneath the laminate edge and inject a small amount of adhesive. Work slowly to avoid overfilling or causing the adhesive to squeeze out. Place a weight or clamp on the repaired area while the adhesive cures, typically 24-48 hours. The J-roller should be used to distribute pressure evenly across the repaired section.
Wipe away any excess adhesive immediately with a clean cloth. Allow the repair to set completely before using the countertop. This method requires patience but produces lasting results for serious delamination issues.
How to Use a J-Roller Properly
The J-roller is essential for achieving a proper bond during any laminate repair. This heavy-duty roller applies concentrated pressure across the laminate surface, forcing it into complete contact with the substrate beneath. Using the roller correctly can mean the difference between a repair that lasts years and one that fails within months.
Apply firm downward pressure as you roll. The roller should make direct contact with the laminate surface through any protective cloth you are using. Work from the center of the repaired area outward toward the edges. This motion forces air out and ensures maximum adhesive contact.
Make multiple passes over each section. One pass is rarely sufficient. Our team recommends at least three complete passes in each direction for thorough bonding. Pay special attention to the edges and corners, which tend to lift first if pressure is inadequate.
Prevention Tips
Preventing future bubbles starts with protecting your laminate countertop from heat and moisture damage. Always use trivets or hot pads under hot pots and pans. Wipe up spills near sinks and seams promptly to prevent water from seeping beneath the laminate edge.
Proper installation practices prevent most bubbles from occurring in the first place. The laminate and substrate should acclimate to the room for at least 48 hours before installation. This allows both materials to adjust to temperature and humidity levels, reducing dimensional incompatibility issues later.
Use coasters under glasses and avoid leaving wet items on the surface. Check seams and edges periodically for any signs of lifting or wear. Addressing minor issues early prevents them from developing into larger problems that require extensive repair.
When to Repair vs Replace
Most laminate countertop bubbles can be successfully repaired using the methods described above. However, certain situations call for replacement rather than repair. Heat damage that has caused scorching, melting, or permanent deformation of the laminate surface cannot be fixed with adhesive methods alone.
If the bubble covers a large area or multiple bubbles are present, the substrate may be compromised. Severely water-damaged particleboard substrate often requires full countertop replacement because the structural integrity has been compromised beneath the laminate surface.
For renters or those seeking temporary solutions, heat methods offer a reversible fix that does not require permanent modifications. Professional repair services can address more severe damage while preserving the existing countertop when possible. Cost estimates for professional repair typically range from $100-300 depending on the extent of damage and local labor rates.
FAQ
How to fix a bubbled laminate countertop?
Use the iron and cloth method: set your clothes iron to medium heat, place a cloth over the bubble, heat for 15-30 seconds, then immediately roll with a J-roller while warm. For stubborn bubbles, try the injection method using contact cement injected beneath the laminate.
Why did my laminate countertop make a huge bubble?
The most common cause is dimensional incompatibility between the laminate and substrate, often due to temperature changes, humidity, heat damage from hot items, or moisture seeping through seams. Poor initial installation with inadequate acclimation can also cause this issue.
How to get rid of bubbles in laminate?
Heat methods work best for small to medium bubbles: use either a clothes iron on medium heat or a heat gun to reactivate the adhesive beneath the bubble, then apply firm pressure with a J-roller while the surface is warm. For large bubbles, inject contact cement beneath the laminate using a syringe.
What is the lifespan of laminate countertops?
Laminate countertops typically last 10-20 years with proper care and maintenance. Regular cleaning, heat protection, and addressing minor issues promptly can extend the life of your countertop significantly.
Conclusion
Fixing a bubble in a laminate countertop is achievable with the right techniques and patience. The iron and cloth method works for most minor to moderate bubbles, while injection repair handles more severe cases. Understanding the cause of your bubble helps you choose the appropriate method and prevents future issues.
Always use heat protection and address moisture issues promptly to extend the life of your laminate countertop. When in doubt, consult a professional for assessment. Many repairs that seem severe can actually be resolved without replacing the entire countertop, saving significant cost and hassle.
Regular maintenance and preventive care remain your best tools for avoiding bubbles altogether. With proper acclimation during installation and consistent protection from heat and water damage, your laminate countertop can serve you well for many years.