
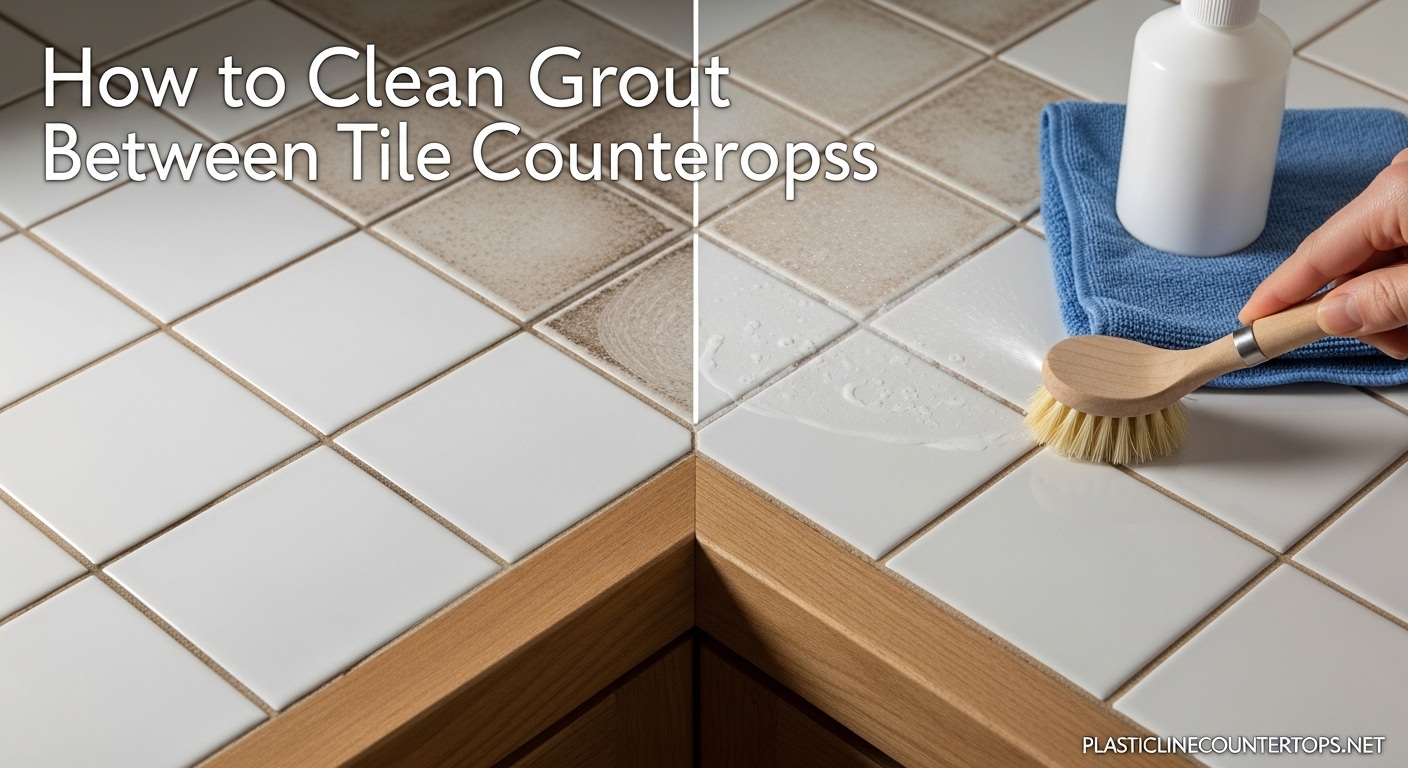
Grout is one of the most stubborn cleaning challenges in any kitchen. The stuff that fills the gaps between your tile countertops looks solid when new, but it is actually a porous material that absorbs water, oil, grease, and every spilled liquid that lands on it. Over time, that once-white grout line turns gray, then yellow, and sometimes black if you let mildew take hold. I have dealt with this exact problem in my own home, and I can tell you that the right approach makes all the difference between hours of frustrating scrubbing and a reasonably quick restoration.
This guide covers three proven methods for cleaning grout between tile countertops. I tested these approaches based on what worked for other homeowners in forums and what the research shows about effective grout cleaning. You will find the vinegar method for light to moderate staining, a baking soda paste for heavier buildup, and a bleach-based solution for the worst cases. I also explain how to tell whether your grout is sealed or unsealed, because using the wrong method can actually damage your grout lines over time.
Table of Contents
How to Clean Grout Between Tile Countertops
Grout is a dense cement-based material that seals the joints between tiles. It is naturally porous, which means it absorbs liquid like a sponge. When you cook, eat, or even wipe down your countertops, grime works its way into those tiny pores and settles there. Unlike tile surfaces, which you can wipe clean easily, grout holds onto stains because the dirt is below the surface.
The reason grout seems so difficult to clean is that standard wiping only touches the surface. The staining agents are locked inside the grout lines, and you need a cleaning solution that can dissolve them and a brush that can physically lift them out. This is why three steps matter every time: apply the right solution, let it dwell long enough to break down the buildup, then scrub with enough force to pull the dissolved gunk out of those pores.
The good news is that you likely already have most of what you need in your kitchen pantry or cleaning supply drawer. The three methods below use ingredients that cost less than five dollars combined, and they work on most common kitchen grout staining scenarios.
What You Will Need
Before you start, gather these supplies. Having everything ready makes the cleaning process smoother and faster.
- A stiff-bristled grout brush or an old toothbrush for detail work
- Spray bottle for applying liquid solutions
- Small bowl for mixing pastes
- Rubber gloves to protect your hands, especially when using bleach
- White vinegar for the first method
- Baking soda and hydrogen peroxide for the second method
- Household bleach for the third method
- Clean rags or paper towels for wiping
- Fan or open window for ventilation if you use bleach
That covers the basics. You do not need expensive commercial grout cleaners to get good results, though I will mention when those are worth considering later in this guide.
Method 1: Vinegar and Water Solution
The vinegar method works best on light to moderate grout discoloration. White vinegar is acidic enough to break down everyday kitchen grease and mild staining without damaging sealed grout. This is the gentlest approach and the one I recommend starting with every time.
Mix equal parts white vinegar and warm water in your spray bottle. You want a 50/50 ratio. Shake it gently to combine.
Spray the solution directly onto the grout lines between your tiles. Make sure you saturate the grout thoroughly, but avoid overspraying onto the tile surfaces if they are made of natural stone like marble, as acid can etch those materials over time.
Let the vinegar solution sit for 5 to 10 minutes. This dwell time is critical. The acid needs that long to start dissolving the grease and light staining trapped in the grout pores.
After the dwell time, take your grout brush and scrub each grout line with firm pressure. Work in small sections, typically one square foot at a time. Use a back-and-forth motion along the length of each grout line. If you are using an old toothbrush, it works well for getting into tight corners.
Once you have scrubbed a section, wipe away the dissolved gunk with a damp cloth or paper towel. Rinse your cloth frequently so you are not just spreading the dirt back around.
Repeat the process across the entire countertop grout area. For very light staining, one application may be enough. For moderate discoloration, you might need to go over the same sections a second time after the first scrub.
The vinegar method is safe for sealed grout and will not damage your tiles. However, skip this method if you have unsealed grout that has never been treated with a grout sealer. The acid can start breaking down cement-based grout over repeated use on unsealed surfaces.
Method 2: Baking Soda and Hydrogen Peroxide Paste
When vinegar alone does not cut through the staining, the baking soda paste method handles heavier buildup. This combination creates a fizzing action that helps lift embedded grime from the porous grout surface.
Start by mixing three parts baking soda with one part hydrogen peroxide in your small bowl. Stir until you get a thick paste consistency, similar to cake frosting. If it is too runny, add more baking soda. If it is too dry, add a tiny splash more hydrogen peroxide.
Apply the paste directly onto each grout line using your finger or a small putty knife. You want a generous coating that sits on top of the grout without sliding off. Let the paste sit for 10 to 15 minutes. The longer you let it dwell, the better it works on stubborn stains.
During the dwell time, the peroxide bubbles and the baking soda gently abrasion-works the grout surface. Do not be tempted to scrub immediately. Let the chemistry do the heavy lifting first.
After the dwell time, take your grout brush and scrub each coated section. The paste should come off with the dissolved dirt, leaving behind cleaner grout lines. You might see the paste turn gray or brown as it pulls out the embedded gunk.
Wipe the residue away with a damp cloth. For best results, go over each section a second time with a fresh application of paste if the grout still looks stained after the first pass.
This method works on both sealed and unsealed grout, making it more versatile than pure vinegar for older installations where you are not sure whether the grout has been sealed. The hydrogen peroxide also has mild bleaching properties, which helps with organic staining like mildew or water discoloration.
Method 3: Bleach-Based Solution
For severely stained grout that has turned gray, yellow, or black from years of neglect, you need something stronger. Bleach handles even the most stubborn staining, including mildew that has worked deep into the grout pores. I recommend this method as a last resort after trying the gentler approaches, and you need to handle bleach with care.
Open your windows and turn on a fan. Bleach fumes can irritate your lungs, and you want good airflow in your kitchen while you work. Put on your rubber gloves before you start mixing.
Mix one part household bleach with three parts water in your spray bottle. A typical recipe is one-quarter cup of bleach mixed with three-quarters cup of water. Always add bleach to water, not water to bleach, for safety.
Spray the bleach solution onto the grout lines generously. Let it sit for 10 minutes. Do not scrub yet. The bleach needs time to oxidize the staining compounds and kill any mold or mildew living in the grout pores.
After 10 minutes, scrub the grout lines with your brush. You should see the dissolved staining coming up as you work. The grout lines will lighten noticeably during this step.
Wipe away the bleach residue with a damp cloth. Go over each section multiple times with fresh water to make sure you remove all the bleach. Leaving bleach residue on grout can eventually degrade the grout material itself.
Never mix bleach with vinegar or any other cleaning product. This creates toxic chloramine gas that can cause serious respiratory problems. Use bleach on its own, rinse thoroughly, and wait before using any other cleaning products on the same grout.
Bleach works on both sealed and unsealed grout for occasional deep cleaning. However, repeated use of bleach on unsealed grout can cause the grout to become brittle over time. If you are using this method frequently, seriously consider sealing your grout afterward to protect it.
Important: Sealed vs Unsealed Grout
This distinction matters more than any other factor in choosing your cleaning method. Sealed grout has a protective coating that prevents stains from soaking deep into the grout pores. Unsealed grout is still raw and vulnerable to absorbing everything that lands on it.
How do you know which type you have? The simplest test is to drip a small amount of water onto an inconspicicious grout line. If the water beads up and sits on the surface, your grout is sealed. If the water absorbs immediately and darkens the grout within a few seconds, your grout is unsealed.
Sealed grout responds well to all three cleaning methods without damage. The surface seal prevents the cleaning solutions from reaching the cement matrix inside the grout.
Unsealed grout requires more caution. Acidic solutions like pure vinegar can gradually break down cement-based grout over time. For unsealed grout, stick with the baking soda and hydrogen peroxide method or use a pH-neutral dish soap solution for regular maintenance. Avoid using vinegar on unsealed grout more than occasionally, and never use undiluted vinegar.
If your grout is unsealed and heavily stained, you might clean it effectively but see the staining return quickly. That is because the grout is still absorbing new messes every time you use your countertop. Sealing the grout after cleaning gives you a fresh start and makes future cleaning much easier.
How to Prevent Future Grout Staining
Once you have clean grout, keeping it that way requires a little ongoing effort. Prevention is always easier than remediation.
Sealing your grout is the single most effective step you can take. After cleaning your grout thoroughly, apply a grout sealer according to the product instructions. Most sealers require the grout to be completely dry first, and you apply them with a small brush or applicator tip designed for grout lines. Sealed grout repels liquid, which prevents stains from setting in and makes daily wipe-ups much more effective.
Wipe down your tile countertops after cooking or food prep. This removes most grime before it has a chance to work into grout lines. A quick daily wipe with a damp cloth keeps surface messes under control.
Consider using a grout brush on your backsplash and countertop grout lines weekly. You do not need to use cleaning solution every time. Dry brushing helps dislodge particles before they accumulate. Follow with a damp cloth to sweep away what you loosened.
If you have a kitchen island with tile countertops, pay extra attention to those grout lines. Islands take a lot of prep work and cooking activity, which means more opportunities for staining agents to land on the grout.
For households with heavy cooking activity, re-sealing your grout annually keeps protection current. Check the sealer product label for the recommended reapplication interval, as it varies by formulation.
What about using Dawn soap or Magic Erasers on grout? Based on forum discussions, Dawn soap can help with light maintenance cleaning, but it does not remove set-in stains the way deeper cleaning methods do. Magic Erasers can lighten surface stains with aggressive scrubbing, but they work through mild abrasion and are not the most efficient tool for grout lines. For anything beyond very light upkeep, the methods in this guide are more reliable.
FAQ
Does vinegar damage tile or grout?
Vinegar is safe for sealed grout and ceramic tiles when used in a diluted 50/50 solution. However, vinegar can damage natural stone tiles like marble or granite, and repeated use on unsealed grout can gradually break down the cement matrix. For unsealed grout, use the baking soda and hydrogen peroxide method instead.
Does magic eraser clean grout lines?
Magic Erasers can help lighten surface grout stains with vigorous scrubbing, but they work through mild abrasion rather than chemical cleaning. They are not the most efficient tool for deep cleaning grout lines, and results vary significantly based on how set-in the staining is.
Will Dawn soap clean grout?
Dawn dish soap can help with light, regular maintenance cleaning of grout and works well for removing fresh grease spills. However, it does not effectively remove set-in stains or address heavy discoloration that has built up over time. For established staining, use one of the deeper cleaning methods in this guide.
How to clean counter tile grout?
Clean counter tile grout by applying a cleaning solution (vinegar and water for light staining, baking soda paste for moderate staining, or bleach for severe staining), letting it dwell for 5 to 15 minutes, scrubbing with a grout brush, and wiping away the dissolved residue. Work in small sections and repeat if necessary until the grout lines are clean.
Final Thoughts
Learning how to clean grout between tile countertops takes a little patience, but the three methods in this guide cover virtually every staining scenario you will encounter in a kitchen. Start with the vinegar method for light maintenance cleaning, move to the baking soda paste when you need deeper cleaning, and reserve the bleach solution for severely stained grout that has been neglected for years.
The most important thing I can tell you is to figure out whether your grout is sealed before you pick a method. Testing with water takes thirty seconds, and it tells you whether you need to treat your grout gently or whether you have more latitude with acidic cleaners. If your grout is unsealed, sealing it after you clean it gives you a long-term solution that makes future cleaning dramatically easier.
If you have tried these methods and your grout still looks stained or has actually started crumbling, that is a sign that the grout has reached the end of its serviceable life. In that case, re-grouting the affected sections or calling a professional tile restoration service makes more sense than continuing to battle stubborn deterioration. For most homeowners though, these three DIY methods will restore grout lines to a clean, healthy condition that looks great and lasts for years.