
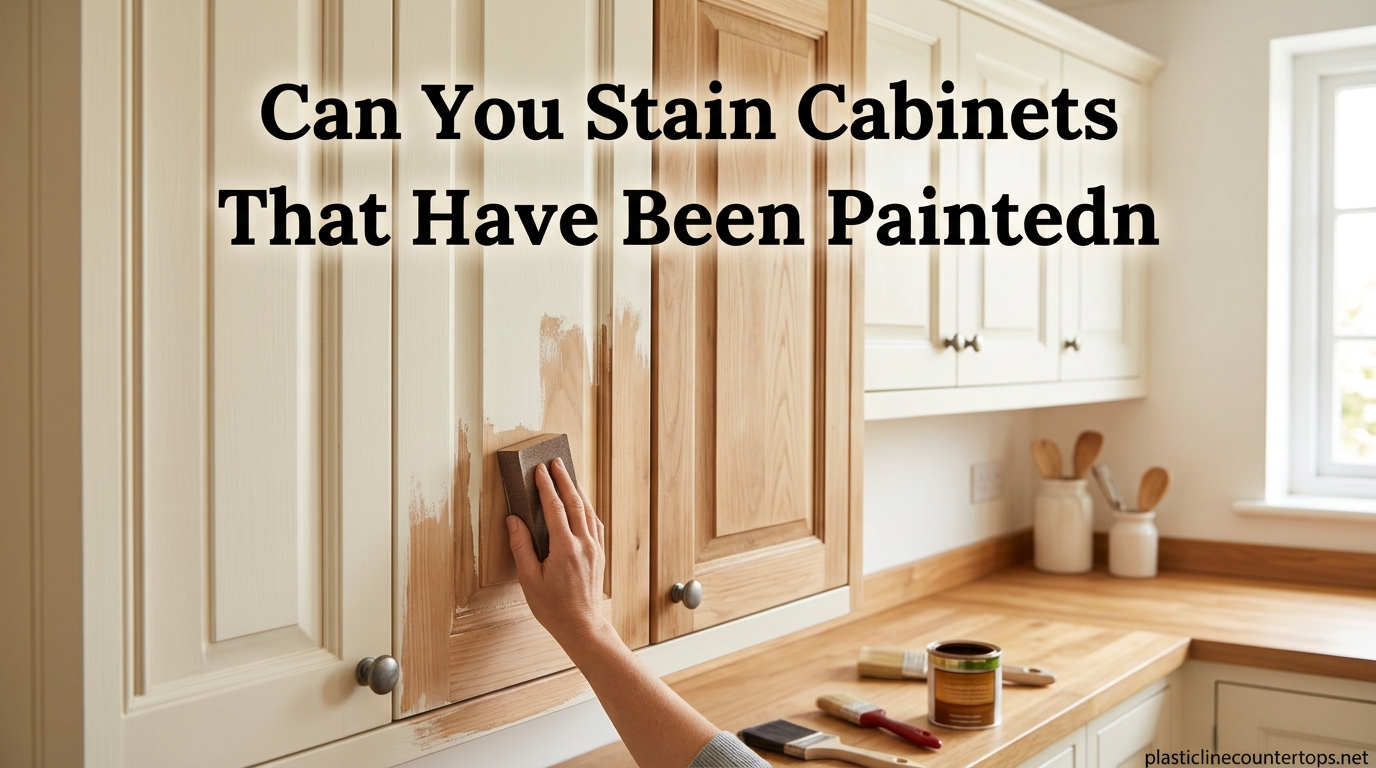
Yes, you can stain cabinets that have been painted, but the method you choose depends on the results you want. Traditional wood stain requires bare wood to penetrate and create that classic stained look. Paint creates a barrier that blocks this penetration, so applying regular stain directly over paint will not work.
The solution most DIYers choose is gel stain. Unlike traditional stain, gel stain sits on top of the painted surface rather than soaking into it. This creates a rich, wood-like appearance without the extensive labor of stripping cabinets down to bare wood. You can also opt to completely strip the paint first for authentic wood grain, or use a stainable primer for certain cabinet types.
I have refinished dozens of cabinets over the years, and I have learned that success comes down to understanding which method matches your situation. This guide walks you through all three approaches so you can choose the right one for your project.
Table of Contents
Why Staining Over Paint Is Different From Staining Raw Wood
Traditional wood stain works by soaking into the porous grain of bare wood. The pigments settle into the fibers and highlight the natural patterns. This is why stained oak looks different from stained maple – the stain reacts with each wood type uniquely.
Paint changes everything. When you apply paint to cabinets, it creates a sealed, non-porous surface. Traditional stain cannot penetrate this barrier. If you try applying regular stain over painted cabinets, you will end up with a sticky, uneven mess that never fully dries and provides terrible coverage.
Gel stain solves this problem by working differently. It has a thicker, pudding-like consistency that sits on the surface. Instead of soaking in, it coats the paint and dries to a durable finish that mimics the look of stained wood. The result is not identical to traditional stain, but it can look surprisingly convincing.
Three Methods to Transform Painted Cabinets
You have three main options when converting painted cabinets to a stained appearance. Each has different requirements, costs, and results:
Method 1: Gel Stain Over Paint
Best for: Cabinets in good condition that you want to darken without extensive labor
Time required: 1-2 days including drying time
Skill level: Beginner to intermediate
This is the most popular DIY approach. You lightly sand the painted surface, clean thoroughly, and apply gel stain in thin coats. Multiple coats build color depth. The finish lasts years with proper sealing.
Method 2: Strip and Stain Traditional Method
Best for: Achieving authentic wood grain appearance on solid wood cabinets
Time required: 3-5 days
Skill level: Intermediate to advanced
This method removes all paint using chemical strippers and sanding, then applies traditional oil-based stain to bare wood. The results look exactly like factory-stained cabinets because the stain actually penetrates the wood grain.
Method 3: Stainable Primer
Best for: MDF, laminate, or cabinets with damaged surfaces
Time required: 2-3 days
Skill level: Beginner
Stainable primer creates a textured base that accepts gel stain better than smooth paint. It fills minor imperfections and provides a consistent surface. This works especially well on synthetic materials that cannot be stripped to natural wood.
How to Stain Painted Cabinets Using Gel Stain (Step-by-Step)
Gel stain is the go-to solution for most homeowners. Here is the complete process I use for professional results:
Step 1: Remove Hardware and Label Everything
Take off all knobs, pulls, hinges, and doors. Label each door and its corresponding cabinet location with painter’s tape. This prevents confusion during reassembly. Remove drawers completely and work on them separately.
Step 2: Clean Thoroughly With Degreaser
Kitchen cabinets accumulate years of grease and grime. Mix a degreasing cleaner according to package directions and scrub every surface. Rinse with clean water and let dry completely. Any residue left behind prevents proper adhesion.
Step 3: Sand Lightly With 220-Grit Sandpaper
You do not need aggressive sanding. The goal is scuffing the surface to give the gel stain something to grip. Use 220-grit sandpaper and sand in the direction of any wood grain pattern. You only need to remove the shine, not the paint itself.
Step 4: Remove All Dust and Debris
Vacuum the surfaces with a brush attachment, then wipe everything with a lint-free cloth dampened with denatured alcohol. Let it dry completely before proceeding.
Step 5: Apply Gel Stain With a Foam Brush or Cloth
Stir the gel stain thoroughly – never shake it as this creates bubbles. Apply a thin, even coat using a foam brush or clean lint-free cloth. Work in small sections, about 2 feet at a time, to maintain a wet edge.
Step 6: Wipe Excess and Blend
Before the stain dries, use a clean cloth to wipe away excess and blend the edges. The longer you leave stain on before wiping, the darker the result. For a lighter look, wipe immediately. For deeper color, wait 5-10 minutes.
Step 7: Build Color With Additional Coats
Let each coat dry completely – usually 24 hours between coats. Apply additional coats until you reach the desired depth. Most projects need 2-3 coats. Do not rush this step. Wet stain over partially dry stain creates streaks and uneven color.
Step 8: Seal With Polyurethane
Once you achieve the color you want, protect it with two coats of clear polyurethane. Oil-based polyurethane adds warmth and amber tones. Water-based dries faster and stays clearer. Sand lightly with 320-grit between coats for a smooth finish.
The Stripping Method: When You Want Authentic Wood Grain
Sometimes only real wood grain will do. If your cabinets are solid wood and you want genuine stained wood appearance, stripping is worth the extra effort.
Start by applying chemical stripper according to the manufacturer’s instructions. Work in a well-ventilated area and wear protective gloves and eye protection. Let the stripper sit until the paint bubbles, usually 15-30 minutes.
Scrape away the softened paint with a plastic scraper. Be careful not to gouge the wood. You will likely need multiple applications for stubborn areas. Once the bulk of paint is removed, sand with progressively finer grits starting at 120 and working up to 220.
Clean the bare wood thoroughly and apply your chosen oil-based stain. Wipe excess and let dry completely before sealing. This method takes 3-5 days but delivers results that look like expensive custom cabinets.
Cabinet Materials: What Works and What Does Not
Your cabinet material determines which staining methods will succeed. Understanding this before you start saves frustration and wasted materials.
Solid Wood Cabinets
Real wood cabinets give you the most options. Oak, maple, cherry, and birch all respond well to both gel stain over paint and complete stripping. You can achieve authentic wood grain with the stripping method. Even older cabinets with thick paint layers can be restored.
MDF Cabinets
Medium-density fiberboard cabinets do not have real wood grain to reveal. Stripping MDF cabinets exposes a uniform, boring surface that looks nothing like wood. Stick with gel stain over the existing paint or use stainable primer. The gel stain creates a faux wood appearance that works well on flat panel doors.
Laminate Cabinets
Laminate and thermofoil cabinets present the biggest challenge. The surface is essentially plastic, so neither traditional stain nor gel stain adheres well without special preparation. Stainable primer is your best bet here. Some homeowners also have success with chalk paint topped with tinted glaze for a stained look.
Always Test First
Before committing to your entire kitchen, test your chosen method on a cabinet door from the back or inside a drawer. This shows you exactly how the finish will look and whether adhesion is adequate.
When Staining Over Paint Won’t Work
Sometimes the honest answer is to not attempt staining over paint. Here are situations where this approach will likely fail:
Peeling or Chipping Paint
If the existing paint is failing, gel stain will not fix it. The stain follows the same weak bond and will peel or chip along with the paint beneath. You must address the underlying adhesion problem first, usually by stripping.
Oil-Based Paint Without Proper Prep
Older cabinets may have oil-based enamel paint that resists modern products. While possible to stain over, these surfaces need extra sanding and cleaning. Test adhesion carefully before committing to the full project.
High-Gloss Finishes
Shiny, high-gloss paint requires aggressive deglossing or sanding before gel stain will adhere. Skip this step and your finish may flake off within months.
When to Hire a Professional
If your cabinets have intricate details, damaged surfaces, or you simply want guaranteed results, professional cabinet refinishers have the tools and experience to deliver. The cost typically ranges from $1,500 to $4,000 for an average kitchen, but the results often justify the investment.
Common Mistakes to Avoid
I have seen plenty of DIY staining projects go wrong. Here are the mistakes that cause the most failures:
Skipping the Cleaning Step
Grease and grime create a barrier that prevents adhesion. Even invisible residue causes problems. Take the time to degrease thoroughly.
Using Traditional Stain Instead of Gel Stain
Regular wood stain needs bare wood. Do not try shortcuts here. If the label says “wood stain” and not “gel stain,” it will not work over paint.
Insufficient Sanding
You need to remove the gloss and create texture for the gel stain to grip. Skipping sanding or using too fine grit paper leads to poor adhesion.
Applying Thick Coats
Thick coats of gel stain do not dry properly and leave sticky surfaces. Multiple thin coats always beat one thick coat.
Skipping the Sealer
Unsealed gel stain scratches easily and absorbs kitchen grease. The protective clear coat is not optional for durability.
Cost Comparison: DIY vs Professional
Understanding the costs helps you decide whether to DIY or hire help:
Gel Stain DIY Method: $50-100 for materials including stain, sandpaper, brushes, and polyurethane. An average kitchen with 20 cabinet doors and 8 drawer fronts costs under $100 in supplies.
Stripping and Traditional Stain DIY: $100-200 for stripper, additional sandpaper, stain, and tools. The increased cost comes from chemical strippers and the extra materials needed for bare wood preparation.
Professional Cabinet Refinishing: $1,500-4,000 depending on kitchen size, cabinet condition, and your location. Complex jobs with extensive repairs cost more.
Time Investment: DIY gel stain takes 1-2 days of actual work spread over a week including drying time. Stripping takes 3-5 days. Professional jobs typically take 1-2 weeks but you are not doing the labor.
Many homeowners find the DIY gel stain method offers the best value. You save thousands while achieving results that look professionally done.
FAQ
Can you stain white cabinets without sanding?
You cannot skip sanding entirely, but you only need light scuffing with 220-grit sandpaper, not aggressive sanding. The surface needs texture for the gel stain to adhere. A liquid deglosser is an alternative to sanding but sanding provides the most reliable results.
How long does gel stain last on cabinets?
Properly applied and sealed gel stain lasts 5-10 years on kitchen cabinets with normal use. The polyurethane topcoat protects the stain from wear. High-traffic areas may need touch-ups sooner. Avoid harsh chemical cleaners to extend the finish life.
Can you stain over latex paint?
Yes, you can stain over latex paint using gel stain. Latex paint is actually easier to stain over than oil-based paint because it accepts gel stain well after proper preparation. Clean, sand, and degloss the latex paint surface before applying gel stain.
What’s the cheapest way to change cabinet color?
The cheapest way to change cabinet color is painting with quality cabinet paint, costing $30-60 for materials. However, if you specifically want a stained look, gel stain over existing paint costs $50-100 and is far cheaper than stripping and restaining or replacing cabinets.
Can you stain black painted cabinets?
You can apply gel stain over black painted cabinets, but the results depend on your goal. Gel stain can darken them further or shift the tone, but you cannot lighten black cabinets with stain. To achieve a lighter stained look, you must strip the black paint completely.
Will gel stain look like real wood?
Gel stain creates a convincing wood-like appearance but trained eyes can tell it is not traditional stain on bare wood. The finish looks like tinted varnish rather than penetrated wood grain. From a distance and in normal kitchen lighting, most people cannot distinguish gel stain from real stained wood.
How many coats of gel stain do I need?
Most projects need 2-3 coats of gel stain to achieve the desired color depth. Lighter colors may need only 2 coats. Dark colors like walnut or espresso often need 3 coats. Always let each coat dry 24 hours before applying the next.
Conclusion
Can you stain cabinets that have been painted? Absolutely. The gel stain method makes it possible for any homeowner to transform painted cabinets without the mess and labor of stripping. With proper preparation and patience, you can achieve a rich, wood-like finish that updates your kitchen at a fraction of replacement cost.
Remember to match your method to your cabinet material and desired results. Solid wood cabinets give you the most options, while MDF and laminate work best with gel stain over paint. Always test on a hidden area first, follow the preparation steps carefully, and seal your finish for durability.
If your cabinets are structurally sound but visually dated, staining over paint offers an excellent path to a fresh look. Take your time with preparation, apply thin coats, and you will enjoy results that look professionally done.