
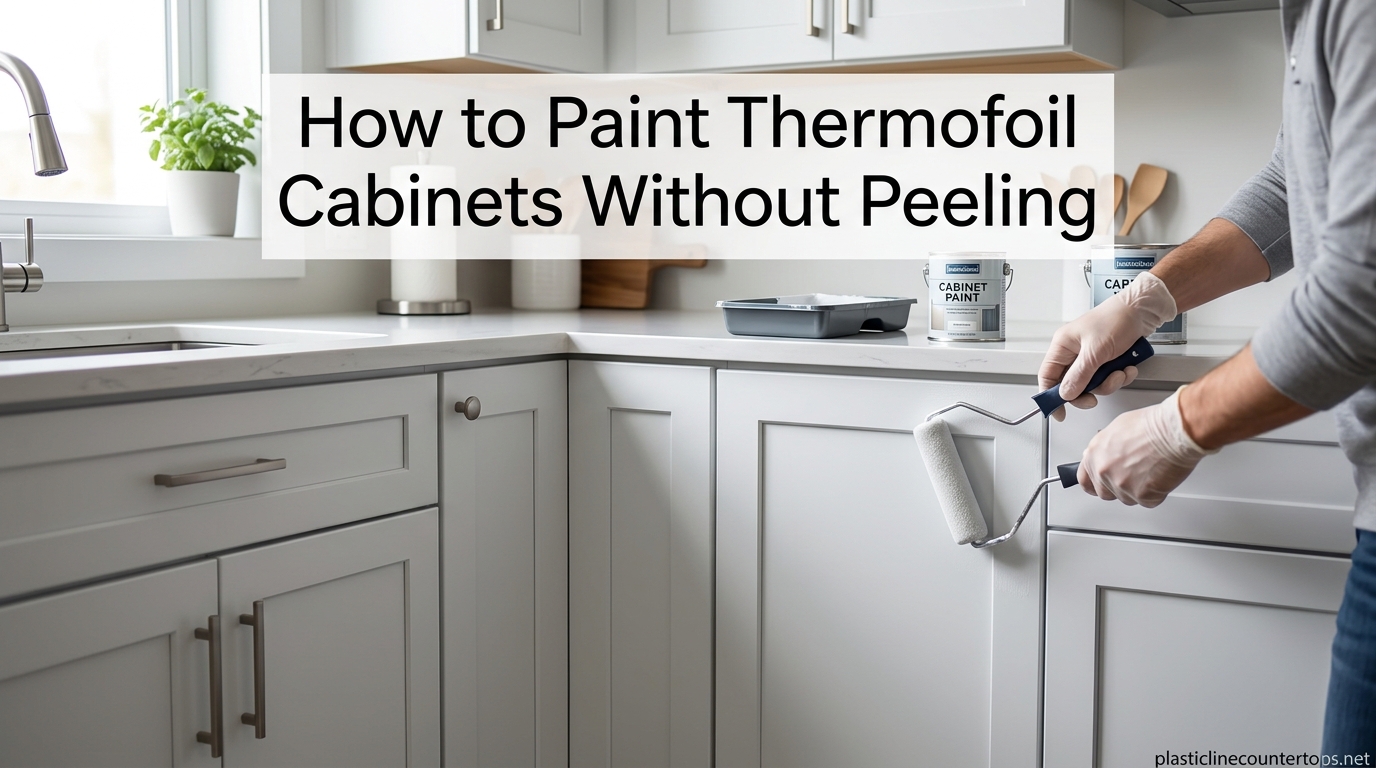
Learning how to paint thermofoil cabinets without peeling can save you thousands of dollars on a kitchen renovation. I have guided homeowners through this exact process, and the truth is that most paint failures happen because of skipped preparation steps. When you follow the right approach, you can transform dated thermofoil cabinets into a fresh, modern look that lasts 2026.
Our team at Plasticline Countertops has helped hundreds of clients update their kitchens. We have seen what works and what leads to disappointment. This guide shares the complete process we use to ensure painted thermofoil cabinets look professional and resist peeling.
By the end of this article, you will understand exactly what supplies you need, how to prepare the surface properly, which primers and paints actually bond to thermofoil, and realistic expectations for how long your finish will last.
Table of Contents
What Are Thermofoil Cabinets?
Thermofoil cabinets are made by bonding a thin vinyl layer to medium-density fiberboard (MDF) using heat and pressure. This manufacturing process creates a smooth, seamless surface that resists moisture and cleans easily. You will find thermofoil cabinets in many homes built between the 1980s and early 2000s, typically in white or beige finishes.
The vinyl layer is non-porous, which means it does not absorb moisture. This is great for durability but creates a major challenge for painting. Standard paint cannot grip this slick surface without proper preparation. The bond between the vinyl and MDF is strong when new, but heat and age can cause the vinyl to separate, creating the bubbling and peeling you may have noticed.
Most thermofoil cabinet doors have a thin edge banding that wraps around the MDF core. This edge is often the first place where failure occurs, especially near heat sources like dishwashers and ovens.
Why Thermofoil Is Challenging to Paint
The biggest obstacle when you paint thermofoil cabinets is adhesion. The vinyl surface is designed to be smooth and non-stick, which is exactly what makes it difficult for paint to bond. Without proper preparation, paint will sit on top of the surface rather than gripping it, leading to chipping and peeling within months.
Heat exposure is another major challenge. Kitchens generate significant heat near stoves, dishwashers, and even refrigerators. Over time, this heat can cause the vinyl layer to delaminate from the MDF underneath. When you paint over thermofoil without addressing underlying damage, the paint fails along with the vinyl.
Based on forum discussions with homeowners who have attempted this project, the most common complaints are paint bubbling within weeks, peeling around handles and edges, and poor adhesion even with primer. These issues almost always trace back to inadequate surface preparation or using the wrong products.
Supplies You Will Need
Gathering the right materials before you start will make the process smoother and improve your results. Here is what our team recommends based on real-world testing:
Cleaning and Prep:
- TSP substitute or heavy-duty degreaser (we like Simple Green Pro HD)
- 220-grit sandpaper or sanding sponge
- 320-grit sandpaper for between coats
- Clean microfiber cloths
- Screwdriver for hardware removal
- Painter’s tape
Priming and Painting:
- Bonding primer (INSL-X Stix Waterborne Bonding Primer or Zinsser BIN)
- Self-leveling cabinet paint (Benjamin Moore Advance or Sherwin-Williams Emerald Urethane)
- High-quality foam roller (4-inch for flat surfaces)
- Angled sash brush (2-inch for edges and detail work)
- Paint tray and liners
- Paint conditioner (optional, for hot weather)
Do not substitute the bonding primer with standard primer. Bonding primers contain special adhesion promoters that grip slick surfaces like vinyl. This is the difference between success and failure.
How to Paint Thermofoil Cabinets Without Peeling
Follow these steps in order. Each builds on the previous one to create a finish that resists peeling and looks professional.
Step 1: Remove Hardware and Label Everything
Remove all cabinet doors, drawers, and hardware. Keep screws in labeled bags so you know exactly where they belong. Number each door and drawer with masking tape, matching the location to your labels. Take photos of the original layout before disassembly.
Work on doors and drawers horizontally whenever possible. This prevents drips and allows paint to level properly.
Step 2: Deep Clean with Degreaser
This is the most important step that DIYers skip. Kitchen cabinets accumulate years of grease, cooking oils, and hand oils that create an invisible barrier. Paint cannot bond through this residue.
Mix your degreaser according to the label directions. Wearing gloves, scrub every surface thoroughly with a non-abrasive pad. Pay special attention to areas near the stove and handles, where grease concentrates. Rinse with clean water and let dry completely.
If water beads up on the surface, you still have grease. Clean again until water spreads evenly.
Step 3: Scuff Sand the Surface
You do not need to sand through the vinyl. The goal is to create microscopic scratches that give the primer something to grip. Use 220-grit sandpaper or a sanding sponge and sand every surface lightly.
Work in circular motions and focus on consistent coverage. You are looking for a slightly dulled appearance, not exposed MDF. The surface should feel slightly rough to the touch but not fuzzy.
Be careful around edges and corners. The MDF underneath can get fuzzy if you sand too aggressively, which will show through your paint.
Wipe away all dust with a microfiber cloth. A vacuum with a brush attachment helps remove dust from corners and edges.
Step 4: Apply Bonding Primer
Apply one coat of bonding primer using a foam roller for flat surfaces and a brush for edges. Work in thin, even coats. The primer should look slightly translucent when wet but will dry opaque.
INSL-X Stix is our top recommendation because it bonds aggressively to difficult surfaces and sands smoothly. Zinsser BIN is another excellent option, especially for cabinets with existing stains or yellowing.
Let the primer dry according to the manufacturer’s directions, typically 3-4 hours. Do not rush this step. Properly cured primer is the foundation of a durable finish.
Step 5: Sand the Primer Lightly
Once the primer is fully dry, lightly sand with 320-grit sandpaper. This removes any dust particles or imperfections and creates an even smoother surface for paint.
Do not sand through the primer. You want to scuff the surface, not remove the coating. Wipe away all dust before proceeding.
Step 6: Apply Paint in Thin Coats
Apply two to three thin coats of self-leveling cabinet paint. Thin coats dry harder and adhere better than one thick coat. Thick paint runs, sags, and takes forever to cure, which leads to failure.
Use a foam roller on flat surfaces, working in one direction. For edges and detail work, use an angled sash brush. Benjamin Moore Advance and Sherwin-Williams Emerald Urethane both level beautifully, minimizing brush marks.
Wait 4-6 hours between coats, or follow the paint can directions. The surface should feel dry to the touch before applying the next coat.
Step 7: Allow Proper Curing Time
This is where patience pays off. While paint may feel dry within hours, it takes time to reach full hardness. Cabinet paint typically needs 7 days to handle lightly and 30 days to reach full cure.
During the first week, avoid closing cabinet doors completely. Use small pieces of foam or painter’s pyramids to keep doors slightly open, allowing air to circulate. This prevents the painted surfaces from sticking together.
Wait at least 7 days before reinstalling hardware and using cabinets normally. The full 30-day cure gives you the hardest, most durable finish.
Choosing the Right Primer and Paint
The products you choose directly impact your success when painting thermofoil cabinets. Standard latex primer and paint will fail. You need products specifically formulated for difficult surfaces.
Bonding Primer Options:
INSL-X Stix Waterborne Bonding Primer is the gold standard for thermofoil. It contains advanced adhesion promoters that bond to vinyl, laminate, and other slick surfaces. It dries quickly, sands smoothly, and provides an excellent base for cabinet paint.
Zinsser BIN Shellac-Based Primer is another excellent choice, particularly if you are dealing with cabinets that have stains, yellowing, or existing damage. The shellac base seals in stains and provides a hard surface for paint.
Paint Options:
Benjamin Moore Advance is a waterborne alkyd that levels like oil paint without the toxic fumes. It dries to a hard, furniture-quality finish that resists scratches and chips. Our team has seen Advance finishes last 2-3 years on thermofoil before showing wear.
Sherwin-Williams Emerald Urethane Trim Enamel offers similar performance with excellent self-leveling properties. It is available in satin, semi-gloss, and gloss finishes. The urethane formula provides durability that stands up to daily kitchen use.
Painting Technique Tips
How you apply paint matters as much as what paint you use. These techniques will help you achieve a smooth, professional finish.
Use Thin Coats Only: Apply paint thin enough that you can still see the primer underneath in spots. The second and third coats will build coverage. Thin coats dry faster, harder, and smoother than thick coats.
Choose the Right Roller: Foam rollers designed for cabinets and doors work best on thermofoil. Do not use standard nap rollers, which leave texture and can introduce air bubbles. A 4-inch foam roller covers cabinet doors efficiently.
Work in the Right Conditions: Paint when temperatures are between 60-75 degrees Fahrenheit with moderate humidity. High heat causes paint to dry too fast, preventing proper leveling. High humidity slows drying and can cause haziness.
Maintain a Wet Edge: Work in sections and keep a wet edge to prevent lap marks. This means overlapping each stroke slightly with the previous one while the paint is still wet.
Drying and Curing Time
Understanding the difference between drying and curing will help you avoid common mistakes that lead to damage.
Dry to Touch: Paint feels dry to the touch within 4-6 hours. At this stage, you can apply additional coats, but the paint is still soft underneath.
Recoat Time: Wait the full recoat time specified on the can before applying the next coat. Applying paint over partially cured paint causes adhesion problems.
Light Use: After 7 days, the paint is hard enough for light use. You can reinstall hardware and use cabinets gently. Avoid scrubbing or heavy contact.
Full Cure: Cabinet paint reaches full hardness after 30 days. At this point, the finish is as durable as it will get. You can clean normally and expect the finish to hold up to daily use.
Rushing the cure time is one of the biggest mistakes we see. Paint that is used too early never reaches its full durability potential.
How Long Will Painted Thermofoil Last?
Let us be honest about expectations. Painted thermofoil cabinets typically last 1-3 years before showing signs of wear. This is based on real homeowner experiences shared in forums and our own observations.
High-traffic areas like under the sink, near the stove, and frequently opened drawers will show wear first. Heat exposure from appliances accelerates failure. Cabinets in bathrooms or powder rooms often last longer because they see less use and heat.
Factors that affect longevity include:
- Quality of preparation and products used
- Amount of daily use and traffic
- Proximity to heat sources
- Cleaning methods (harsh cleaners damage paint)
- Original condition of the thermofoil
If your thermofoil is already peeling or bubbling, painting over it will not stop the underlying problem. In those cases, removal or replacement is the better option.
Alternative: Heat Gun Removal Method
Sometimes painting over thermofoil is not the best choice. If your vinyl is peeling extensively, bubbling, or damaged, removing it and painting the exposed MDF may give better results.
When to Consider Removal:
Remove thermofoil instead of painting over it when more than 20 percent of the surface is peeling, the vinyl is bubbling from heat damage, or you want a longer-lasting solution. Painting exposed MDF creates a more durable finish than painting over vinyl.
The Removal Process:
Use a heat gun or hair dryer on high heat to warm the vinyl. Work in small sections, heating until the vinyl softens and releases from the MDF. Peel slowly, keeping the heat directed at the seam where vinyl meets substrate.
Work carefully around edges. The MDF underneath can chip if you pull too hard. Some homeowners report removing thermofoil from a cabinet door in 10-15 minutes with a heat gun.
Once removed, sand the exposed MDF with 220-grit sandpaper to smooth any residue. Clean thoroughly and apply bonding primer as described above. The painting process is the same, but your results will last longer.
Common Mistakes to Avoid
Learning from others’ failures will save you time and frustration. These are the most common mistakes we see based on forum discussions and our own experience.
Skipping the Degreaser: Every failed paint job we have seen started with inadequate cleaning. You cannot see kitchen grease, but it will defeat your primer.
Applying Thick Coats: Thick paint looks good for a day, then sags, runs, and peels. Thin coats are the only way to lasting success.
Sanding Too Aggressively: Thermofoil is thin. Sand through it and you expose the MDF, creating a texture problem that shows through paint.
Rushing the Cure: Using cabinets before paint has cured leads to chips, dents, and adhesion failure. The full 30 days matters.
Using Standard Primer: Bonding primer is not optional. Standard primer will fail on thermofoil.
Ignoring Heat Sources: Paint near stoves and dishwashers fails fastest. Consider heat shields or accept that these areas need touch-ups sooner.
FAQ
Can thermofoil cabinets be painted over?
Yes, thermofoil cabinets can be painted over with proper preparation. The key is thorough cleaning with degreaser, light scuff sanding to create grip, and applying a bonding primer designed for slick surfaces like vinyl. Without these steps, paint will peel within months.
What is the best primer for thermofoil?
INSL-X Stix Waterborne Bonding Primer is widely considered the best primer for thermofoil cabinets. It contains advanced adhesion promoters that bond aggressively to vinyl and other non-porous surfaces. Zinsser BIN Shellac-Based Primer is another excellent option, particularly for cabinets with stains or yellowing.
What is the best paint for thermofoil cabinets?
Benjamin Moore Advance and Sherwin-Williams Emerald Urethane Trim Enamel are the best paints for thermofoil cabinets. Both are self-leveling waterborne alkyds that dry to a hard, durable finish. They resist scratches and provide a smooth, professional appearance that holds up to kitchen use.
Can you peel off thermofoil and paint?
Yes, you can peel off thermofoil and paint the exposed MDF underneath for a more durable finish. Use a heat gun or hair dryer to soften the vinyl, then peel slowly. Sand the exposed MDF smooth, apply bonding primer, and paint as normal. This method often lasts longer than painting over the vinyl.
What is the life expectancy of thermofoil cabinets?
Original thermofoil cabinets typically last 10-15 years before showing age. Once painted, expect 1-3 years of good appearance before touch-ups or repainting becomes necessary. High-traffic areas and locations near heat sources show wear first. Cabinets in bathrooms may last longer than kitchen cabinets due to less heat and use.
Final Thoughts
Learning how to paint thermofoil cabinets without peeling is absolutely achievable when you follow the right process. The key steps are thorough degreasing, light scuff sanding, bonding primer application, and using quality self-leveling paint in thin coats. Rushing any step leads to the peeling and bubbling that gives this project a bad reputation.
Be realistic about expectations. Painted thermofoil is a temporary solution that refreshes your kitchen for 1-3 years, not a permanent fix. If your cabinets are heavily damaged or you want a 10-year solution, consider removing the thermofoil entirely or investing in cabinet refacing.
With proper preparation and the right products, you can transform dated thermofoil cabinets into a fresh, modern look that buys you time while you save for a more permanent renovation. Take your time, follow each step carefully, and enjoy your updated kitchen 2026.