
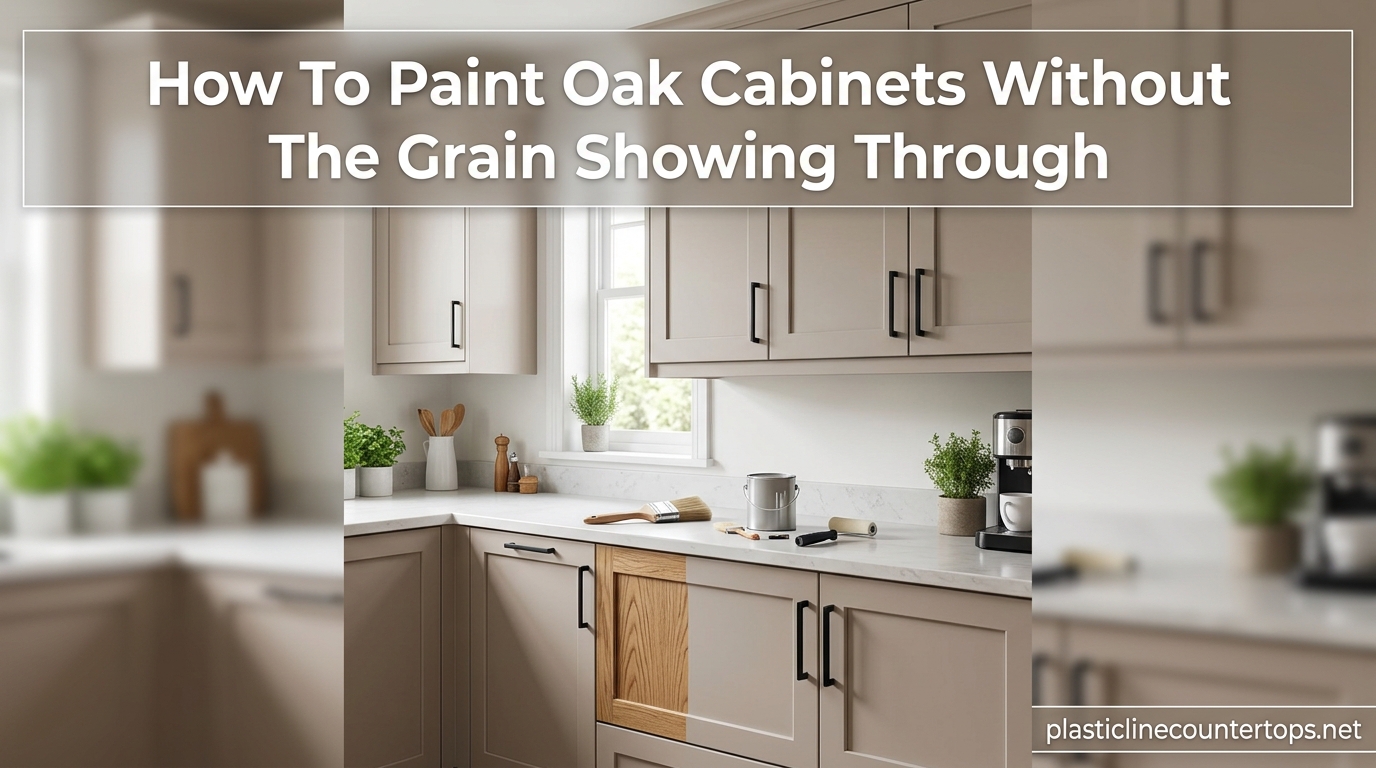
Learning how to paint oak cabinets without the grain showing through is the difference between a DIY project that looks professional and one that screams “I tried.” That distinctive oak texture has a way of reappearing through paint layers like a ghost, turning what should be smooth, modern cabinets into something that looks textured and amateur.
I have painted dozens of oak cabinet sets over the years, and I can tell you the secret upfront: grain filler is non-negotiable. Primer alone will not do the job, no matter how many coats you apply. This guide walks you through the exact process I use to achieve completely smooth, grain-free cabinet finishes that look like they came from a factory spray booth.
By the end of this tutorial, you will know which products actually work, why oak is so tricky to paint, and the step-by-step method that hides grain permanently. Let us get your cabinets from dated to stunning.
Table of Contents
Understanding Why Oak Grain Shows Through Paint
Oak is an open-grain hardwood with large, porous vessels that create those distinctive textured lines you see on the surface. When you paint over oak without filling these pores first, the paint sinks into the grain pattern. As it dries, the surface tension pulls the coating thinner over the raised grain areas, making the texture visible again.
The second challenge is tannins. Oak contains natural tannins that can bleed through water-based primers and paints, creating yellow or brownish discoloration that ruins a white or light-colored finish. This is why your carefully painted cabinets might look perfect for a week, then gradually develop staining that shows through the paint film.
Standard wall paints and even cabinet-specific coatings are not designed to fill grain. They are formulated to adhere and provide color, not to create a completely smooth substrate. Think of grain filler as spackle for wood: it fills the voids before you paint, creating a level surface that accepts finish coats evenly.
Grain Filler Options: Commercial Products vs DIY Methods
You have three main options for filling oak grain before painting. Each has distinct advantages depending on your budget, timeline, and the level of smoothness you want to achieve.
Commercial Grain Fillers
Aqua Coat Clear Grain Filler is the industry favorite among professional cabinet painters. It is water-based, low-odor, and designed specifically for oak. You apply it with a plastic spreader, let it set up for 15-20 minutes, then scrape off the excess across the grain. It dries clear and sands easily. A quart covers approximately 75-100 square feet and costs around $35-40.
Behlen Water-Based Grain Filler is another excellent option that behaves similarly to Aqua Coat. It comes in various wood tones, but for painted cabinets you want the clear or natural version. Behlen fills aggressively and requires careful sanding to avoid a cloudy appearance under light paint colors.
Timbermate Wood Filler is a water-based product that works well for grain filling on larger surface areas. It is more affordable than Aqua Coat but can be trickier to apply evenly. Professional painters often thin it slightly with water to improve workability.
The Drydex Spackle Method
Here is a budget-friendly alternative that many pros swear by: Drydex Wall Spackle mixed with fine sanding dust. The spackle provides body while the sanding dust (collected from your 80-grit sanding) adds tooth and helps the mixture bond to the wood.
Mix the spackle with sanding dust until you achieve a peanut butter consistency. Apply it with a plastic putty knife across the grain, pressing firmly to force the mixture into the pores. Let it dry completely (usually 2-4 hours), then sand smooth with 220 grit. This method costs about $8-10 for a tub of spackle that covers an average kitchen.
The trade-off: spackle is slightly more brittle than dedicated grain fillers and may develop hairline cracks over years of cabinet use. For most homeowners, this is not an issue, but high-traffic commercial applications should stick to commercial grain fillers.
Which Method Should You Choose?
Use Aqua Coat or Behlen if you want the most professional, durable result and are willing to spend $40-60 on materials. Choose the Drydex spackle method if you are on a tight budget or doing a small project like a bathroom vanity. Both methods work when applied correctly.
Tools and Materials You’ll Need
Having the right supplies before you start prevents frustrating mid-project store runs. Here is your complete checklist:
Sanding Supplies:
- 80-grit sandpaper (for initial sanding)
- 220-grit sandpaper (for between coats)
- 320-grit sandpaper (for final sanding)
- Sanding sponge for detailed areas
- Tack cloths
- Shop vacuum with brush attachment
Cleaning and Prep:
- TSP substitute cleaner
- Microfiber cloths
- Painter’s tape
- Plastic sheeting or drop cloths
Grain Filling:
- Grain filler of choice (Aqua Coat, Behlen, or Drydex)
- Plastic putty knife or spreader
- Fine-mesh strainer (if using spackle method)
Priming and Painting:
- Oil-based primer or shellac-based primer (Zinsser BIN or Kilz Original)
- Cabinet-grade paint (Insl-X Cabinet Coat, Benjamin Moore Advance, or Sherwin Williams Emerald)
- High-quality angled brush (2.5 inch)
- 4-inch foam rollers
- Paint sprayer (optional but recommended)
- Paint strainer
Finishing Touches:
- Paintable caulk
- Caulk gun
- Touch-up brush
How to Paint Oak Cabinets Without the Grain Showing Through: Step-by-Step
This is the complete process I follow for every oak cabinet project. Do not skip steps, and do not rush the drying times. Patience here is what separates professional results from DIY disappointment.
Step 1: Remove Doors, Drawers, and Hardware
Take everything off the cabinet boxes. Remove hinges, knobs, pulls, and drawer slides. Label each door and drawer front with masking tape indicating its location (“Upper Left,” “Island Drawer 3”). This prevents the nightmare of mismatched holes when reinstalling.
Remove drawer boxes from the drawer fronts if possible. Most modern cabinets have screws on the inside of the drawer box that attach to the front. This lets you paint the fronts flat without the bulk of the drawer box attached.
Step 2: Clean with TSP Substitute
Kitchen cabinets accumulate years of cooking grease, dust, and hand oils that will destroy paint adhesion. Mix TSP substitute according to package directions and scrub every surface thoroughly with a scouring pad.
Pay special attention to areas near the stove and sink. These see the most abuse. Rinse with clean water and let everything dry completely. Any residue left behind will cause adhesion problems later.
Step 3: Initial Sanding with 80 Grit
Sand all surfaces with 80-grit sandpaper to rough up the existing finish. You are not trying to remove the old finish completely, just scuff it enough for primer to grab onto. Use a random orbital sander for flat areas and a sanding sponge for detailed moldings and edges.
Vacuum thoroughly after sanding. Oak dust gets everywhere, and you do not want it contaminating your grain filler or paint. Wipe down with a tack cloth to capture the last bits of dust.
Step 4: Apply Grain Filler
This is the step that makes or breaks your finish. Apply your chosen grain filler across the wood grain (perpendicular to the grain lines) using a plastic spreader or putty knife. Press firmly to force the filler deep into the pores.
Work in sections about 2 feet square. After applying, wait 15-20 minutes for the filler to begin setting up, then scrape off the excess across the grain. Do not wipe with the grain yet. You want to leave filler in the pores but remove everything sitting on the surface.
Let the grain filler dry according to manufacturer directions. Aqua Coat needs about 1 hour; Drydex spackle needs 2-4 hours depending on thickness.
Step 5: Sand with 220 Grit
Once dry, sand the surface with 220-grit sandpaper. You are leveling the grain filler and removing any high spots. Sand until the surface feels smooth to the touch and you no longer see obvious filler residue on the surface.
Inspect carefully in raking light. Any remaining grain indentations will show through your paint. If you see deep pores that did not fill completely, apply a second coat of grain filler and sand again.
Step 6: Apply First Coat of Primer
Use an oil-based primer or shellac-based primer like Zinsser BIN. Do not use water-based primer on oak. The tannins in the wood will bleed through water-based products and create yellow or brown stains that are impossible to cover.
Apply primer with a sprayer for best results, or use a foam roller followed by light brushing. Apply a thin, even coat. Thick primer coats take forever to dry and can cause runs in detailed areas.
Let the primer dry completely. Oil-based primers need 24 hours; shellac-based primers dry in about 45 minutes but benefit from overnight curing.
Step 7: Sand with 320 Grit
Once the primer is dry, sand lightly with 320-grit sandpaper. You are not removing the primer; you are smoothing it. The goal is a surface that feels like satin when you run your hand over it.
Vacuum and tack cloth again. Primer dust is fine and will ruin your finish if not completely removed.
Step 8: Apply Second Coat of Primer
Apply a second coat of primer using the same method as the first. Two coats of primer are standard for oak cabinets. The first coat seals the wood and provides a base; the second fills any remaining imperfections and creates the smooth surface your paint needs.
Sand again with 320 grit after this coat dries. Yes, it is tedious. Yes, it is necessary.
Step 9: Caulk All Cracks and Details
Before painting, caulk any gaps between the cabinet frame and panels, around decorative molding, and where cabinets meet walls. Use paintable caulk and smooth it with a damp finger. Let it dry according to the caulk instructions.
This step is often skipped but makes a huge difference in the final appearance. Caulking eliminates the shadow lines that make painted cabinets look amateur.
Step 10: Apply First Coat of Paint
Now for the fun part. Use a cabinet-grade paint like Insl-X Cabinet Coat, Benjamin Moore Advance, or Sherwin Williams Emerald. These are specifically formulated to self-level and harden to a durable, furniture-quality finish.
If using a sprayer, thin the paint slightly with distilled water (about 10%) and strain it to prevent clogs. Apply thin, even coats. Multiple thin coats always look better than one thick coat.
If brushing and rolling, use a high-quality angled brush for edges and detailed areas, and a foam roller for flat surfaces. Work quickly to maintain a wet edge and prevent lap marks.
Let the first coat dry completely. This usually means overnight, even if the paint claims to be dry in 4 hours. Cabinet paint needs time to level and set.
Step 11: Light Sand and Final Coat
After the first coat dries, sand very lightly with 400-grit sandpaper or a fine sanding sponge. You are removing any dust nibs or imperfections, not cutting into the paint film.
Apply the final coat of paint using the same technique as the first. For most colors, two coats are sufficient. Dark colors or dramatic color changes might need three.
Let the cabinets cure for at least 7 days before reinstalling hardware and using them heavily. Cabinet paint continues to harden for up to 30 days, so treat them gently during the first month.
Common Mistakes and How to Avoid Them
Here are the errors I see most often on oak cabinet projects, and how to prevent them.
Mistake 1: Skipping Grain Filler
Multiple coats of primer and paint will not fill oak grain. I have seen homeowners apply 4 coats of primer only to have the grain ghost through within weeks. Grain filler is mandatory for smooth results.
Mistake 2: Using Water-Based Primer
Tannin bleed is real and it is ugly. Stick with oil-based or shellac-based primers for oak. Zinsser BIN shellac primer is my go-to because it dries fast and blocks tannins completely.
Mistake 3: Insufficient Sanding Between Coats
That rough, textured feeling you sometimes see on painted cabinets? It is usually caused by skipping the sanding between coats. Each sanding pass should leave the surface smoother than the last.
Mistake 4: Painting Over Dust
Primer and paint will adhere to dust particles instead of the cabinet surface, creating raised bumps and poor adhesion. Vacuum and tack cloth religiously between every coat.
Mistake 5: Rushing Dry Times
Paint that looks dry is not always cured. Painting over uncured layers causes solvent trapping, wrinkling, and soft finishes that chip easily. When the can says wait 24 hours, wait 24 hours.
Pro Tips for a Smooth, Professional Finish
These are the techniques that elevate your project from good to magazine-worthy.
Use a Paint Sprayer if possible. Even affordable HVLP sprayers ($100-150) produce smoother finishes than brushes and rollers. If you cannot spray, foam rollers create less texture than nap rollers.
Control Your Environment. Paint in a dust-free space with moderate temperature (65-75 degrees) and low humidity. High humidity prevents paint from drying properly and can cause blushing or cloudiness.
Thin Your Paint. Most cabinet paints benefit from 5-10% thinning with distilled water. This improves flow and leveling. Always strain thinned paint before spraying.
Sand With the Grain for final passes, but apply grain filler across the grain to force it into the pores. This seems counterintuitive but produces the best filling action.
Buy Extra Tack Cloths. You will use more than you think. A single piece of dust can ruin a final coat, so be obsessive about cleaning.
What If Grain Shows Through After Painting?
Sometimes despite your best efforts, grain texture becomes visible after the project is complete. This usually happens because the grain filler was not applied thickly enough or sanding removed too much filler from the pores.
If you notice grain showing through fresh paint, stop immediately. Let the paint cure for at least 48 hours, then sand the affected areas with 220 grit until smooth. Apply another coat of grain filler to those specific spots, let it dry, sand again with 320, and re-prime and paint.
For cabinets that were painted months ago and are now showing grain, the fix is more involved. You will need to sand down to the original wood (or at least through the paint to the primer), apply grain filler to the affected areas, and repaint. Prevention is much easier than correction.
If the issue is tannin bleed (yellowing or brown spots) rather than texture, apply a coat of shellac-based primer over the affected areas, then touch up with paint. Shellac blocks tannins completely.
FAQ
How do you hide the grain when painting oak cabinets?
Hide oak grain by applying a grain filler before priming and painting. Clean the cabinets, sand with 80-grit, apply grain filler across the grain, sand smooth with 220-grit, then apply two coats of oil-based or shellac-based primer followed by two coats of cabinet-grade paint. Sand between each coat with progressively finer grits for the smoothest finish.
What is the best grain filler for oak cabinets?
Aqua Coat Clear Grain Filler is the top choice among professional painters for oak cabinets. It is water-based, easy to sand, and designed specifically for filling open-grain woods. Behlen Water-Based Grain Filler is another excellent option. For budget projects, Drydex Wall Spackle mixed with sanding dust works well as a DIY alternative.
Can you paint over wood grain fillers?
Yes, wood grain fillers are specifically designed to be painted over. Once the filler is dry and sanded smooth, it creates a solid surface that accepts primer and paint normally. Most grain fillers dry clear or natural and do not affect paint color. Always sand the filler smooth before priming to ensure proper adhesion.
How to get a smooth finish when painting oak cabinets?
Achieve a smooth finish by filling the grain first with a commercial grain filler or spackle mixture. Use oil-based or shellac-based primer to block tannins. Sand between every coat with progressively finer grits (220, then 320, then 400). Apply thin, even coats of self-leveling cabinet paint using a sprayer if possible. Allow proper drying time between coats.
Why does wood grain show through paint?
Wood grain shows through paint because oak has large, open pores that create texture on the surface. Paint is not thick enough to fill these pores completely, so the coating sinks into the grain pattern and highlights the texture. Additionally, oak contains tannins that can bleed through paint and create discoloration. Grain filler is necessary to level the surface before painting.
Does oak need grain filler before painting?
Yes, oak absolutely needs grain filler before painting if you want a smooth finish. Oak is an open-grain wood with large pores that will show through paint indefinitely if not filled. Primer and paint alone cannot fill these pores. Skipping grain filler results in a textured, unprofessional appearance that looks like painted oak rather than factory-finished cabinetry.
Final Thoughts
Learning how to paint oak cabinets without the grain showing through is not difficult, but it requires patience and attention to detail. The key steps are simple: fill the grain, use the right primer, sand between coats, and allow proper drying time. Skip any of these and you risk the textured, amateur look that makes homeowners regret their DIY ambitions.
I have seen hundreds of oak cabinet transformations, and the ones that succeed follow this process exactly. The ones that fail invariably cut corners, usually by skipping grain filler or using water-based primer. Your cabinets deserve better.
Take your time, follow each step, and in a week you will have cabinets that look like they cost $15,000 to replace. The smooth, grain-free finish is absolutely achievable with the right approach. Happy painting.