
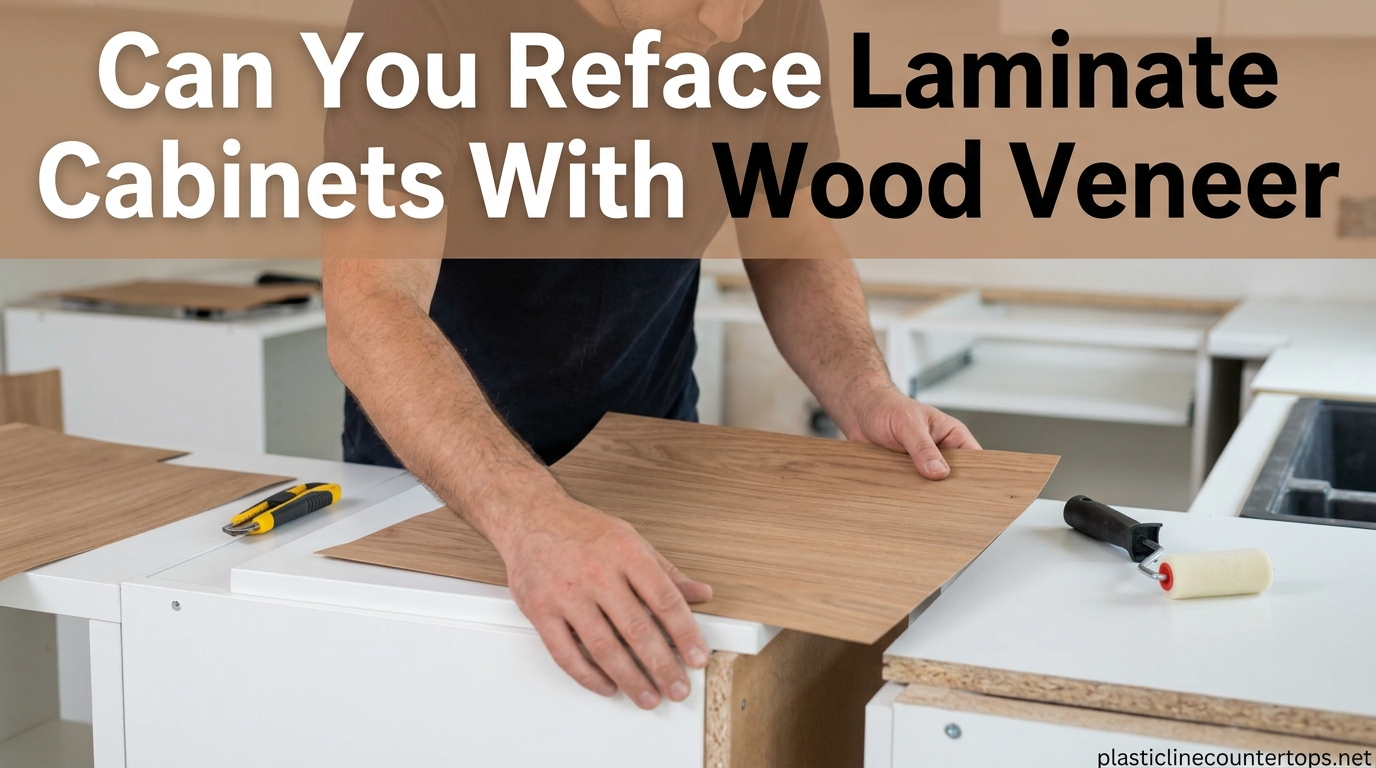
Yes, you can reface laminate cabinets with wood veneer. I have seen homeowners pull off this transformation dozens of times, and when the surface is prepped correctly, the results look like brand-new natural wood cabinets. The key is understanding that laminate is a smooth, non-porous surface, so adhesion takes some extra work, but it is absolutely doable as a weekend project.
Refacing your laminate cabinets with real wood veneer is one of the smartest budget moves in kitchen renovation. It typically costs one-third to one-half of full cabinet replacement while giving your kitchen a completely different look. Our team has researched the process thoroughly, pulled insights from professional carpenters and DIY forums, and put together this guide so you know exactly what to expect before you start.
In this article, I will walk you through which veneer types work best over laminate, how to prepare those slick surfaces so the veneer actually sticks, and the step-by-step application process. I will also be honest about when refacing is a bad idea so you do not waste time and money on a project doomed to fail.
Table of Contents
What Does It Mean to Reface Laminate Cabinets With Wood Veneer?
Cabinet refacing means keeping your existing cabinet boxes in place and covering the visible surfaces with a new material. Instead of tearing out your old cabinets, you apply a thin layer of real wood veneer over the exposed faces, replace the doors and drawer fronts, and update the hardware. The cabinet boxes stay exactly where they are.
Wood veneer is a thin sheet of real hardwood, typically between 0.5mm and 2mm thick. It is sliced from actual logs, so every sheet has genuine wood grain patterns. This is what sets it apart from laminate or thermofoil, which are synthetic materials printed to look like wood. When you run your fingers across a wood veneer surface, you feel real texture, not a printed pattern under plastic.
The reason so many homeowners consider refacing laminate cabinets with wood veneer comes down to cost and convenience. Forum users on Reddit and Houzz consistently report that refacing runs roughly 30 to 50 percent of what full replacement would cost. You avoid demolition, plumbing rework, and countertop removal. Your kitchen stays functional throughout most of the process.
Refacing is different from refinishing. Refinishing means sanding and restaining existing wood surfaces. Refacing means applying a completely new surface material over what is already there. Since laminate cannot be sanded down and stained, veneer is the realistic path to getting a natural wood look on laminate cabinets.
Types of Wood Veneer for Laminate Cabinet Refacing
Not all wood veneer is created equal, and the type you choose makes a big difference in how easy the project is and how long the results last. Here are the main options for covering laminate cabinets.
Pressure-Sensitive Adhesive (PSA) Veneer
PSA veneer, also called peel-and-stick veneer, is the most popular choice for DIYers tackling laminate cabinets. It comes with a pre-applied adhesive backing protected by a release paper. You peel off the backing and press the veneer directly onto the prepared surface. Forum users on r/DIY confirm that PSA veneers work well directly over laminate that is in good condition, as long as you scuff-sand the surface first.
The main advantage of PSA veneer is simplicity. You do not need to mix adhesives or worry about open time with contact cement. The disadvantage is that repositioning is difficult once the veneer makes contact with the surface. You get one shot at placement, so measuring and dry-fitting are critical.
Contact Cement Applied Veneer
Contact cement is the traditional method used by professional cabinet refacers. You apply a layer of contact cement to both the laminate surface and the back of raw wood veneer, wait for it to become tacky, and then press the two together. Once contact cement bonds, the grip is extremely strong and permanent.
This method gives you more control over adhesive quality and works on surfaces where PSA might struggle. The downside is the mess and the fumes. Contact cement requires ventilation, cleanup with solvents, and careful handling. It is also less forgiving if you need to reposition. Professional carpenters on cabinet refacing forums generally prefer this method for its superior long-term bond.
Raw Wood Veneer With Separate Adhesive
Raw wood veneer comes without any adhesive pre-applied. You purchase the veneer sheets and apply your own adhesive, which can be contact cement, yellow wood glue, or specialized veneer adhesive. This option gives you the most flexibility in species selection and sheet size, but it also requires the most skill.
For laminate surfaces, raw veneer with contact cement is the most reliable combination. The veneer is typically backed with a paper or wood backer sheet that improves stability and prevents cracking. If you are ordering custom species or grain patterns, raw veneer is usually what you will find.
Edge Banding Veneer
Edge banding is a narrow strip of veneer, typically pre-glued with a heat-activated adhesive, used to cover the exposed edges of cabinet panels. After you apply the flat veneer sheets to the cabinet faces, the raw edges of the substrate (usually particleboard) remain visible. Edge banding covers those edges with matching wood grain for a finished look.
You apply edge banding with a household iron set to medium heat. The heat activates the glue, and you press the strip onto the edge with a roller or block. It takes seconds per edge and makes the difference between a project that looks homemade and one that looks professional.
How to Prepare Laminate Surfaces for Wood Veneer
Surface preparation is the single most important step in this entire project. Laminate is designed to be smooth and non-porous, which is exactly what makes it tricky for adhesion. Skip the prep, and your veneer will peel off within months. Do it right, and the bond can last for years.
Step 1: Clean Thoroughly
Remove all cabinet hardware: hinges, knobs, pulls, and any decorative elements. Wash every surface you plan to cover with a degreasing cleaner. Kitchen cabinets accumulate layers of cooking grease that you might not even see, and any residue between the laminate and veneer will weaken the bond. Use a solution of warm water and dish detergent, then wipe down with mineral spirits or denatured alcohol to remove any remaining film.
Step 2: Sand the Laminate
This is the step most people want to skip, and the one that matters most. Sand every laminate surface with 220 to 320 grit sandpaper. You are not trying to remove the laminate. You just need to rough up the glossy surface enough to give the adhesive something to grab onto. The surface should feel uniformly dull and slightly rough after sanding. Forum members on Canadian Woodworking and DIYChatroom specifically recommend 320 grit for this step.
Wipe away all sanding dust with a tack cloth or a damp microfiber cloth. Any dust left on the surface will create bumps under the veneer and reduce adhesion.
Step 3: Inspect and Repair Damage
Check for loose laminate, water bubbles, or chipped areas. If the existing laminate is peeling away from the substrate, it needs to be re-glued down before you apply veneer over it. Veneer applied over loose laminate will simply detach along with the laminate underneath. Small chips can be filled with wood filler and sanded smooth. Large areas of damage may mean the cabinet is not a good candidate for refacing.
Step 4: Test Adhesion
Before committing to the entire project, test your veneer and adhesive combination on a small, hidden area of the cabinet. Apply a small piece of veneer using your chosen method, let it cure for 24 hours, and then try to peel it off. If it holds firmly, you are good to go. If it peels away easily, you need to sand more aggressively or switch to a stronger adhesive.
How to Reface Laminate Cabinets With Wood Veneer: Step-by-Step Process
Once your surfaces are prepped and you have confirmed good adhesion, it is time to apply the veneer. This is where patience pays off. Rush through this part and you will be redoing it in six months.
Step 1: Measure and Cut the Veneer
Measure each cabinet surface twice and write down the dimensions. Add about one inch of overhang on each side to every piece you cut. The overhang gets trimmed after application, and it is much easier to trim excess than to patch a piece that came up short. Use a sharp utility knife or a straight edge and veneer saw for clean cuts.
Step 2: Dry Fit Every Piece
Before peeling any backing or applying any adhesive, lay each piece of veneer against its intended surface. Confirm the fit, check the grain direction, and make sure adjacent pieces have grain patterns that flow naturally. This takes extra time but prevents the frustrating moment when you realize a piece is too small or the grain runs the wrong way after it is already stuck down.
Step 3: Apply the Veneer
For PSA veneer, peel back about two inches of the release paper along one edge. Position the veneer carefully against the surface, starting at one edge. Press the exposed edge down to anchor it, then slowly peel the rest of the backing away while smoothing the veneer onto the surface with your hands.
For contact cement, apply an even coat to both the laminate surface and the veneer back. Wait until both surfaces are dry to the touch, which usually takes 15 to 30 minutes. Then carefully position the veneer using dowel rods as spacers between the two surfaces. Remove the dowels one at a time from the center outward, pressing the veneer down as you go.
Step 4: Press and Smooth
Use a J-roller or a hard rubber roller to press the veneer firmly onto the surface. Start from the center and work outward in all directions. This forces out any trapped air bubbles and ensures full contact between the veneer and the laminate. Apply firm, consistent pressure. Air bubbles left under the veneer will eventually show as visible lumps.
Step 5: Trim the Excess
Once the veneer is fully pressed down, trim the overhanging edges flush with the cabinet surface. Use a laminate trimmer, a flush-trim router bit, or a sharp utility knife scored along a straight edge. Cut carefully along edges and corners. This is where forum users report the most frustration because veneer chips easily, especially at corners. Take your time and use light, controlled passes rather than trying to cut through in one stroke.
Step 6: Apply Edge Banding
Cut edge banding strips to length for every exposed edge. Use a household iron on medium heat to activate the adhesive backing. Press the banding onto the edge, then roll it with a J-roller or press with a block of wood while the adhesive is still warm. Trim the overhang with an edge trimmer or a file. Edge banding is what makes the project look finished, so do not skip this step.
Step 7: Seal and Finish
Raw wood veneer needs to be sealed to protect it from moisture and daily wear. Apply a clear polyurethane finish, a lacquer, or the finish of your choice according to the manufacturer’s instructions. Two to three coats is typical. Sand lightly between coats with 320 grit sandpaper for the smoothest finish. This protective layer is what keeps your refaced cabinets looking good for years instead of months.
When You Should NOT Reface Laminate Cabinets With Wood Veneer
I want to be straightforward about situations where refacing simply will not work or will not last. Some cabinets are beyond what veneer can fix.
If the particleboard or MDF underneath the laminate is swollen from water damage, do not reface. The structural damage will continue to worsen, and the veneer will eventually warp and detach along with the compromised substrate. You can identify water damage by pressing on the cabinet sides. If they feel soft or spongy, replacement is the better option.
If the existing laminate is peeling, bubbling, or loosely bonded to the cabinet box, applying veneer over it is a temporary fix at best. The veneer will detach wherever the laminate underneath is already failing. Re-glue loose laminate first, or reconsider whether these cabinets are worth the investment.
If your cabinet layout no longer works for your kitchen, refacing will not solve that problem. You will have the same awkward configuration dressed up in a new surface. Structural changes like moving cabinets, adding a pantry unit, or changing the layout require at least partial replacement.
Finally, if your cabinets sit in an extremely humid environment with poor ventilation, real wood veneer may struggle. Bathrooms without exhaust fans and kitchens near constant steam sources are tough on veneer. Laminate or thermofoil might actually perform better in those conditions because they are not affected by humidity changes.
DIY vs Professional Cabinet Refacing: Which Is Right for You?
Deciding between doing this yourself and hiring a professional comes down to your skill level, your budget, and how much you value your time.
The DIY Route
Doing it yourself with PSA peel-and-stick veneer can save you significant money. Material costs for a typical 10-by-10 foot kitchen run between $800 and $1,500 depending on the wood species you choose. The tradeoff is time. Expect to spend two to three full weekends on the project, including prep, application, trimming, and finishing.
The most common DIY complaint I found on forums is that the results look less than perfect around edges and corners. Veneer trimming takes practice, and your first few attempts will probably show it. If you are detail-oriented and patient, you can achieve professional-looking results. If you tend to rush projects, consider hiring help.
Hiring a Professional
Professional cabinet refacing for the same 10-by-10 kitchen typically runs $3,000 to $6,000, depending on your market and the materials chosen. Professionals bring experience, specialized tools, and usually a warranty on the work. The project is typically completed in two to four days instead of several weekends.
For comparison, full cabinet replacement on that same kitchen would run $8,000 to $15,000 or more when you factor in demolition, new cabinets, installation, plumbing adjustments, and countertop reinstallation. Refacing keeps the project at a fraction of that cost whether you DIY or hire it out.
Common Mistakes When Refacing Laminate Cabinets With Wood Veneer
After reading through dozens of forum posts from homeowners who have attempted this project, these are the mistakes that come up over and over.
Skipping the sanding step. This is the number one reason veneer fails on laminate. That glossy surface needs to be scuffed up. No amount of premium adhesive will bond to a smooth, shiny laminate surface the way it will to a properly sanded one.
Not testing adhesion first. Some laminate finishes are harder or slicker than others. Test a small area before committing to the whole kitchen. Five minutes of testing can save you hundreds of dollars in wasted veneer.
Rushing the trim work. Veneer is thin and chips easily, especially at corners and edges. Take light, controlled passes with your trimming tool. Trying to cut through in one aggressive pass almost always results in chipping that is hard to hide.
Ignoring grain direction. When you apply multiple veneer pieces side by side, the grain should flow in the same direction across adjacent surfaces. Grain running in different directions on neighboring panels is an instant giveaway that the job was done by an amateur.
Skipping the protective finish. Raw wood veneer absorbs moisture, stains, and grease. Without a protective topcoat, those beautiful new cabinet faces will discolor and degrade quickly in a kitchen environment.
FAQ
Can you put wood veneer over laminate cabinets?
Yes, you can apply wood veneer directly over laminate cabinets. The laminate surface must be in good condition and firmly bonded to the substrate underneath. Sand the laminate with 220 to 320 grit sandpaper to create a rough texture for adhesion, clean thoroughly, and use either pressure-sensitive adhesive (peel-and-stick) veneer or contact cement for the strongest bond.
How do you update laminate kitchen cabinets without replacing them?
You can update laminate cabinets without replacing them through refacing with wood veneer, painting with a bonding primer designed for laminate, applying peel-and-stick laminate sheets in a new color, or replacing just the doors and drawer fronts while keeping the existing cabinet boxes. Refacing with real wood veneer gives the most premium, natural wood appearance of these options.
What is the best material for refacing cabinets?
Real wood veneer is the best material for refacing cabinets when you want a natural wood look. PSA (peel-and-stick) veneer is the easiest to install for DIYers, while contact cement and raw veneer gives professional refacers the strongest permanent bond. Rigid thermofoil (RTF) and plastic laminate are also common refacing materials but do not provide the authentic wood texture and warmth that real veneer delivers.
Are veneer cabinets high end?
Wood veneer cabinets are considered a mid-to-high-end option in the cabinet industry. Real wood veneer provides genuine hardwood grain, texture, and warmth that synthetic materials cannot replicate. Many premium European cabinet manufacturers use wood veneer extensively. The perceived quality depends heavily on the species selected, the craftsmanship of the application, and the finish quality rather than the fact that veneer was used.
Can you resurface veneer cabinets?
Yes, you can resurface existing veneer cabinets. If the current veneer is well-bonded and in decent condition, you can sand it lightly and apply a new stain or clear finish. If the existing veneer is damaged, you can apply a new layer of veneer over it after proper surface preparation. Remove any loose or peeling sections, sand the surface, and follow the same adhesive application process used for laminate surfaces.
What is the downside of cabinet refacing?
The main downsides of cabinet refacing are that it does not fix structural problems, it cannot change the cabinet layout, and the veneer or surface material can chip at edges over time. Refacing also will not address issues with worn-out hinges, sagging shelves, or outdated interior configurations. Some homeowners also find that the visible cabinet interiors do not match the new exterior, which can look inconsistent when cabinet doors are open.
Final Thoughts on Refacing Laminate Cabinets With Wood Veneer
So, can you reface laminate cabinets with wood veneer? Absolutely, and thousands of homeowners do it every year. The project is well within reach for a patient DIYer willing to invest a couple of weekends, and the cost savings over full replacement are substantial.
The two things that determine success are surface preparation and patience during application. Sand that laminate thoroughly, test your adhesion before committing, and take your time with the trimming and finishing steps. PSA peel-and-stick veneer is the most forgiving option for first-timers, while contact cement delivers the most durable long-term bond for experienced hands.
If your laminate is in solid condition, firmly bonded, and you are happy with your current cabinet layout, refacing with wood veneer is one of the best returns on investment you can make in a kitchen update. Start with a small, hidden area to build confidence, and work your way through the kitchen methodically. The transformation is worth the effort.