
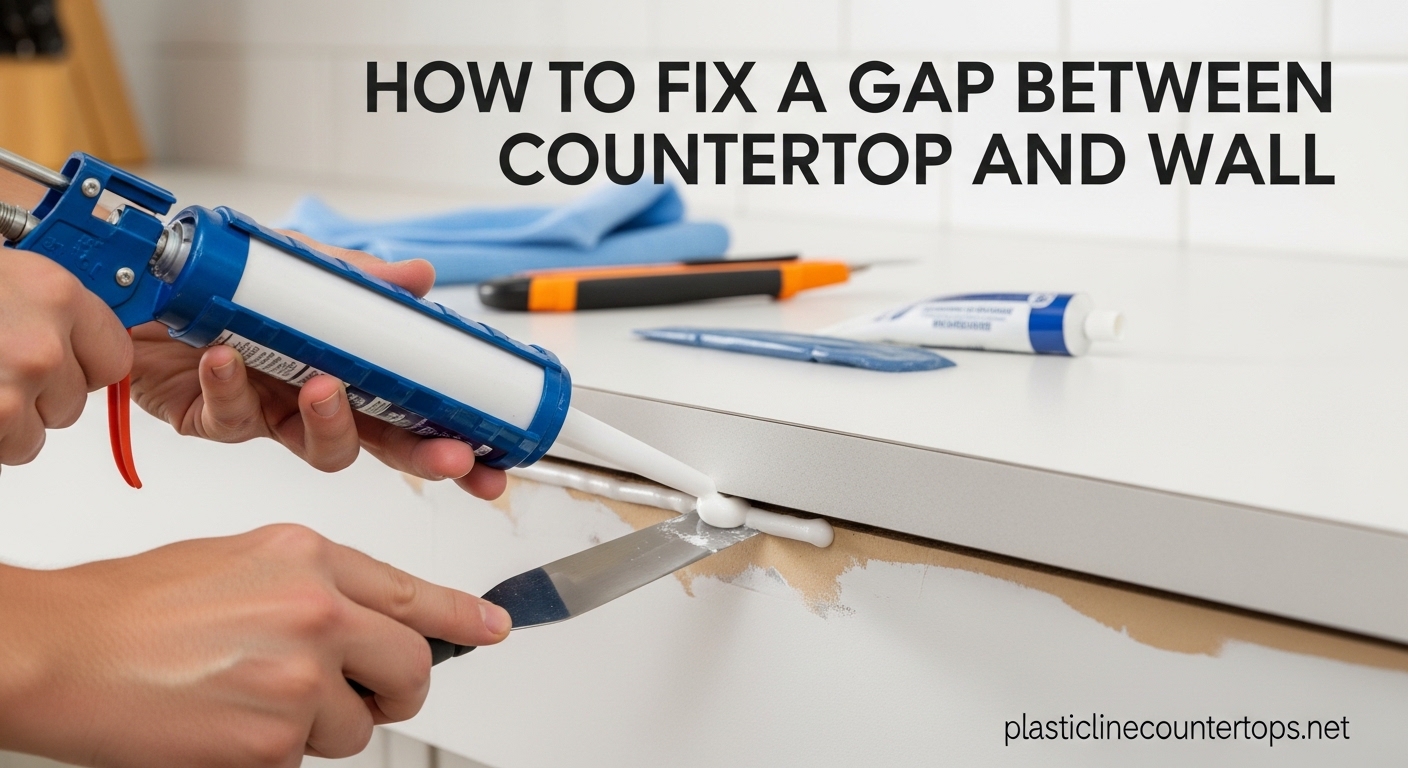
A gap between countertop and wall is a common issue that many homeowners face after installing a new countertop or over time as your home settles. These gaps not only look unprofessional but can also allow water damage, pest infiltration, and air leaks if left untreated. The good news is that fixing this problem is a straightforward DIY task that you can complete in an afternoon with the right materials and techniques.
Whether your gap is barely visible or several inches wide, this guide covers solutions for every gap size. We’ll walk you through identifying your gap type, selecting the right materials, and executing a clean, professional finish that lasts.
Table of Contents
Why Gaps Occur Between Countertop and Wall
Understanding why gaps form can help you prevent them in the future and choose the right repair method. Several factors contribute to gaps between countertops and walls:
- Uneven or bowed walls: Walls that aren’t perfectly straight create gaps, especially in older homes where settling is common
- Moisture expansion: Bathroom and kitchen environments experience humidity changes that cause materials to expand and contract
- Improper installation: If the countertop wasn’t fitted precisely to the wall during installation, gaps will be visible
- Settling shifts: Natural home settling over time can separate surfaces that were once flush
- Laminate countertop limitations: Preformed laminate countertops with built-in backsplashes often leave gaps because they can’t be custom-fitted to every wall contour
How to Measure Your Gap Size
Before choosing a repair method, you need to accurately measure your gap. Here’s how to do it:
- Clear the area completely of any items stored near the gap
- Use a tape measure or ruler to measure the widest point of the gap
- Measure in multiple spots along the gap length, as it may vary
- Note the measurements: under 1/4″, 1/4″ to 3/4″, or 3/4″ and larger
Accurate measurement ensures you select the right solution and materials for your specific situation.
Gap Size Solutions Overview
Use this comparison table to quickly identify which solution matches your gap size:
| Gap Size | Best Solution | Materials Needed |
|---|---|---|
| Under 1/4″ | Paintable latex caulk or silicone caulk | Caulk, caulk gun, painter’s tape |
| 1/4″ to 3/4″ | Backer rod + silicone caulk | Backer rod, silicone caulk, caulk gun |
| 3/4″ to 1″ | Quarter round molding or cove trim | Quarter round, construction adhesive, finishing nails |
| 1″ or larger | Filler strips or custom trim pieces | Filler strips, construction adhesive, wood screws if needed |
Small Gap Solutions (Under 1/4″)
For gaps under 1/4 inch, caulk alone provides an effective, flexible seal. This is the simplest and fastest solution.
Best caulk types for small gaps:
- Paintable latex caulk: Easy to apply, cleans up with water, can be painted to match your wall
- Silicone caulk: More flexible and waterproof, ideal for kitchens and bathrooms
- Paintable silicone caulk: Combines the best of both worlds—flexibility with paintability
Small gaps are the easiest to fix and require minimal materials. The key is selecting a quality caulk designed for countertop applications.
Medium Gap Solutions (1/4″ to 3/4″)
For medium-sized gaps, using a backer rod underneath your caulk provides crucial support that prevents cracking and ensures a long-lasting seal.
What is a backer rod?
A backer rod is a flexible foam cylinder inserted into gaps before caulking. It serves three important purposes:
- Provides structural support for the caulk layer above
- Creates a uniform depth for consistent caulk application
- Reduces the amount of caulk needed, saving money
Select a backer rod that’s approximately 25% larger than your gap width—it should fit snugly without requiring force. The backer rod should be compressed to about 25-50% of its original diameter when inserted.
Large Gap Solutions (3/4″ to 1″+)
Larger gaps require trim pieces or filler materials rather than caulk alone. Several options work well:
Quarter Round Molding
Quarter round molding is a curved trim piece that’s commonly used for this purpose. It attaches to the countertop edge or wall and covers the gap with a finished profile. Secure it with construction adhesive and finishing nails.
Cove Trim
Cove trim features a concave profile that creates a smooth, water-resistant transition between the countertop and wall. This option works particularly well in bathrooms where water resistance is essential.
Filler Strips
For gaps 1 inch or wider, custom filler strips made from matching countertop material provide the most seamless appearance. These can be cut to size and attached with construction adhesive. In some cases, you may need to use screws or mechanical fasteners for extra security.
Alternative Solutions from Homeowners
Community discussions have surfaced creative solutions for very large gaps that work in specific situations:
- Airstone or stone veneer: Can cover extremely large gaps while adding a decorative accent
- Bondo with foam backing: For gaps between 1-2 inches, foam backer rod provides support while Bondo creates a solid fill
- Sprayable foam: Professional-grade spray foam can fill deep cavities, but must be trimmed and covered with caulk or trim for a finished look
Tools and Materials You’ll Need
Before starting your gap repair project, gather these essential tools and materials:
- Tape measure or ruler
- Painter’s tape
- Caulk gun
- Paintable latex or silicone caulk
- Backer rod (various sizes)
- Quarter round or cove trim molding
- Construction adhesive
- Finishing nails and hammer, or brad nailer
- Utility knife
- Caulk smoothing tool or finger
- Paper towels or clean rags
- Denatured alcohol for cleaning (silicone caulk requires a clean surface)
Having all materials ready before you start ensures a smooth workflow and prevents mid-project trips to the hardware store.
Step-by-Step Gap Filling Instructions
Step 1: Prepare the Area
Remove all items from the countertop and clear the gap area completely. Clean the gap and surrounding surfaces with a clean, dry cloth. If using silicone caulk, wipe the area with denatured alcohol to remove any oils or residues that could prevent proper adhesion.
Step 2: Apply Painter’s Tape
Apply painter’s tape along both edges of the gap—the countertop edge and the wall edge. This creates clean caulk lines and prevents caulk from spreading onto surfaces where you don’t want it. Leave approximately 1/8″ to 1/4″ of gap exposed between the tape strips.
Step 3: Insert Backer Rod (If Needed)
For gaps 1/4″ or larger, insert an appropriately sized backer rod into the gap. Push it in until it sits about 1/4″ below the surface. The backer rod should fit snugly without requiring excessive force. This step is crucial for medium and large gaps—it provides the structural support that keeps your caulk from cracking.
Step 4: Load and Prepare Your Caulk Gun
Cut the tip of your caulk tube at a 45-degree angle. The opening should be slightly smaller than the gap width. Puncture the seal inside the tube using the built-in puncture wire or a long nail. Load the tube into your caulk gun.
Step 5: Apply the Caulk
Hold the caulk gun at a 45-degree angle and apply even pressure on the trigger as you move steadily along the gap. Maintain consistent speed and pressure for an even bead. Don’t worry if the initial application isn’t perfect—you’ll smooth it in the next step.
Step 6: Smooth the Caulk
Within 5-10 minutes of application (before the caulk skins over), smooth the bead using a caulk smoothing tool or a wet finger. Dip your finger in water with a tiny drop of dish soap for smooth, non-stick application. Work in long, continuous strokes for a professional finish.
Step 7: Remove Tape and Allow to Cure
Carefully remove the painter’s tape immediately after smoothing, pulling it away at a 45-degree angle. This prevents the caulk from tearing and pulling away with the tape. Allow the caulk to fully cure according to manufacturer instructions—typically 24-48 hours before exposing to water or heavy use.
Step 8: Install Trim for Large Gaps
For gaps requiring trim pieces, measure and cut your quarter round or filler strip to fit. Apply construction adhesive to the back and press firmly into place. If using nails, predrill to prevent splitting and secure with finishing nails. Fill nail holes with wood filler and touch up with paint if needed.
Common Mistakes to Avoid
These errors can compromise your repair and lead to future problems:
- Skipping the backer rod: Applying caulk directly to deep gaps without support leads to cracking and seal failure within months
- Using the wrong caulk type: Non-paintable caulk limits your finish options; silicone caulk requires thorough surface cleaning for proper adhesion
- Not allowing proper cure time: Exposing fresh caulk to water or stress before it’s fully cured weakens the seal
- Gaps too large for simple caulking: Attempting to fill gaps over 1/4″ with caulk alone results in sagging, cracking sealants that won’t hold
- Insufficient surface preparation: Dirt, grease, or moisture on the surfaces before application prevents proper adhesion
- Choosing aesthetics over practicality: Decorative trim in wet areas without waterproof adhesive will eventually peel away
When to Call a Professional
While most gap repairs are DIY-friendly, certain situations warrant professional help:
- Gaps indicating structural issues: Large or expanding gaps may signal foundation movement requiring professional assessment
- Custom filler fabrication: Gaps requiring custom-cut materials that match your specific countertop may need professional fabrication
- Gas line proximity: If the gap is near any gas lines, always consult a licensed professional
- Warranty concerns: Some countertop warranties may be voided by improper self-repair; check your warranty terms first
- Persistent recurring gaps: If gaps return despite proper repair, the underlying cause needs professional diagnosis
For Plasticline Countertops customers, our installation team can address gap issues during initial installation to prevent future problems. Contact us for consultation if you’re experiencing recurring gap issues with your countertop.
Preventing Future Gaps
Taking preventive steps during countertop installation can eliminate gaps from forming:
- Request that installers scribe the countertop edge to match wall contours for a custom fit
- Use adjustable clips or brackets that allow minor movement without creating gaps
- Ensure proper wall preparation before installation—filling dips and smoothing uneven surfaces
- Apply a quality silicone caulk seal along the entire countertop-wall joint during initial installation
- Maintain consistent humidity levels in your home to minimize material expansion and contraction
FAQ
How to fill a gap between a counter top and a wall?
For gaps under 1/4 inch, use paintable latex caulk. For medium gaps (1/4″ to 3/4″), insert a backer rod first, then apply silicone caulk. For larger gaps, use quarter round molding, trim strips, or filler pieces secured with construction adhesive.
How big of a gap can I fill with caulk?
Caulk alone can effectively fill gaps up to 1/4 inch. For gaps between 1/4 inch and 3/4 inch, use a backer rod underneath the caulk for support. Gaps larger than 3/4 inch typically require trim pieces, molding, or filler strips.
What is the best way to fill the gap between kitchen cabinet and wall?
The best method depends on gap size: under 1/4 inch use paintable caulk, 1/4 to 3/4 inch use backer rod with silicone caulk, and over 3/4 inch use quarter round trim or custom filler strips. Always clean the area thoroughly before applying any filler.
Should you caulk between a countertop and a wall?
Yes, sealing gaps between countertop and wall is important to prevent water damage, pest infiltration, and air leaks. It also provides a cleaner, more finished appearance. Use a waterproof silicone caulk for wet areas like kitchens and bathrooms.
Fixing a gap between countertop and wall doesn’t have to be a complicated project. With the right approach and materials, you can achieve a professional-looking seal that protects your home and enhances your countertop’s appearance. Start by measuring your gap, choose the appropriate solution from this guide, and follow our step-by-step instructions for lasting results.
If you have questions about your specific situation or need guidance on products for your Plasticline Countertops installation, don’t hesitate to reach out for expert advice.