
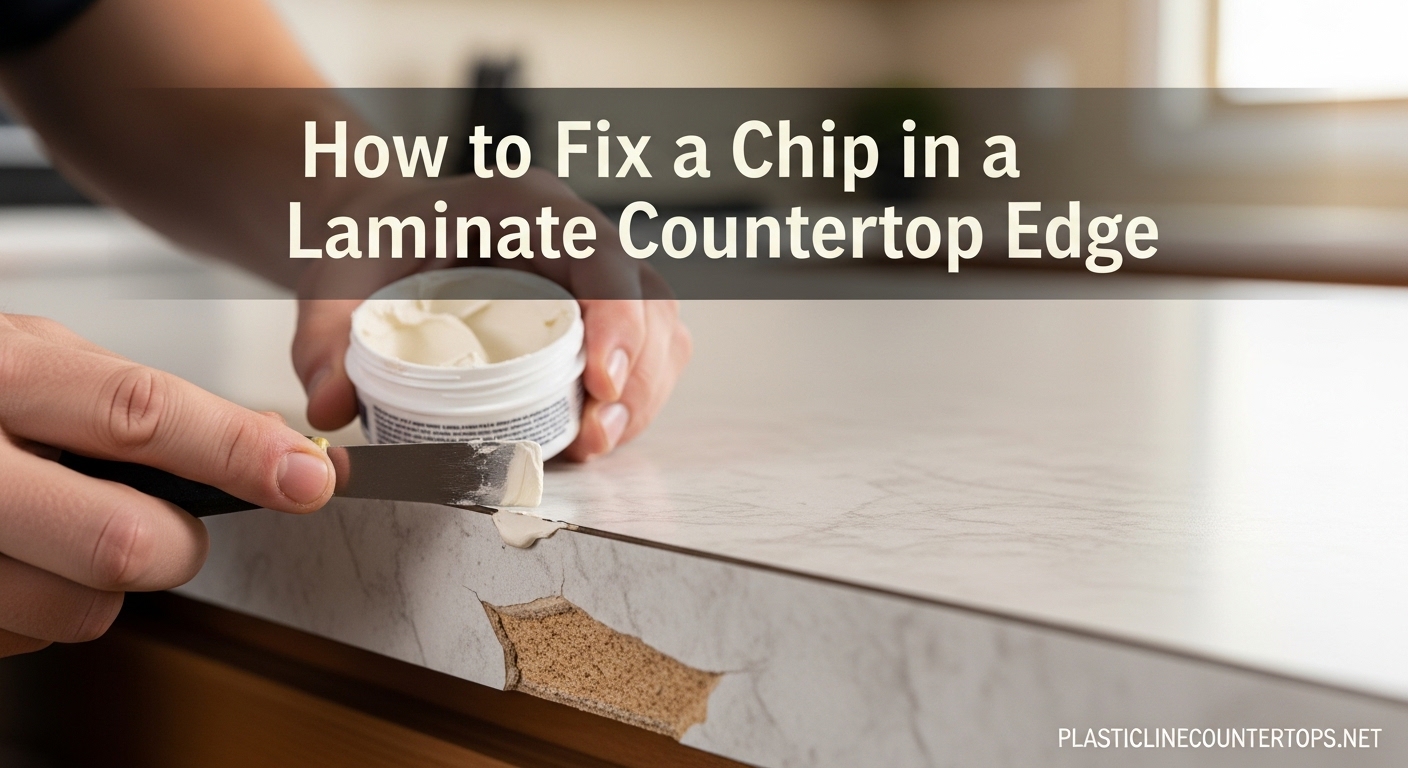
That chip on your laminate countertop edge is not just an eyesore. It is an open door for water to seep into the particleboard core underneath, and that moisture can cause swelling, warping, and expensive damage. The good news: you can fix a chip in a laminate countertop edge yourself with basic tools and materials that cost under $20. Our team has tested multiple repair methods over the years, and I will walk you through exactly what works.
In this guide, you will learn how to assess whether your chip is repairable, what materials you actually need, and the step-by-step process to make that edge look presentable again. I will also share which methods have held up for 4+ years in real kitchens and which ones to skip.
Table of Contents
How to Fix a Chip in a Laminate Countertop Edge: Quick Answer
For small chips smaller than a dime where the particleboard underneath is dry: clean the area with rubbing alcohol, fill the chip with color-matched laminate repair paste or hard wax, smooth it flush with a putty knife, and seal the edges with clear sealant. Allow 24 hours to cure before use.
If the chip is larger than a quarter, shows signs of water damage like swelling or discoloration, or the particleboard feels soft or spongy, replacement is your better option. Repairing water-damaged laminate is temporary at best.
First, Assess the Damage Honestly
Before you buy any repair materials, take a hard look at that chip. Run your finger over it. Does the exposed particleboard feel firm and dry, or soft and damp? A firm, dry core means you can proceed with repair. Soft, spongy, or discolored core means water has already gotten in, and no surface repair will stop the internal damage from spreading.
Check the size too. Chips smaller than a dime are ideal candidates for DIY repair. Chips between a dime and a quarter can be repaired but will be more visible. Anything larger than a quarter will be difficult to blend seamlessly and may warrant professional assessment.
Look at the location. Edge chips near the sink see the most moisture exposure and take the most abuse from dishes and pots. These high-traffic areas need the most durable repair method, which I will cover in the step-by-step section.
Why Edge Chips Are Different From Surface Damage
Laminate countertop edges are postformed, meaning the laminate sheet is heated and rolled over the edge in one continuous piece. This creates a smooth, rounded profile without seams. When you chip the edge, you are damaging the most vulnerable part of the countertop where the laminate curves around the corner.
Unlike surface chips that sit on a flat plane, edge chips expose the edge of the particleboard core. This core is highly absorbent and will swell quickly if water gets in. The curved profile also makes repairs trickier because you need to recreate that smooth roll rather than just filling a flat hole.
Corner chips are the most challenging because they involve two edges meeting. The repair material needs to hold on both planes while matching the curve where they join. I will address specific techniques for corners later.
Tools and Materials You Will Need
Here is the complete checklist. Gather everything before you start. Stopping mid-repair to hunt for supplies is how you get dust and debris in your patch.
Required tools:
- Plastic putty knife or applicator
- Fine-grit sandpaper (220 grit)
- Clean cloths or paper towels
- Razor blade or sharp utility knife
- Masking tape
Cleaning supplies:
- Isopropyl alcohol (70% or higher) or degreasing cleaner
- Clean water for rinsing
Repair materials (choose one method):
- Color-matched laminate repair paste or filler
- Hard wax repair kit (wood filler crayons work too)
- Enamel model paint and clear nail polish (budget option)
- Laminate adhesive or contact cement (if reattaching broken piece)
Finishing supplies:
- Clear polyurethane or acrylic sealant
- Small artist brush for application
Most of these items are available at hardware stores, home centers, or online. The repair paste or hard wax kit will be your biggest expense at $10-15, but one kit handles multiple repairs.
Step-by-Step: How to Fix a Chip in a Laminate Countertop Edge
Follow these steps in order. Skipping preparation is the most common reason repairs fail or look obvious.
Step 1: Clean the Damaged Area Thoroughly
Wipe down the entire area around the chip with isopropyl alcohol on a clean cloth. This removes grease, food residue, and oils that will prevent your repair material from adhering. Pay special attention to the chipped edge itself and the exposed particleboard.
Let the area dry completely. Alcohol evaporates quickly, but do not rush this. Any moisture trapped under your repair will cause problems later. If you used a different cleaner, rinse with clean water and dry thoroughly.
Step 2: Do You Still Have the Broken Piece?
If the chipped piece broke off cleanly and you saved it, you have options. Clean both the broken piece and the chip area with alcohol. Apply laminate adhesive or contact cement to both surfaces, let it get tacky (follow product instructions, usually 5-10 minutes), then press the piece firmly into place.
Use masking tape to hold the piece while the adhesive cures. This reattachment method gives the most seamless result when it works. If the piece is missing, chipped into multiple fragments, or the break is jagged, proceed to the filling method in Step 3.
Step 3: Apply Your Repair Material
For repair paste: Squeeze a small amount of color-matched paste onto your putty knife. Press it firmly into the chip, overfilling slightly. The goal is complete contact with the exposed core and sides of the chip. Do not worry about excess yet.
For hard wax: Choose the wax color closest to your countertop. Use a heat gun or hair dryer to soften the wax, then press it into the chip. Build up layers if needed. Hard wax is more forgiving for color matching because you can blend multiple shades.
For enamel paint (budget method): This works best for small chips and hairline damage. Use Testors or similar model enamel paint. Apply in thin coats with a small brush, letting each coat dry before adding the next. Build up until level with the surface.
Work in good light so you can see when the material fills the void completely.
Step 4: Smooth and Shape the Repair
Once your repair material has partially set (check product instructions, usually 15-30 minutes for paste, immediately for wax), it is time to smooth it.
For paste: Use a razor blade held at a shallow angle to scrape the excess flush with the countertop surface. Work carefully along the edge to maintain the curved profile. The goal is level with the surrounding laminate, not built up above it.
For wax: While still warm and pliable, smooth with a putty knife or your finger protected with a plastic bag. Blend edges into the surrounding surface.
For paint: Once fully dry (24 hours), use 220-grit sandpaper very lightly to smooth any brush marks or ridges. Be careful not to sand through the paint layer.
Step 5: Seal the Edges for Protection
This step is critical and often skipped. Your repair is only as good as its ability to keep water out. Apply a thin coat of clear polyurethane or acrylic sealant over the repair and slightly onto the surrounding laminate.
Use a small artist brush for control. Apply thin coats to avoid drips on the vertical edge. Two thin coats are better than one thick coat. Let the first coat dry completely before applying the second.
The sealant creates a water-resistant barrier that protects both your repair and the particleboard core underneath. Without this step, moisture will eventually penetrate and ruin your work.
Repair Method Comparison: Which Should You Choose?
Not all repair methods are equal. Here is how they compare based on our testing and forum feedback from homeowners who have lived with these repairs.
Laminate Repair Paste: Best for small chips under dime-size. Good color matching if you choose the right shade. Moderate durability. Can be sanded and shaped. Dries hard and holds up well to cleaning. Downside: can dry out in the tube before you use it all.
Hard Wax Repair: Best for color matching because you can blend multiple shades. Very forgiving application. Good for edge repairs because you can build up the curved profile. Downside: softer than paste, can wear down faster in high-traffic areas. May need reapplication after a year or two.
Enamel Model Paint: Best budget option for tiny chips and hairline cracks. Excellent color selection at hobby stores. One Reddit user reported their paint repair held up for 4+ years. Downside: requires clear sealant on top. Not suitable for large chips or deep damage.
Wood Filler: Can work in a pinch but generally not recommended. Difficult to match laminate colors. Can shrink as it dries, leaving a visible depression. Use only if you plan to paint over it.
Special Considerations for Edge-Specific Repairs
Edge repairs require techniques that surface repairs do not. Here is what experienced DIYers have learned.
Matching the rolled profile: Postformed laminate edges have a smooth, continuous curve. When filling edge chips, build your repair material slightly proud of the surface, then shape it to match that curve while curing. A rounded sponge or your finger in a plastic bag can help replicate the profile.
Corner chips: These are the hardest to repair invisibly because two planes meet at a curve. Consider using painter’s tape to mask off the surrounding area. Apply repair material to one plane at a time, letting it set before doing the adjacent face. This prevents smearing and gives cleaner edges.
Sink edge repairs: Chips near the sink see the most water exposure. Use your most durable repair method here (repair paste or hard wax with good sealant). Apply extra sealant coats. Consider placing a small tray or mat in that corner to reduce future impact.
How Long Will the Repair Last?
This is the question everyone asks, and the honest answer is: it depends.
A well-done repair using quality materials and proper sealing can last 3-5 years or longer in light-use areas. We have seen reports of paint-based repairs lasting 4+ years. Hard wax repairs may need touch-up after 1-2 years in high-traffic areas. Repair paste tends to be the most durable long-term if applied correctly.
The biggest factor in longevity is moisture exposure. Keep water away from the repair, wipe up spills promptly, and your fix will outlast expectations. Ignore water exposure, and even the best repair will fail.
Impact is the second factor. If you keep hitting the same spot with pots and dishes, no repair will survive. Consider adjusting your workflow or adding protection.
Food Safety Considerations
Most repair materials are not food-safe until fully cured. Follow the manufacturer’s curing time exactly, typically 24-72 hours. Even then, treat repaired areas as non-food-contact surfaces.
Do not cut directly on repaired edges. Do not place hot pans on repaired areas until the repair has cured for at least a week. The heat can soften uncured materials.
For areas where you prepare food directly on the countertop, consider using a cutting board to protect both your repair and your food.
When to Call a Professional or Replace
Sometimes DIY is not the right choice. Here is when to step back.
Call a pro if: The chip is part of a larger pattern of damage. Multiple chips across the surface suggest structural issues or water damage. You have a high-end laminate that requires color-matching expertise. You are not comfortable with the repair process.
Replace if: Water damage is present (soft core, swelling, discoloration). The countertop is over 15 years old and showing wear throughout. The damage is in a highly visible area and perfection matters. Replacement countertops cost $20-60 per square foot installed, which may be worth it for peace of mind.
Prevention: Stop Future Chips
The best repair is the one you never have to make. Here is how to prevent edge chips going forward.
Use cutting boards, not the countertop edge, for food prep. Place a small rug or mat in front of the sink to catch dropped dishes before they hit the edge. Install edge guards or bumpers if you have active children. Avoid hitting the edge with heavy pots and pans when loading the dishwasher.
Check your countertop edges monthly for new nicks or hairline cracks. Catching damage early makes repair easier and prevents water infiltration.
FAQ
Can you fix a chip in laminate?
Yes, chips in laminate countertops can be repaired if the particleboard core underneath is dry and firm. Small chips under dime-size are ideal candidates for DIY repair using color-matched paste, hard wax, or enamel paint. Larger chips or those showing water damage may require professional assessment or replacement.
How to fix chipped laminate countertop edging?
Clean the area with rubbing alcohol, fill the chip with color-matched repair paste or hard wax using a putty knife, smooth it flush with the surface while curing, and seal the edges with clear polyurethane. Allow 24 hours to cure before use. For the rolled edge profile, build the material slightly proud and shape it to match the curve.
How long does laminate chip repair last?
A properly done repair using quality materials and proper sealing can last 3-5 years or longer in light-use areas. Hard wax repairs may need touch-up after 1-2 years in high-traffic areas. Repair paste tends to be most durable long-term. Longevity depends heavily on moisture exposure and impact protection.
Is laminate chip repair food-safe?
Most repair materials are not food-safe until fully cured, typically 24-72 hours. Even after curing, treat repaired areas as non-food-contact surfaces. Do not cut directly on repaired edges and avoid placing hot pans on repairs for at least one week after application.
What if I still have the broken piece?
If you saved the chipped piece and it broke off cleanly, you can reattach it using laminate adhesive or contact cement. Clean both surfaces with alcohol, apply adhesive to both sides, let it get tacky per product instructions, then press firmly and tape in place while curing. This often gives the most seamless result.
When should I replace instead of repair?
Replace your laminate countertop if the particleboard core shows water damage (soft, spongy, or discolored), the chip is larger than a quarter, there are multiple damaged areas suggesting structural issues, or the countertop is over 15 years old with wear throughout. Water-damaged laminate cannot be permanently repaired.
Final Thoughts on How to Fix a Chip in a Laminate Countertop Edge
Fixing a chip in a laminate countertop edge is a manageable DIY project that can save you hundreds of dollars compared to replacement. The key is honest assessment first, thorough preparation second, and patient application third. Skip the assessment and you might waste time on a repair that will fail. Skip the prep and your materials will not adhere properly.
Start with cleaning and let the area dry completely. Choose your repair method based on chip size and location. Seal the repair when done. Most importantly, fix chips quickly. That exposed particleboard is absorbing moisture every day you wait, and water damage is what turns a $15 repair into a $2,000 replacement.