
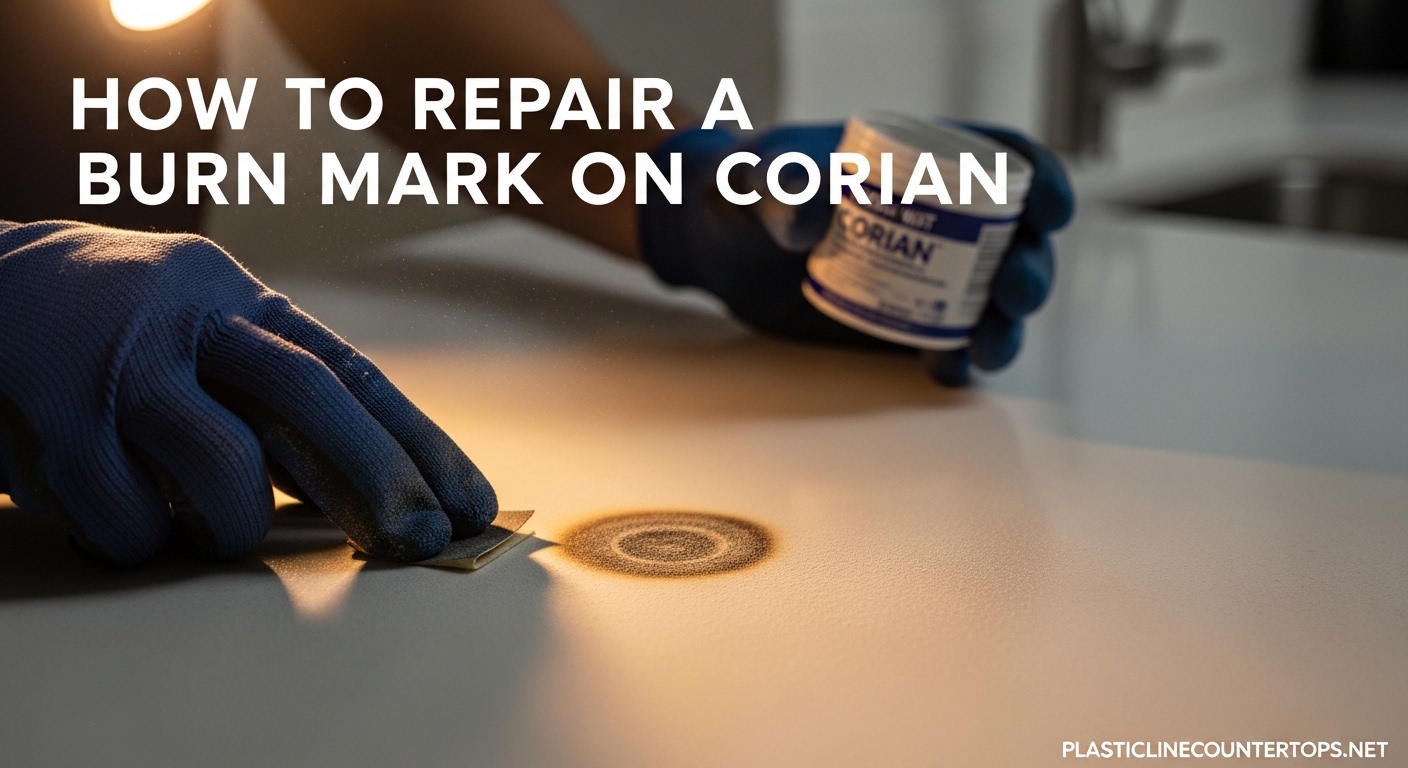
That sinking feeling when you spot a burn mark on your beautiful Corian countertop. I have been there. Whether it was a curling iron left on too long, a hot pan that sat a minute too many, or a coffee pot in the wrong spot, seeing that discolored patch can feel like a disaster.
Here is the good news: you can repair a burn mark on Corian, and it is actually one of the biggest advantages of solid surface countertops. Unlike laminate that has a thin surface layer, Corian runs the same color all the way through. That means you can sand away damage and restore the surface to look almost new again.
In this guide, I will walk you through exactly how to repair a burn mark on corian countertops, from minor surface scorching to deeper heat damage. I have compiled methods that have worked for hundreds of homeowners, including tips from professional fabricators and real DIY success stories from forums like Reddit and HomeTalk.
Table of Contents
Understanding Corian Solid Surface Material
Before we start fixing the damage, let me explain why Corian is such a repair-friendly material. Corian is made from a blend of acrylic polymer and natural minerals, creating a non-porous surface that is both durable and restorable.
The key advantage is that Corian is solid throughout. The color pigments are distributed evenly through the entire thickness of the material. This is completely different from laminate countertops, which only have a thin printed layer on top. When you sand Corian, you are not removing a protective coating or damaging the finish, you are simply exposing fresh material underneath.
This solid construction means you can sand down quite a bit without compromising the integrity of the countertop. Most Corian countertops are 1/2 inch to 3/4 inch thick, giving you plenty of material to work with for repairs.
How to Assess Burn Severity
Not all burn marks are created equal, and the repair method depends on how deep the damage goes. Take a close look at your burn mark under good lighting before choosing your approach.
Minor Surface Burns
These appear as light discoloration or yellowing on the surface. The texture feels smooth to the touch, and there is no physical indentation. These are typically caused by brief contact with warm items or low heat sources. You can usually remove these with simple cleaning methods.
Medium Burns
These show more obvious discoloration, often brown or dark marks. You might feel slight textural changes when you run your finger over the spot. These come from hot pans, curling irons, or other heat sources that sat for a few minutes. These require abrasive cleaning or light sanding.
Deep Burns
Deep burns create visible physical damage. You may see charring, significant discoloration, or an actual indentation in the surface. These occur from prolonged heat exposure or very hot items. These require proper sanding and refinishing to repair.
The Quarter Test
Here is a simple way to decide your approach: run a quarter over the burn mark. If it glides smoothly, you are dealing with a surface burn. If you feel the edge of the quarter catch, the burn has created physical damage that will need sanding.
Tools and Materials You Will Need
Gather your supplies before starting. Having everything ready will make the process smoother and help you avoid stopping mid-repair.
For Minor Burns:
- Baking soda
- Warm water
- Soft microfiber cloths
- Mild dish soap
- Mr. Clean Magic Eraser (optional)
For Medium Burns:
- Soft Scrub or similar non-abrasive cleanser
- Green Scotch-Brite pad
- White Scotch-Brite pad for finishing
- Clean sponges
For Deep Burns:
- Random orbital sander (or sanding block)
- Sandpaper: P150, P240, P400, and P600 grit
- Lambswool buffing pad
- Corian polish or automotive rubbing compound
- Microfiber cloths
- Masking tape
- Dust mask and safety glasses
Optional but Helpful:
- Aquamix color enhancer (for color restoration)
- Shop vacuum
- Bright work light
DIY Methods for Minor Burn Marks
Let us start with the gentlest methods first. If these do not work, you can always move up to sanding. But many surface burns respond well to simple cleaning techniques.
Method 1: Baking Soda Paste
This is the method recommended most often by homeowners in forums, and it works surprisingly well for light scorch marks.
Step 1: Mix baking soda with just enough water to form a thick paste. The consistency should be like toothpaste.
Step 2: Spread the paste over the burn mark, covering it completely with a layer about 1/4 inch thick.
Step 3: Let the paste sit on the mark for 5 to 10 minutes. Do not let it dry completely.
Step 4: Using a soft cloth or sponge, scrub the area in circular motions with moderate pressure.
Step 5: Wipe away the paste with a damp cloth and inspect the results. Repeat if needed.
I have seen reports of this method completely removing light burn marks from curling irons and hot mugs. The mild abrasiveness of baking soda lifts surface discoloration without damaging the finish.
Method 2: Abrasive Cleaner
If baking soda does not do the trick, step up to a commercial abrasive cleaner like Soft Scrub.
Step 1: Clean the area with warm soapy water first to remove any surface oils or debris.
Step 2: Apply a small amount of Soft Scrub directly to the burn mark.
Step 3: Using a damp green Scotch-Brite pad, scrub the area using circular motions. Apply steady but gentle pressure.
Step 4: Work the cleaner into the mark for 1 to 2 minutes.
Step 5: Rinse thoroughly with clean water and dry with a soft cloth.
One forum user reported success using this method on a hot pan burn, saying the mark faded significantly after just two applications. The combination of chemical cleaning and mild abrasion tackles tougher surface stains.
Method 3: Mr. Clean Magic Eraser
The Magic Eraser can work wonders on surface discoloration, but use it carefully.
Step 1: Wet the Magic Eraser and wring out excess water.
Step 2: Gently rub the burn mark using light pressure and circular motions.
Step 3: Check your progress frequently. The eraser acts like very fine sandpaper, so overuse can affect the sheen.
Step 4: Wipe the area clean and assess the results.
Warning: Magic Erasers are melamine foam, which is mildly abrasive. They can dull the finish if used aggressively. Reserve this for light burns and stop if you notice the surrounding area changing appearance.
How to Sand and Refinish Corian for Deeper Burns
When cleaning methods fail, sanding is your next step. This technique removes actual damaged material and exposes fresh Corian underneath. The key is working through the proper grit progression and using the right technique.
Preparation
Clear the area around the burn. You will generate fine dust, so remove nearby items or cover them. Tape off adjacent surfaces like backsplashes or walls if needed. Work in a well-ventilated area and wear a dust mask and safety glasses.
The Grit Progression Explained
Sanding Corian requires moving from coarse to fine grits. Each grit removes scratches left by the previous one and smooths the surface.
P150: Coarse grit for removing the bulk of damaged material. This is where you will spend most of your time on deep burns.
P240: Medium grit that removes P150 scratches and further smooths the surface.
P400: Fine grit that begins restoring the finish and removes visible sanding marks.
P600: Very fine grit for final smoothing before polishing.
Step-by-Step Sanding Process
Step 1: Attach P150 sandpaper to your orbital sander. If hand sanding, wrap the paper around a sanding block.
Step 2: Sand the burn area using circular motions. Work outward from the center of the burn in a feathering pattern, gradually blending into the surrounding countertop.
Step 3: Spend about 45 seconds on each grit level, as one Reddit user recommended. Do not stay in one spot too long, keep the sander moving to avoid creating dips.
Step 4: Clean the dust and inspect your progress. The burn should gradually fade as you expose fresh material.
Step 5: Move to P240 grit and repeat the process, feathering slightly beyond the area you sanded with P150.
Step 6: Continue with P400 grit, then finish with P600. Each step should remove the scratches from the previous grit.
Step 7: Wipe the area clean with a damp cloth and let it dry completely.
Wet Sanding Option
For the final grits (P400 and P600), you can use wet sanding. Spray the surface lightly with water while sanding. This reduces dust and can give a smoother finish. Just make sure your sander is rated for wet use, or do these final steps by hand.
Restoring the Finish
After sanding to P600, your Corian will look matte compared to the surrounding area. Here is how to restore the original sheen.
For Matte Finishes: Use a white Scotch-Brite pad to buff the sanded area. This blends the repair with the surrounding surface.
For Satin Finishes: Apply Corian polish or automotive rubbing compound to a lambswool pad. Buff the area using overlapping circular motions until the sheen matches.
For Gloss Finishes: After polishing, you may need to use a fine buffing compound and a clean lambswool pad to achieve the high-gloss look.
Color Matching and Restoration
Sometimes after sanding, the repaired area looks slightly lighter or different in tone than the surrounding countertop. This happens because the surface has been refreshed and has not developed the same patina as the older material.
A product called Aquamix color enhancer can help restore depth to the color. Apply it according to the manufacturer instructions after your repair is complete. Several forum users have reported success using this on deeper burns where the color looked faded after sanding.
For light-colored Corian, the difference is usually minimal and blends in over a few weeks of normal use. Darker colors may show more contrast initially, but they also tend to blend better over time as the surface gets regular cleaning and use.
If the color difference bothers you, you can also try applying a thin layer of mineral oil to the area. This temporary treatment darkens the sanded area and helps you see what the final color will look like once the surface naturally ages.
Common Mistakes to Avoid
I have read dozens of repair stories, and these are the pitfalls that trip people up most often.
Sanding too long in one spot: This creates a visible dip or depression in your countertop. Always keep the sander moving and feather the edges.
Skipping grit levels: Jumping from P150 to P400 will leave visible scratches that are hard to remove. Follow the progression.
Using the wrong sandpaper: Standard woodworking sandpaper can load up with Corian dust and become ineffective. Use sandpaper designed for solid surface or automotive finishing.
Not feathering the edges: Sanding just the burn mark creates a visible circle. Always blend outward into the surrounding material.
Giving up too early: Deep burns take time. One pass with P150 is rarely enough. Be patient and thorough.
Sanding wet Corian: Make sure the surface is completely dry before moving to finer grits. Moisture can cause uneven results.
When to Call a Professional
DIY repair works well for most burn marks, but some situations call for professional help.
Consider calling a certified Corian repair technician if:
The burn covers a large area (bigger than a coffee mug).
The damage goes deeper than 1/8 inch into the material.
Sanding would create a noticeable depression given the burn depth.
Your countertop has a complex pattern or finish that is hard to match.
You have multiple burns close together that need coordinated repair.
Cost Expectations: Professional Corian repair typically ranges from 200 to 500 dollars depending on the damage extent and your location. Large area repairs or full countertop refinishing can cost 800 to 1500 dollars. While not cheap, it is significantly less than replacing the entire countertop.
To find a professional, search for “Corian repair near me” or “solid surface countertop repair” in your area. Look for technicians certified by DuPont or with solid surface fabrication experience.
How to Prevent Burn Marks on Corian Countertops
The best repair is the one you never have to make. Here is how to protect your Corian from future heat damage.
Use trivets and hot pads every time: Corian can withstand temperatures up to 212 degrees Fahrenheit, but sustained heat or hotter items will cause damage. Make using trivets a non-negotiable habit.
Create a heat station in bathrooms: If you use curling irons or straighteners, designate a specific spot with a heat-resistant mat. Never set hot styling tools directly on Corian.
Keep appliances on cutting boards: Coffee makers, toaster ovens, and other heat-generating appliances should sit on wood or silicone boards, not directly on the countertop.
Use cutting boards for food prep: This prevents scratches that can make burn damage worse if heat is applied.
Clean spills promptly: While not directly related to burns, good maintenance keeps your Corian in best condition for any future repairs.
Educate household members: Make sure everyone knows Corian is not heat-proof. A quick conversation can prevent accidents.
FAQ
How to repair Corian burn marks?
To repair Corian burn marks, start with gentle cleaning methods like baking soda paste or Soft Scrub with a Scotch-Brite pad. For deeper burns, sand the area using progressively finer grits from P150 to P600, then polish to restore the finish. Always work in circular motions and feather the edges to blend with surrounding areas.
How to remove burn marks from solid surface countertops?
Solid surface countertops like Corian can be repaired by sanding away the damaged material. Clean the area first, then sand with P150 grit to remove the burn, progress through P240, P400, and P600 grits, and finish by polishing with a lambswool pad. The color runs through the entire material, so sanding reveals fresh surface underneath.
Can you use a magic eraser on a Corian countertop?
Yes, you can use a Mr. Clean Magic Eraser on Corian for minor surface marks and light burns. Wet the eraser and gently rub in circular motions with light pressure. Check your progress frequently, as Magic Erasers are mildly abrasive and can dull the finish if used too aggressively. Stop if the surrounding area begins to change appearance.
How much does it cost to repair burn marks on countertops?
DIY Corian burn repair costs 20 to 50 dollars for supplies like sandpaper, cleaners, and polishing compounds. Professional Corian repair typically ranges from 200 to 500 dollars for single burn marks, while extensive damage or full countertop refinishing can cost 800 to 1500 dollars. The exact cost depends on burn depth, area size, and your location.
Can you repair damaged Corian countertops?
Yes, damaged Corian countertops can be repaired. Corian is a solid surface material, meaning the color runs all the way through. Minor burns can often be removed with abrasive cleaners or baking soda paste. Deeper damage requires sanding through progressively finer grits and polishing. Unlike laminate, Corian can be sanded and refinished multiple times without compromising the surface.
Does vinegar damage Corian?
Vinegar does not damage Corian countertops when used properly. You can use diluted vinegar for cleaning or to treat certain stains by applying it and letting it sit for a few minutes before rinsing. However, avoid leaving vinegar on the surface for extended periods, and always rinse thoroughly with clean water afterward. For daily cleaning, warm soapy water is recommended.
What causes white marks on Corian?
White marks on Corian are typically caused by heat damage, hard water mineral deposits, or chemical reactions. Heat marks often appear as white rings or spots where hot items sat. These can often be removed with baking soda paste or gentle sanding. Hard water stains respond well to vinegar treatment followed by thorough rinsing.
Why did my Corian countertop burn?
Corian countertops burn when exposed to temperatures above 212 degrees Fahrenheit or sustained heat contact. Common causes include hot pans left directly on the surface, curling irons or hair straighteners placed on the counter, coffee makers without insulation pads, and cigarettes or candles. Unlike stone countertops, Corian is not heat-resistant and requires protection from hot items.
Learning how to repair a burn mark on corian countertops gives you the confidence to tackle one of the most common countertop mishaps. Remember, the key advantages of Corian are its repairability and the fact that color runs solid through the material.
Start with the gentlest method first and work your way up to sanding if needed. Most minor burns respond well to baking soda paste or abrasive cleaners. For deeper damage, take your time with the sanding process, follow the grit progression, and remember to keep the sander moving.
If you have tried these methods and the burn still shows, or if the damage is extensive, do not hesitate to call a professional. A certified Corian repair technician can often make the damage disappear completely.
Most importantly, use this experience as motivation to protect your countertops going forward. Those few seconds of grabbing a trivet can save you hours of repair work. Your Corian countertops can last decades with proper care, and now you know exactly how to handle heat damage if it happens again.