
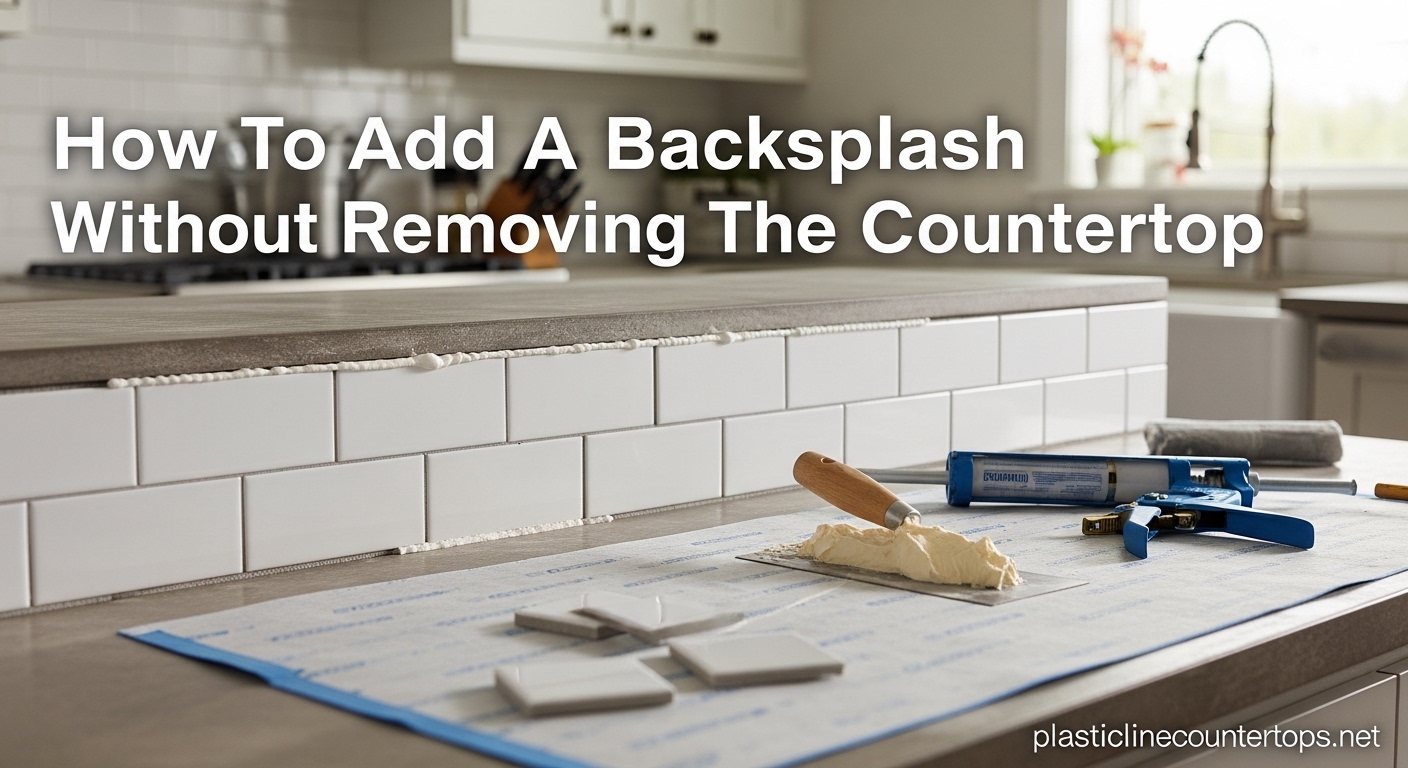
If you want to update your kitchen but dread the thought of tearing out your countertops, you are in the right place. Learning how to add a backsplash without removing the countertop is one of the most practical DIY skills a homeowner can pick up. It saves money, avoids wall damage, and can be finished in a single weekend.
I have helped dozens of homeowners tackle this exact project, and the truth is that most kitchens do not need a full tear-out just to get a fresh look. Whether you are working with a tight budget, renting your space, or simply want to avoid the mess of a full renovation, there are three reliable methods that get the job done.
In this guide, our team walks you through each approach step by step. You will learn which method fits your skill level, what tools and materials to gather, how to handle tricky spots like outlets and corners, and the one detail most guides skip: how to deal with the gap between your new backsplash and the existing countertop edge.
Table of Contents
Three Methods to Add a Backsplash Without Removing the Countertop
Before diving into the step-by-step instructions, it helps to understand your three main options. Each method varies in difficulty, durability, and cost, so picking the right one upfront saves you time and frustration.
Method 1: Peel and Stick Tiles — The fastest and most beginner-friendly option. These adhesive-backed tiles stick directly to your wall or existing backsplash. They are ideal for renters, temporary updates, or anyone who wants a finished look in under two hours. Durability is moderate, typically lasting 3 to 7 years depending on the quality and location.
Method 2: Tile Over an Existing Surface — If you already have an old tile backsplash that is firmly attached, you can install new tile right over it. This method skips the demolition phase entirely and gives you a permanent result with real grout and mortar. It requires moderate DIY skills and adds a small amount of thickness to your wall.
Method 3: New Tile With Mortar on Bare Drywall — The most traditional and durable approach. If you have painted drywall above your countertop, you can apply thin-set mortar and set tile directly. This method gives professional-looking results and can last decades, but it takes the most time and skill.
Here is a quick comparison to help you choose:
- Peel and Stick: Difficulty Low | Cost Low | Durability Moderate | Time 1 to 2 hours
- Tile Over Existing: Difficulty Medium | Cost Medium | Durability High | Time 1 to 2 days
- Mortar on Drywall: Difficulty Medium-High | Cost Medium | Durability Very High | Time 2 to 3 days
Tools and Materials You Will Need
Gathering everything before you start makes the project smoother and prevents mid-run trips to the hardware store. Here is what you need, broken down by method.
Tools Common to All Methods
- Tape measure and pencil
- Level (2-foot or 4-foot)
- Utility knife or tile cutter
- Sponge and bucket of clean water
- Safety glasses and gloves
- Caulk gun
For Peel and Stick Tiles
- Peel and stick backsplash tiles (measure your wall area and add 10 percent for waste)
- Adhesive primer (optional but recommended for glossy surfaces)
- Rolling pin or J-roller for pressing tiles flat
For Tiling Over Existing Surface
- Sandpaper (80 to 120 grit) or a rough sponge
- Tile adhesive (modified thin-set or mastic)
- Notched trowel (1/4 inch by 1/4 inch)
- New tiles
- Tile spacers (1/16 inch or 1/8 inch)
- Grout (sanded for wider joints, unsanded for narrow joints)
- Grout float
For Mortar on Bare Drywall
- Thin-set mortar mix
- Notched trowel (1/4 inch by 1/4 inch)
- Tiles of your choice
- Tile spacers
- Grout and grout float
- Grout sealer
- Painters tape
- Wet tile saw or snap tile cutter (for porcelain or ceramic)
How to Add a Backsplash Without Removing the Countertop Using Peel and Stick Tiles
Peel and stick tiles are the easiest backsplash option for beginners, and they produce surprisingly good results when installed correctly. I have used this method in two rental properties, and both installations still look great years later.
Step 1: Clean and Prepare the Wall
Start by wiping down the wall surface with a degreasing cleaner. Kitchen walls collect cooking oils over time, and even a thin invisible film will prevent the adhesive from bonding. Let the wall dry completely before moving on.
If your wall has a glossy painted finish, lightly sand it with fine-grit sandpaper to create some texture. Wipe away the dust with a damp cloth. For extra grip on very smooth surfaces, apply a coat of adhesive primer and let it dry according to the manufacturer directions.
Step 2: Measure and Plan Your Layout
Measure the width and height of each wall section you plan to cover. Add 10 percent to your total square footage to account for cuts and mistakes. Before peeling any backing, do a dry layout by holding tiles against the wall to check your pattern and spacing.
Mark a level horizontal line where the bottom edge of your first row will sit. This line should rest just above the countertop surface, leaving a gap of about 1/8 inch for caulk later. Use a level to ensure this line is perfectly straight because it guides every row above it.
Step 3: Cut Tiles for Edges and Outlets
Peel and stick tiles can be cut with a utility knife and a straight edge. For outlets, measure the outlet box position carefully and cut an opening that matches. Turn off power at the breaker before working near any electrical outlets.
For corners, measure the remaining space and cut tiles to fit. It is better to cut slightly large and trim down than to cut too small and have a visible gap.
Step 4: Apply Tiles to the Wall
Peel the backing from your first tile and press it firmly against the wall, aligning the bottom edge with your level line. Use a J-roller or rolling pin to press out any air bubbles, working from the center outward.
Continue across the wall, butting each tile tightly against its neighbor. Most peel and stick products have interlocking edges, so pay attention to the alignment pattern. If you make a mistake, carefully peel the tile back within the first minute and reposition it.
Step 5: Seal the Bottom Edge
Run a thin bead of color-matched caulk along the bottom edge where the tiles meet the countertop. This seals out moisture and gives the installation a finished, professional look. Smooth the caulk with a wet finger or caulking tool.
Pros: Fast installation, no special tools needed, removable without wall damage, great for renters, wide variety of styles available.
Cons: Shorter lifespan than traditional tile, may peel in high-heat areas behind stoves, less heat-resistant than ceramic or stone.
Method 2: Tiling Over an Existing Backsplash
If your kitchen already has an old 4-inch countertop backsplash or outdated tile that is solidly attached, tiling over it is a smart move. You skip the dusty demolition phase and end up with a permanent, professional result. The key is making sure the existing surface is stable and properly prepared.
One important note: this method adds thickness to your wall. That means outlet boxes may need extenders, and trim pieces at the edges will sit slightly proud of the wall. Plan for these adjustments before you start.
Step 1: Evaluate the Existing Surface
Press firmly on every tile of your existing backsplash. If any tiles are loose, cracked, or hollow-sounding, those areas need to be repaired first. Remove any loose tiles and fill the gaps with thin-set mortar, then let it cure overnight.
This method works best when the existing backsplash is flat and firmly bonded to the wall. If more than 20 percent of the surface is damaged, consider Method 3 instead.
Step 2: Rough Up the Surface
Use 80-grit sandpaper to scuff the entire surface of the old backsplash. You are not trying to remove the old tiles — you just need to break the glossy finish so the new adhesive can bond properly. Wipe away all dust with a damp sponge and let it dry.
Some DIYers skip this step and regret it later when tiles start popping off. Taking 20 minutes to sand properly makes the difference between a backsplash that lasts years versus one that fails in months.
Step 3: Apply Adhesive and Set Tiles
Starting at one end of the wall, spread a layer of tile adhesive using a notched trowel. Hold the trowel at a 45-degree angle to create even ridges. Work in small sections, about 2 to 3 square feet at a time, so the adhesive does not dry out before you set tiles.
Press each tile firmly into the adhesive with a slight twisting motion. Place tile spacers between each piece to maintain consistent grout lines. Check your work with a level every few rows to catch any drift before the adhesive sets.
Step 4: Cut Tiles for Fit
Measure the space remaining at the end of each row and at the top near the cabinets. Mark your tiles and cut them using a wet tile saw for clean edges. For outlet cutouts, use tile nippers or a diamond hole saw attachment.
Always wear safety glasses when cutting tile. Ceramic and porcelain can chip and send sharp fragments flying. Take your time on cuts because a clean edge looks far better than a ragged one covered by trim.
Step 5: Grout and Seal
Wait 24 hours for the adhesive to cure before grouting. Mix your grout to a peanut-butter consistency and work it into the joints using a rubber grout float held at a 45-degree angle. Spread the grout diagonally across the tiles to fill every joint completely.
After about 20 minutes, wipe away excess grout with a damp sponge. Rinse the sponge frequently and avoid scrubbing too hard, which can pull grout out of the joints. Once a haze forms on the tiles, buff it away with a dry microfiber cloth.
Apply grout sealer after the grout has cured for 48 to 72 hours. This protects against stains and moisture, which is especially important behind the stove and sink.
Pros: Permanent result, avoids demolition mess, real tile durability, professional appearance.
Cons: Adds wall thickness, outlet boxes may need extenders, requires moderate DIY skills, longer curing times.
Method 3: Installing New Tile With Mortar on Bare Drywall
This is the most traditional approach and produces the longest-lasting results. If you have painted drywall above your countertop with no existing backsplash, this method gives you a clean slate. The countertop stays exactly where it is, and the new tile goes up directly on the wall.
Step 1: Prepare the Drywall
Remove any outlet covers and switch plates. Patch any holes or dents in the drywall with spackle and sand smooth. If the paint is glossy, scuff-sand the entire area where tile will be installed. Clean the wall with TSP (trisodium phosphate) or a degreasing cleaner to remove any residue.
Painters tape along the top edge of your countertop protects it from mortar drips. It takes two minutes to apply and saves you from a tedious cleanup later.
Step 2: Find Your Starting Line
The most critical step in any tile installation is the first row. Countertops are not always perfectly level, so do not rely on the countertop surface as your guide. Instead, find the lowest point where the countertop meets the wall, measure up the height of one tile plus 1/8 inch, and snap a level chalk line across the wall.
This level line ensures your tiles run straight even if the countertop has a slight slope. The small gap at the bottom gets filled with caulk at the end.
Step 3: Apply Thin-Set Mortar
Mix the thin-set mortar according to the package directions. It should be thick enough to hold its shape on the trowel without sliding off. Spread a thin layer (called a scratch coat) over the wall area, then comb through it with the notched side of the trowel to create even ridges.
Work in 2 to 3 square foot sections. Thin-set remains workable for about 15 to 20 minutes, depending on temperature and humidity. If a skin forms on the surface, scrape it off and apply fresh mortar.
Step 4: Set and Space Tiles
Press each tile into the mortar with firm, even pressure. Use a slight back-and-forth motion to bed the tile fully into the adhesive. Insert spacers at every corner to maintain consistent grout lines.
Check your alignment every three rows with a level. Small adjustments are easy to make while the mortar is wet, but impossible once it cures. If a tile sits too high or too low, gently pry it off and add or remove mortar to correct the height.
Step 5: Grout, Seal, and Caulk
After the mortar cures for 24 hours, remove the spacers and grout the entire surface. Use unsanded grout for grout lines under 1/8 inch and sanded grout for wider joints. Work the grout in with a float, clean excess with a damp sponge, and buff the haze away after it dries.
Seal the grout after 48 to 72 hours of curing time. Finally, apply a bead of color-matched silicone caulk along the bottom edge where the tile meets the countertop and along any corners where tile meets tile. This flexible seal accommodates the natural movement between the wall and countertop without cracking.
Pros: Most durable option, professional result, wide tile selection, lasts decades with proper care.
Cons: Most time-intensive, requires a wet saw, longer curing times, higher skill requirement.
How to Handle the Gap Between Countertop and Backsplash
This is the detail that trips up more DIYers than anything else, and it is the one thing most guides gloss over. When you add a backsplash without removing the countertop, there is almost always a gap or uneven junction where the two meet. Here is how to deal with it cleanly.
Use Silicone Caulk, Not Grout. Grout is rigid and will crack at the transition between the wall and the countertop because these surfaces move independently. A high-quality silicone caulk in a color that matches your grout or countertop provides a flexible, water-tight seal that lasts. Apply a thin bead, smooth it with a wet finger or caulk tool, and let it cure for 24 hours.
Install a Trim Piece. Schluter metal trim strips or pencil liner tiles create a clean visual break at the bottom edge. They tuck under the first row of tile and cover any unevenness at the countertop junction. This approach looks intentional and polished.
Handle the Countertop Lip. Many laminate countertops have a small raised lip at the back edge, typically 1/4 to 3/4 inch tall. You have two choices here: start your first row of tile above the lip and caulk below, or tile right over the lip using extra mortar to build out the surface. Both approaches work, but tiling over the lip gives a more seamless look.
Common Mistakes to Avoid
After years of backsplash installations, these are the mistakes I see most often from first-time DIYers.
Skipping Wall Preparation. This is the number one cause of tile failure. Oil, dust, and glossy paint all prevent adhesive from bonding properly. Take the time to clean and scuff-sand the surface. It adds 30 minutes to your project and can add years to the lifespan of your backsplash.
Using the Wrong Adhesive. Mastic works for ceramic tile on drywall, but thin-set mortar is required for porcelain, stone, or any area behind a stove where temperatures fluctuate. Check the adhesive manufacturer recommendations before you buy.
Forgetting About Outlets. When you add tile thickness to the wall, your outlet boxes end up recessed. You need outlet box extenders to bring them flush with the new tile surface. This is a code requirement in most areas and a safety issue, so do not skip it.
Rushing the Grout Cleanup. Waiting too long to wipe excess grout off tile leaves a stubborn haze that is difficult to remove. Wipe at the 20-minute mark with a damp (not wet) sponge, and buff with a dry cloth once the haze appears. Set a timer if you need to.
FAQ
Do you install a backsplash before or after a countertop?
The standard practice is to install the countertop first and the backsplash second. The backsplash sits on top of or above the countertop edge, so having the countertop in place gives you a reference point for your first row of tile. However, if you are keeping your existing countertop and only updating the backsplash, you can absolutely install the backsplash without removing or changing the countertop at all.
What is the easiest backsplash for beginners?
Peel and stick backsplash tiles are the easiest option for beginners. They require no special tools, no mortar mixing, and no grouting. You can install them in about one to two hours with just a utility knife, a level, and a measuring tape. They are also the most forgiving because you can reposition tiles within the first minute of application if you make a mistake.
Are peel and stick backsplashes any good?
Yes, peel and stick backsplashes are a solid option for the right situation. They work well for renters who need a removable solution, homeowners on a tight budget, or anyone wanting a quick cosmetic update. Quality has improved significantly in recent years, with many products mimicking the look of real tile, stone, or metal. They typically last 3 to 7 years, though they may not hold up as well behind a high-heat stove compared to ceramic tile.
Can you put new backsplash tile over existing backsplash tile?
Yes, you can tile over existing backsplash tile as long as the old surface is firmly bonded, relatively flat, and in good condition. The key steps are roughening the old tile surface with sandpaper, using a strong adhesive like modified thin-set mortar, and accounting for the added thickness at outlets and trim. This approach avoids the messy demolition phase while still delivering a permanent result.
Should backsplash tile sit on the countertop?
Backsplash tile should not sit directly on the countertop. Leave a gap of about 1/8 inch between the bottom of the tile and the countertop surface. This gap gets filled with silicone caulk, which provides a flexible seal that accommodates the natural movement between the wall and countertop. If you grout this joint instead of caulking it, the grout will crack over time.
Wrapping Up Your Backsplash Project
Learning how to add a backsplash without removing the countertop opens up a world of kitchen update possibilities without the cost and mess of a full renovation. Whether you go with the speed of peel and stick tiles, the smart efficiency of tiling over an existing surface, or the lasting quality of a mortar installation, you can achieve professional-looking results on your own.
The three methods we covered each have their strengths. Peel and stick is perfect for beginners and renters. Tiling over an existing backsplash skips demolition while giving you a permanent finish. Mortar on bare drywall delivers the most durable and traditional result. Pick the one that matches your skill level and how long you want the backsplash to last.
Take your time with wall preparation, mind the gap at the countertop junction, and do not forget the outlet extenders if you are adding thickness. With patience and the right approach, your kitchen will have a fresh new look by the end of the weekend.