
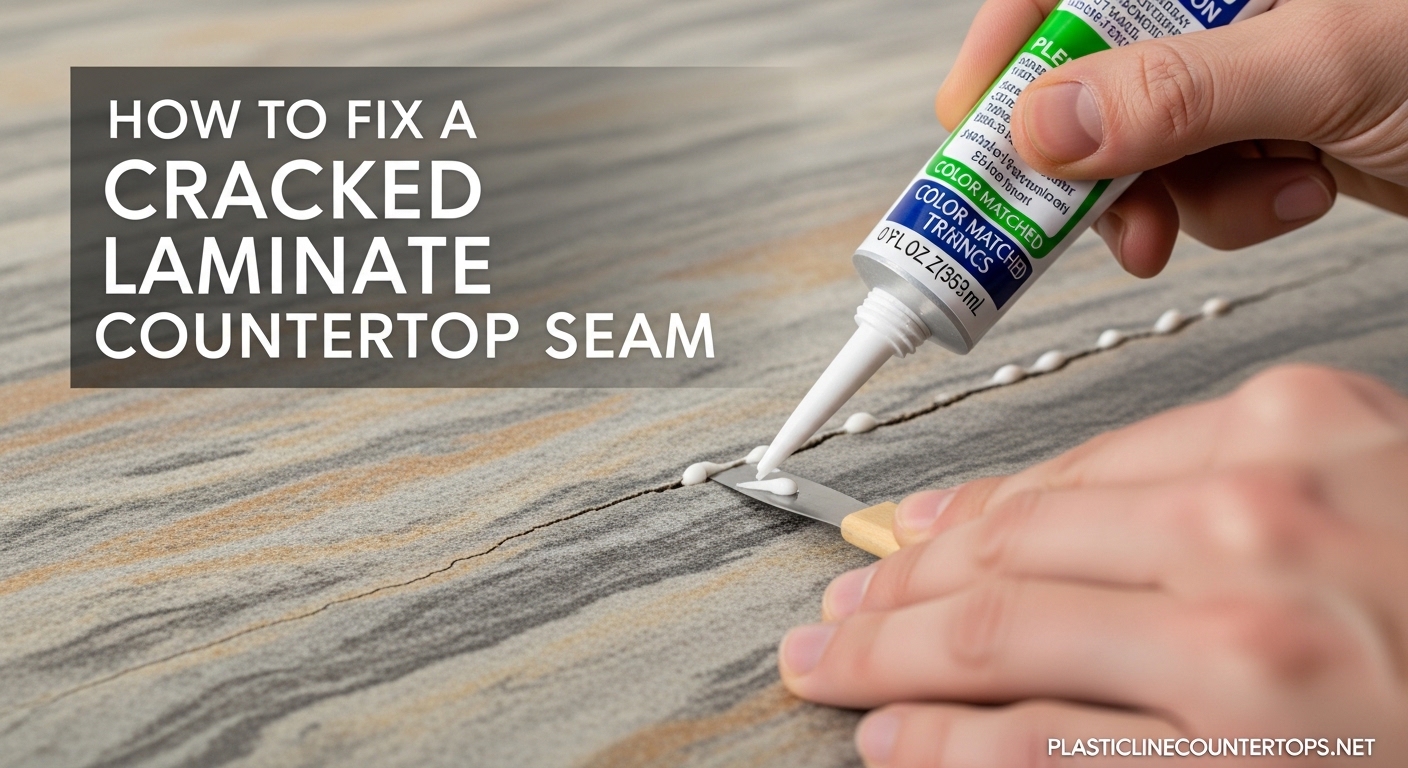
Your laminate countertop seam is cracked, and every time water hits that gap, you probably feel that knot in your stomach. I understand that worry because that small crack can let moisture into the particleboard core underneath, and once that core swells, you are looking at a much bigger problem. The good news is that most cracked laminate seams can be fixed without replacing the entire countertop.
In this guide, I will walk you through exactly how to fix a cracked laminate countertop seam, whether you are dealing with a hairline fracture, a lifted seam, or early water damage. We cover three repair scenarios, the right products to use, and how to prevent the problem from coming back.
Table of Contents
Quick Assessment: Repair vs Replace
Before you grab any tools, take sixty seconds to assess the damage. Not every cracked seam can be saved, but most surface-level problems can. If you are unsure whether your damage is surface-level or deeper, checking for soft spots in the countertop can help determine your next steps.
When You Can Repair It
The crack or separation is cosmetic with no swelling visible. The laminate has lifted at the seam but the core underneath feels solid when you press on it. There is a gap at the seam, but the edges are not crumbling or soft.
When Replacement Is Necessary
The particleboard core has swollen noticeably and feels soft or spongy when pressed. The laminate is separating in multiple places or the entire countertop is warped. There is mold growth or persistent odor from water damage.
How to Test for Water Damage
Press firmly on the countertop near the damaged seam. If the surface gives way or feels squishy, the core is compromised. Another sign is discoloration spreading outward from the seam. In these cases, repairs are temporary at best, and full replacement should be considered.
Tools and Materials Checklist
Having everything ready before you start keeps the repair clean and straightforward. Here is what you need. Proper preparation is key when learning how to fix a cracked laminate countertop seam, and having the right materials on hand makes the process much smoother.
Essential Tools
You will need a utility knife or putty knife for cleaning out the crack. Fine-grit sandpaper (220-grit or higher) for smoothing the filler. A clean rag and denatured alcohol for cleaning surfaces. Wood clamps or heavy objects for applying pressure during adhesion. Caulk gun for silicone sealant. Safety glasses and gloves.
Filler Options for Laminate Seams
For color-matched repairs, SeamFil is the professional standard. You can purchase it in formulations that match most laminate colors, and it cures to a hard, paintable surface. Clear two-part epoxy works well for small hairline cracks and dries transparent. Cyanoacrylate glue (superglue) is the quick-fix option for tiny cracks, though it does not fill large gaps effectively. Contact cement is essential for lifted seams where you need to re-bond the laminate to the core.
Water Damage Supplies
If you are dealing with swelling, you will also need silicone caulk for sealing edges after repair. A small fan or heat source for drying the core. Sandpaper in multiple grits (120, 220, 400) if any leveling is needed.
Understanding Your Laminate Countertop
Laminate countertops consist of a decorative surface layer bonded to a core material, almost always particleboard. The surface is durable and resistant to stains, but the seam where two pieces meet is inherently vulnerable. Water that seeps past the surface can cause the particleboard to expand, which is why seam damage often appears near sinks and dishwashers.
There are two main types of laminate construction. Postformed countertops have a continuous rolled edge where the laminate wraps around the front and down slightly. Edge-banded countertops have separate strips of laminate applied to the exposed edges. Seams on postformed tops tend to be more resilient, while butt joints in edge-banded installations are more prone to separation.
Understanding which type you have helps you choose the right repair approach. Most standard laminate countertops use particleboard cores with approximately 1/2 inch to 1 inch total thickness.
How to Fix Hairline Cracks in Laminate Seams
Hairline cracks are thin fractures that do not penetrate through the full depth of the laminate. These are the easiest repairs and can often be completed in under an hour. This is one of the most common laminate countertop repairs that homeowners can handle themselves.
Step 1: Clean the crack thoroughly. Use a utility knife to remove any debris caught in the crack. Wipe the area with denatured alcohol on a clean rag and let it dry completely. Any dirt or moisture left in the crack will prevent the filler from bonding properly.
Step 2: Apply the filler. For hairline cracks, I recommend starting with thin CA glue (superglue) for the smallest cracks, or SeamFil for wider gaps that need color matching. Apply the filler carefully, slightly overfilling since it will shrink slightly as it cures.
Step 3: Allow proper curing time. Check the product instructions. CA glue sets in seconds but needs a few minutes to reach full strength. SeamFil typically needs 24 to 48 hours depending on the product and ambient temperature.
Step 4: Sand smooth and seal. Once cured, sand the filler flush with the surrounding surface using 220-grit sandpaper. Work slowly to avoid creating a divot. Wipe clean and apply a thin bead of silicone caulk along the seam edges to prevent future water infiltration.
How to Repair Lifted Laminate Seams
Lifted seams occur when the adhesive bond between the laminate and the core fails. The laminate rises above the surface, creating a bump or gap. This repair requires re-bonding the surfaces with contact cement. Learning how to fix a lifted seam properly can save you from replacing the entire countertop.
Step 1: Assess and prepare. Lift the seam slightly to examine the core underneath. If the core is solid with no signs of softness or swelling, proceed with re-bonding. If you see swelling or the core crumbles, you may need to consider replacement.
Step 2: Clean and dry both surfaces. This step is critical. Any moisture in the particleboard will cause the repair to fail. Use a hairdryer or small fan to thoroughly dry the area for several hours if needed. Remove old adhesive residue with denatured alcohol and a scraper.
Step 3: Apply contact cement. Apply a thin, even coat of contact cement to both bonding surfaces. Avoid pooling. Let the cement become touch-dry according to the product directions, typically 5 to 10 minutes for water-based contact cement.
Step 4: Press and clamp. Carefully align the laminate and press it down firmly. Contact cement bonds instantly on contact, so positioning must be precise. Apply clamping pressure evenly along the seam using wood clamps or heavy books for at least 24 hours.
Step 5: Seal the edges. After the bond has fully cured, run a thin line of silicone caulk along both edges of the repaired seam. This creates a water-resistant barrier that prevents the problem from returning. Smooth the caulk with a wet finger for a clean finish.
Handling Water Damage at Laminate Seams
Water damage is the most common cause of laminate seam failure. The particleboard core swells when it absorbs moisture, and this swelling creates pressure that delaminates the surface. Knowing how to fix a cracked laminate countertop seam when water damage is involved requires understanding the extent of the moisture penetration.
Signs of water damage include: A soft or spongy feel when pressing on the countertop near the seam. Discoloration or darkening of the laminate near the affected area. Swelling that creates a visible hump or raised section at the seam. A musty odor near the sink or dishwasher.
For surface-level water damage: If the core is still firm and only the surface is affected, you can often repair the seam and prevent further damage. Dry the area completely with a fan for 48 to 72 hours. Sand any raised swelling flat. Apply your chosen filler or re-bond with contact cement, then seal all edges with silicone caulk.
For core-level damage: If the particleboard has become soft, crumbly, or shows visible swelling, the structural integrity is compromised. Repairs in this case are typically temporary at best. You have two options at this point: cut out the damaged section and replace it with a new piece of countertop, or replace the entire countertop. Calling a professional for an accurate assessment is often the wisest move when core damage is present.
Common Mistakes to Avoid
I have seen homeowners make these errors that turn a simple repair into a bigger problem. Here is how to avoid them when fixing a cracked laminate countertop seam.
Using the wrong adhesive. Regular wood glue or construction adhesive does not bond properly to the laminate surface. Always use contact cement specifically formulated for laminate repairs. Water-based contact cement has largely replaced solvent-based versions and performs reliably when applied correctly.
Skipping the drying step. Applying adhesive to damp surfaces guarantees failure. Take the time to dry the area thoroughly. Rushing this step is the most common reason repairs fail within months.
Not sealing the edges after repair. Even a perfect filler job will fail if water can reach the core again. Always apply silicone caulk or another waterproof sealant along the repaired seam edges. This single step dramatically extends the life of your repair.
Insufficient clamping pressure. Contact cement requires firm, even pressure to create a strong bond. Lightweight objects or spot clamping often leaves areas unbonded. Use enough clamps to apply consistent pressure across the entire seam.
Prevention Tips for Laminate Seam Damage
An ounce of prevention here is genuinely worth a pound of cure. These habits keep your laminate seams intact for years and help you avoid having to fix a cracked laminate countertop seam again.
Seal sink cutouts immediately. The cutout around your sink is the most vulnerable point on any laminate countertop. Inspect the seal between the sink rim and countertop regularly. Re-apply silicone caulk if you see any gaps, cracking, or missing sections. This is the step most homeowners forget until damage has already occurred.
Clean up spills immediately. Water that stands on a laminate surface for hours will find its way into seams. Keep a dry towel handy near your sink and wipe up water splashes as soon as they happen. Pay special attention to the corners where the countertop meets the sink.
Inspect seams quarterly. Take a moment every few months to examine all your countertop seams, especially near appliances and plumbing. Press gently along the seams to check for any lifting. Catching a loose seam early means a simple re-bond instead of a major repair.
Avoid standing water. Do not leave wet sponges, towels, or dishes on your countertop seams. Even small amounts of ongoing water exposure can slowly migrate into the core.
FAQ
How to fix seams in laminate countertops?
Fix laminate seams by first cleaning the area thoroughly with denatured alcohol, then applying a color-matched filler like SeamFil or epoxy. For lifted seams, use contact cement on both surfaces, clamp for 24 hours, and seal the edges with silicone caulk to prevent future water damage.
What is the best filler for laminate countertop seams?
SeamFil is the professional choice for color-matched repairs. For quick fixes on hairline cracks, clear epoxy or cyanoacrylate (superglue) works well. Choose based on your repair type, gap size, and whether color matching matters.
How to repair a cracked laminate countertop?
Repair a cracked laminate countertop by cleaning the crack, selecting an appropriate filler, applying it carefully, allowing proper cure time, then sanding smooth. For structural cracks at seams, you may need to lift the section and re-glue with contact cement.
Conclusion
Fixing a cracked laminate countertop seam is a manageable DIY project for most homeowners. Whether you are dealing with a thin hairline crack or a lifted seam, the process follows a clear pattern: assess, clean, fill or re-bond, and seal against future water damage. The key to a lasting repair lies in thorough preparation and taking the time to seal the edges afterward.
Not every damaged seam can be saved. If you find soft or crumbling particleboard under the surface, replacement may be the smarter investment. But for surface-level damage, the step-by-step techniques in this guide can extend the life of your countertop by years.
Take action promptly when you first notice a problem. Small cracks become big repairs if water keeps getting to the core. With the right approach and materials, you can restore your laminate countertop seam and protect your kitchen from further damage.