
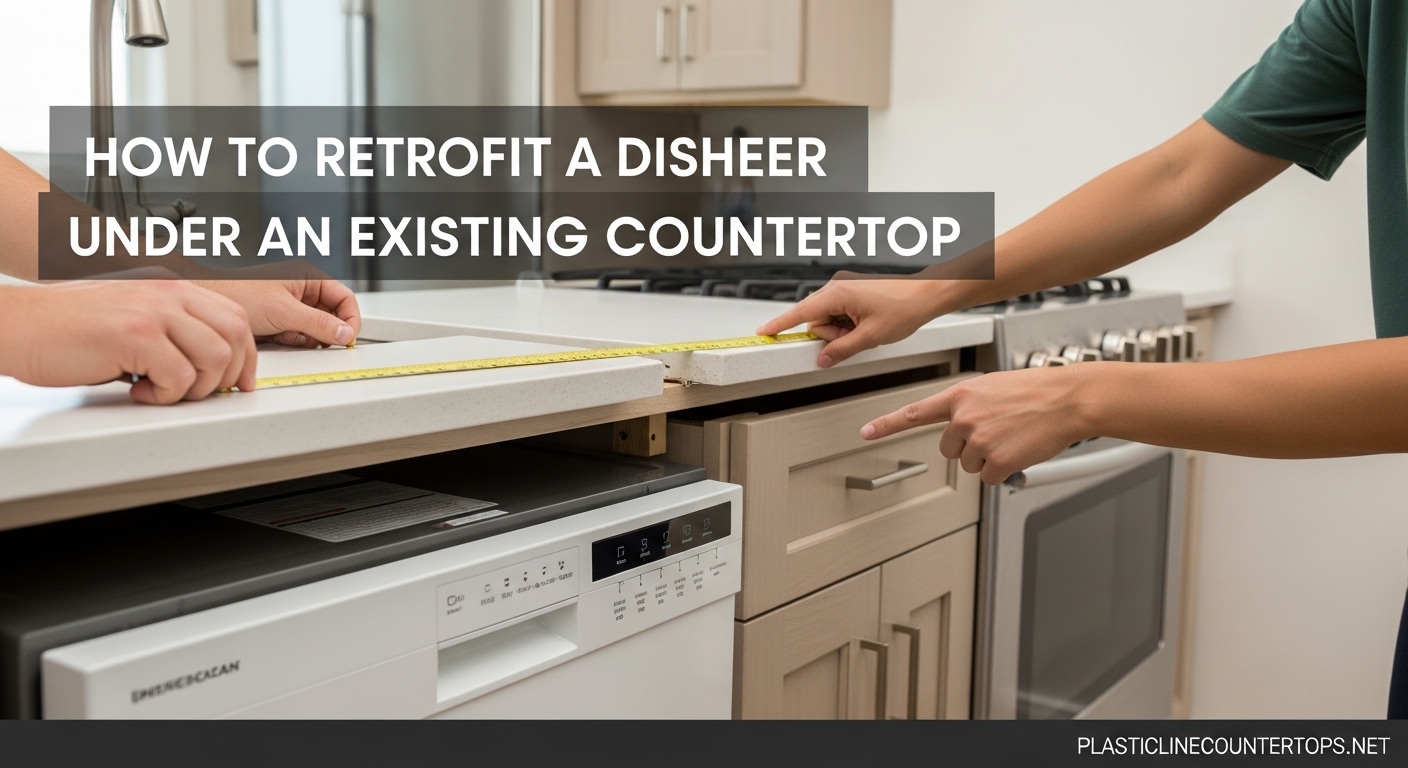
Installing a dishwasher where none existed before sounds intimidating, but our team has guided hundreds of homeowners through this exact project. The biggest surprise? Most of the work happens in the cabinets, not the plumbing. You will save thousands doing the cabinet modification yourself and letting a plumber handle just the connections. This guide walks you through every step, from measuring your opening to securing the final connections.
Table of Contents
How to Measure Your Space for a Dishwasher Retrofit
Standard dishwashers measure 24 inches wide, 34 inches tall, and 24 inches deep. Your first task is confirming these dimensions fit the cabinet opening you have chosen. Measure the width between cabinet walls at three points: top, middle, and bottom. Use the narrowest measurement. Measure the height from the floor to the underside of your countertop. Finally, check the depth from the cabinet front to the back wall, ensuring at least 24 inches of clearance exists.
Our team encountered one situation where a homeowner had a 23.5-inch opening. The solution was removing a filler strip rather than modifying the cabinet frame itself. Always check the measurements twice before purchasing or committing to any construction work. Write down your exact dimensions and keep them accessible throughout the project. Users on DIY forums report that measuring errors account for most costly rework in retrofit projects.
Cabinet Modification for Your Dishwasher Opening
The hardest part of retrofitting a dishwasher under existing countertops is creating the opening. You will likely need to remove a cabinet floor panel, modify the cabinet front, and reinforce the sides. Start by removing the cabinet door and any shelves inside the target cabinet. Cut the bottom panel using a jigsaw, leaving the side panels intact to support your countertop.
Most standard base cabinets have a 34.5-inch height, which accommodates a 34-inch dishwasher plus leveling feet. If your cabinet is shorter, you may need to remove a toe-kick section or cut the side panels. Reinforce the opening with wooden strips or plywood if the existing cabinet frame feels weak. Forum users consistently note that cabinet modification is the step most homeowners underestimate. Budget extra time if your cabinets use particle board rather than solid wood, as it requires different fastening methods.
Plumbing Connections for Your Dishwasher
Your dishwasher needs both a hot water supply and a drain connection. The hot water line should come from the nearest sink supply pipes. You will need a 0.5-inch threaded fitting that accepts a dishwasher connector hose. The drain connection requires a high loop or an air gap device to prevent backflow. Local plumbing codes vary significantly on whether an air gap is required, so check your municipal requirements before finalizing your setup.
A high loop is the simpler approach. Route the drain hose from your dishwasher up to the underside of your counter, then down to connect with your sink drain or garbage disposal. The loop must rise at least 18 inches above the connection point. If your sink has a garbage disposal, the dishwasher drain can connect directly to the disposal inlet. The connection point needs a P-trap for proper drainage and odor prevention. Your plumber will handle these connections if you are not comfortable with them.
Electrical Requirements for Dishwasher Installation
Dishwashers require a dedicated 120-volt electrical circuit with a 15-amp rating. This means you cannot simply plug it into an existing kitchen outlet. The circuit must have a ground fault circuit interrupter (GFCI) protection either at the outlet or the breaker. If your kitchen does not have a spare circuit, you will need to run new electrical wiring from your panel.
The outlet for your dishwasher should be located inside the adjacent cabinet or in the space behind the dishwasher, never in the opening where water could reach it. Many homeowners run the electrical during the cabinet modification phase to avoid working around the installed unit later. Electrical work typically requires a permit and professional installation in most jurisdictions. Factor this into your timeline and budget.
Mounting Methods by Countertop Type
Wood and laminate countertops use top mounting clips. These small metal brackets screw into the underside of your counter and clip onto the top of your dishwasher. This method works well but requires access above the unit during installation. The clips come with new dishwashers and provide a secure hold that prevents tipping.
Granite, quartz, and solid surface countertops cannot use top mounting clips because drilling into stone is difficult and risks cracking. Instead, use epoxy or construction adhesive to secure mounting brackets to the stone underside. Apply silicone caulk around the edges to create a watertight seal. Side mounting brackets work with any countertop type, attaching to the cabinet walls adjacent to your dishwasher. This method requires less precision and works well when you cannot access the top of your counter.
Step-by-Step Dishwasher Installation Process
Step 1: Turn off power and water at the main supply before beginning any work. Confirm your measurements one final time against your chosen dishwasher model.
Step 2: Prepare the cabinet opening by removing the cabinet floor, door, and any interfering components. Reinforce the opening with wood strips if needed.
Step 3: Install the electrical outlet and plumbing rough-in if not already in place. The outlet should be inside the adjacent cabinet, not exposed.
Step 4: Position the dishwasher in the opening, ensuring it sits level. Adjust the leveling feet until the unit is stable and flush with your cabinet face.
Step 5: Connect the water supply line using a braided stainless steel connector. Hand-tighten first, then give it another quarter turn with a wrench. Connect the drain hose to your designated drain point.
Step 6: Secure the dishwasher using your chosen mounting method. Top mounting clips snap into place and require screwing into the countertop underside. Side brackets bolt to the cabinet walls. For stone counters, apply epoxy to bracket mounting points and allow 24 hours for curing.
Step 7: Open the dishwasher door and check for any movement or instability. The unit should not rock when you push on it from any direction.
Step 8: Turn on the water supply and check for leaks at all connection points. Run a test cycle using only water to verify the drain works properly before loading dishes.
Anti-Tip Bracket Solutions
Anti-tip brackets prevent your dishwasher from tipping forward when you open the door with a full load. This is not optional. Every dishwasher manufacturer requires secure anchoring for this reason. The brackets mount to the floor, the cabinet frame, or the countertop, depending on your situation.
For cabinets with existing floors, drill mounting holes and secure the bracket with screws. For stone or concrete floors, use a masonry drill bit and appropriate anchors. Some retrofit situations require custom bracket solutions. Our team has used angle iron cut to size and painted to match the cabinet interior. Whatever method you choose, verify the dishwasher does not move when the door is fully extended.
Tools Needed and Cost Estimation
You will need a measuring tape, level, jigsaw, drill, wrench set, pliers, and a stud finder. If working with stone countertops, add a caulk gun and epoxy application tools. The tools themselves cost between 150 and 300 dollars if purchased new, or you can rent them from a home improvement store for a fraction of that.
Total project cost varies significantly based on your existing infrastructure. If you already have plumbing and electrical in the vicinity, budget between 300 and 600 dollars for the dishwasher, materials, and any professional labor for final connections. If you need full plumbing and electrical rough-in, costs can reach 1500 to 3000 dollars. Forum users report saving 40 to 60 percent by doing cabinet work themselves and hiring professionals only for licensed trades.
Common Mistakes to Avoid
Skipping the measurement step creates the most common problem. Dishwashers cannot be trimmed to fit, so your opening must match standard dimensions. Rushing the leveling process leads to door alignment issues and vibration during cycles. Forgetting to install a drip pan under stone countertops risks water damage to the cabinet below. Not checking local code requirements for air gaps and electrical circuits can cause failed inspections and expensive rework.
Another frequent issue involves overtightening water supply connections. Hand-tightening plus a quarter turn provides adequate sealing without risking cracked fittings. Finally, failing to test the drain before loading dishes means you discover connection problems after the dishwasher is fully installed and the cabinet is closed in.
FAQ
How should a dishwasher fit under a counter?
A dishwasher should fit snugly in the cabinet opening with approximately 0.25 inch clearance on each side. The unit sits on leveling feet that adjust the height to match your cabinet depth. The top of the dishwasher should sit flush with your countertop edge when properly installed.
Can a dishwasher be installed before a countertop?
Yes, but it is not recommended. Most professionals install the countertop first to ensure a proper seal and stable mounting surface. If you install the dishwasher first, you will need to work carefully around the door and cannot use top mounting clips effectively.
Is an air gap really needed for a dishwasher?
Local plumbing codes determine whether an air gap is required. Some jurisdictions mandate it for all dishwasher installations, while others accept a high loop drain configuration. Check with your local building department before deciding on your drain setup.
How to mount a dishwasher under quartz?
Mounting under quartz requires epoxy or construction adhesive rather than top mounting clips. Attach side mounting brackets to the cabinet walls using screws. Apply epoxy to the underside of the quartz at bracket mounting points. Allow the epoxy to cure for 24 hours before relying on the connection.
Conclusion
Retrofitting a dishwasher under your existing countertop requires careful planning and execution, but the process is manageable for determined homeowners. Focus on accurate measurements first, then create your cabinet opening with proper reinforcement. Your plumber and electrician handle the critical connections that must meet code standards. You handle the cabinet work, which saves the most money and gives you full control over the fit. Take your time with leveling and mounting, and your dishwasher will provide years of reliable service.
If you encounter a situation beyond your comfort level, particularly with electrical work or plumbing connections, hire a licensed professional. The cost is minor compared to fixing a mistake that damages your cabinets or causes a water leak. Start by measuring your space this weekend and checking your local code requirements.