
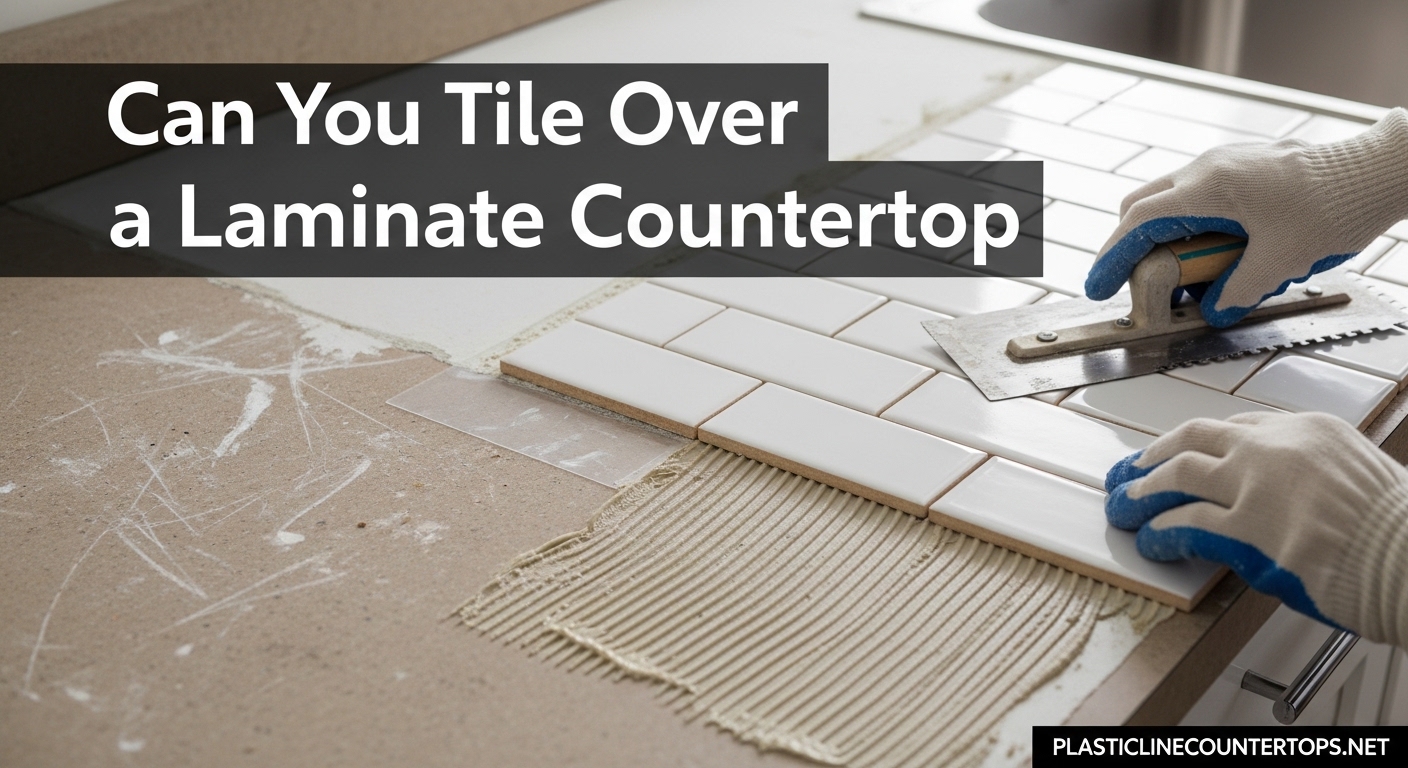
If your kitchen counters are covered in dated laminate and you are wondering whether you can skip the demolition and just tile right over them, you are in the right place. The short answer is yes, you absolutely can tile over a laminate countertop, but the quality of your result depends entirely on how well you prepare the surface and which installation method you choose.
I have researched contractor recommendations, DIY success stories, and even the failures people have shared online to put together this guide. Whether you are working with a tight budget or just want to avoid the mess of ripping out your old counters, here is everything you need to know about tiling over laminate countertops in 2026.
Table of Contents
Can You Tile Over a Laminate Countertop? The Short Answer
Yes, you can tile over a laminate countertop. This is a legitimate renovation approach that homeowners and even some contractors use to refresh kitchen surfaces without removing the existing counter. There are two main methods: tiling directly onto the laminate surface using modified thinset or mastic adhesive, or installing cement backerboard over the laminate first and then tiling onto that.
The direct method is faster and adds less height to your counter, but the backerboard method is more durable and is the approach most professional tile setters prefer. Either way, the single most important step is preparing the laminate surface, which means sanding off the glossy finish so your adhesive can bond properly.
One homeowner who tiled directly over laminate with mastic reported that the job held up beautifully for years, but only because she took the time to sand the surface thoroughly first. Skip that step and your tiles will likely pop off within months.
When You Should NOT Tile Over Laminate
Before you buy a single tile, you need to honestly assess the condition of your existing countertop. Tiling over laminate that is in poor shape will only give you a poor result with a longer lifespan. Here is a checklist of conditions that mean you should remove the counter entirely rather than tile over it.
Signs Your Countertop Is Not a Good Candidate
Bouncy or flexing counters. If your countertop moves when you press down on it, the particle board underneath has likely weakened or the support structure is inadequate. Tile and grout are rigid materials, and any movement underneath will cause cracks. One pro tile setter on a forum put it plainly: if the counter bounces, tile will not save it.
Water damage or swelling. Check around the sink cutout and any seams for signs of moisture damage. If the particle board is swollen, soft, or crumbly, tiling over it is a waste of money. Water has already compromised the structural integrity, and new tile will not fix that.
Delaminating sections. If the laminate surface is peeling away from the substrate in any area, the bond between those layers is failing. Adhesive or thinset will not hold tile to a surface that is already pulling apart from itself.
Severe burns or deep gouges. Small imperfections are fine because thinset can fill them. But if you have deep burns that have eaten through the laminate into the particle board, or gouges that compromise the flat surface, those areas need more repair than tiling can address.
If your counters pass all these checks, meaning they are solid, flat, dry, and firmly bonded, then you are a good candidate for tiling over laminate.
How to Prepare a Laminate Countertop for Tile
Surface preparation is the most critical part of this entire project. I cannot stress this enough: the reason most tiled-laminate jobs fail is not because of the adhesive or the tile, it is because someone skipped or rushed the prep work. Here is how to do it right.
Step 1: Clean the Surface Thoroughly
Remove everything from the countertop and scrub it with a degreasing cleaner. Any residue from cooking oils, soap, or general grime will interfere with adhesion. After cleaning, wipe the surface down with rubbing alcohol to remove any remaining film. Let it dry completely before moving to the next step.
Step 2: Sand the Laminate
This is the step that separates a lasting tile job from a failure. Laminate has a glossy, non-porous surface that adhesive simply cannot bond to. You need to rough it up with #50 grit sandpaper. That specific grit is important. Finer grits like #120 or #220 will polish the surface rather than create the mechanical tooth your thinset needs.
Use a random orbital sander if you have one, or sand by hand with firm, even pressure. Your goal is to remove all the shine and create a uniformly scuffed surface. When the entire countertop looks dull and feels rough to the touch, you have done enough. Wipe away all dust with a damp cloth and let it dry.
Step 3: Remove the Sink (If Possible)
If you have a drop-in sink, removing it before tiling gives you a much cleaner edge to work around. It also lets you check the condition of the particle board around the cutout, which is where water damage most commonly hides. If removing the sink is not practical, mask it off carefully and plan to caulk the tile-to-sink joint thoroughly during finishing.
Step 4: Fill Any Gaps or Low Spots
Use thinset mortar to fill any small dips, chips, or uneven areas in the laminate. Let these patches cure fully before moving on. Your tile will only be as flat as the surface underneath it.
Cement Backerboard vs Direct Tiling: Which Method Is Better?
This is the biggest decision you will make for this project, and the right choice depends on your situation. Let me break down both approaches.
Direct Tiling Method
With this approach, you apply modified thinset or mastic adhesive directly to the sanded laminate and set your tiles into it. It is faster, costs less, and adds minimal height to the counter. Several DIYers on home improvement forums have reported success with this method lasting 5 to 10+ years.
The tradeoff is that you are relying entirely on the adhesive bond to the laminate. If that bond fails anywhere, tiles will come loose. This method also provides no protection against movement or flexing in the counter structure.
Cement Backerboard Method
This is the method most professional contractors recommend. You screw thin cement backerboard (typically 1/4 inch thick) directly over the laminate, then tile onto the backerboard using modified thinset. The backerboard creates an uncoupling layer between the laminate and the tile, which means slight movement in the counter will not translate into cracked grout or popped tiles.
The downsides are added height (about 3/4 inch total when you include the backerboard, thinset, and tile), more work, and the need to cut backerboard to fit around sinks and edges. But if your counters have any slight flex or you want the most durable result, backerboard is the safer choice.
My Recommendation
If your countertops are rock-solid with zero movement and you want to save time and money, the direct method with modified thinset on a well-sanded surface is a reasonable choice. If your counters have any flex at all, or you want maximum longevity from your tile job, go with cement backerboard. The extra half-day of work is worth the peace of mind.
Choosing the Right Tile for Your Laminate Countertop
Not all tiles work equally well on countertops. Here is what you need to know about selecting tile for this specific application.
Porcelain vs Ceramic
Porcelain tile is the top recommendation from most contractors for countertop use. It is denser, less porous, and more resistant to staining and scratching than standard ceramic tile. A contractor on JustAnswer specifically recommended porcelain for its durability in kitchen environments where spills, heat, and moisture are daily realities.
Ceramic tile is more affordable and available in a wider range of colors and patterns, but it chips more easily and absorbs moisture at a higher rate. If you choose ceramic, make sure it is rated for countertop use and seal the grout thoroughly.
Mosaic Tile
Mosaic tiles (typically 1-inch squares on mesh sheets) are a popular choice for DIYers because they are easier to fit around curves and edges. The smaller individual tiles conform to slight unevenness in the surface, and the mesh backing keeps spacing consistent. One homeowner who documented her entire process online used mosaic tile specifically because it simplified the front edge wrapping.
Large Format Tile Considerations
Large format tiles (12×12 inches or bigger) give a cleaner, more modern look with fewer grout lines. However, they require a perfectly flat surface and a wet saw for cutting, which not every DIYer has access to. Any unevenness in the laminate underneath will telegraph through large tiles, creating visible lippage where tile edges sit at different heights.
How to Tile Over a Laminate Countertop: Step-by-Step
Once your surface is prepped and your materials are gathered, here is the complete installation process.
Step 1: Dry-Fit Your Tiles
Lay out all your tiles on the countertop without adhesive to check the fit and plan your layout. Start from the center of the counter and work outward so any cut tiles at the edges are equal in size. This dry run lets you identify problem areas, especially around the sink cutout and front edge, before you are working against the clock with setting thinset.
Step 2: Mix and Apply Modified Thinset
Use a latex-modified or polymer-modified thinset mortar. Standard unmodified thinset will not bond reliably to laminate surfaces. Mix the thinset to a peanut-butter consistency and spread it onto the sanded laminate using a notched trowel (1/4 inch x 3/8 inch notches work well for most tiles). Only spread enough thinset for 2 to 3 tiles at a time so it does not skin over before you set the tiles.
Step 3: Set the Tiles
Press each tile firmly into the thinset with a slight twisting motion. Use 1/8 inch spacers between tiles for consistent grout lines. Check frequently with a straightedge to make sure your tiles are sitting flat. If a tile sits too high, press it down further or add more thinset behind low tiles.
Step 4: Tile the Front Edge
The front edge of your countertop is the trickiest part. You can wrap the same tile down the front face, use bullnose tiles designed for exposed edges, or attach thin strips of tile specifically cut for the edge. Whatever approach you use, make sure the edge tiles are firmly supported while the thinset cures. Masking tape can hold them in place temporarily.
Step 5: Let the Thinset Cure
Wait at least 24 hours before grouting. The thinset needs to reach full strength before you start pressing grout into the joints. Walking away for a day is hard when you want to see the finished result, but rushing this step is a common cause of loose tiles.
Step 6: Apply Grout
Use unsanded grout for joints 1/8 inch or narrower, and sanded grout for wider joints. Here is a tip from multiple forum users that I want to pass along: choose a grout color that hides stains. Brown, tan, or gray grout will look clean much longer than white grout, which shows every coffee spill and food stain. Apply the grout with a rubber float, working it into all joints at a 45-degree angle to the tile edges.
Step 7: Clean and Seal
Wipe away excess grout with a damp sponge within 20 to 30 minutes of application. Wait a few hours, then polish off the haze with a dry cloth. After the grout has cured for 48 to 72 hours, apply a penetrating grout sealer to protect against stains and moisture. This is especially important around the sink area.
Edge Finishing Options for Tiled Laminate Countertops
The front edge of your countertop is where most DIY tile jobs either look professional or look homemade. Forum discussions consistently point to edge finishing as the single biggest challenge and pain point for this project. Here are your main options, ranked from easiest to most polished.
Wood Trim Edge
Attach a strip of hardwood (oak, maple, birch, or cherry) to the front edge of the countertop before tiling the top surface. The wood sits flush with or slightly above the tile surface and creates a clean, finished border. You can stain or paint the wood to match your kitchen. This is the approach one expert contractor recommended specifically, and it works well with both direct and backerboard installation methods.
Bullnose Tile
Bullnose tiles have one or more rounded, finished edges that eliminate the need for additional trim. If your chosen tile line offers matching bullnose pieces, this gives you the cleanest integrated look. Not all tile series include bullnose options, so check availability before committing to a tile.
Cap Tile
Cap tiles (sometimes called V-cap or countertop trim tiles) wrap around the front edge in an L-shape. They cover the top surface edge and the vertical front face in one piece. This is the most durable edge solution and looks very finished, but it limits you to tiles that are available in cap profiles.
Metal or Plastic Edge Trim
Schluter and other companies make metal edge profiles that create a clean transition between tile and the counter edge. These come in various finishes and colors and are installed during tiling. They are a practical option when bullnose or cap tiles are not available for your chosen tile.
Common Mistakes to Avoid When Tiling Over Laminate
After reading through dozens of forum posts and contractor warnings, these are the mistakes that come up most often.
Skipping the sanding step. This is the number one cause of tile adhesion failure. Even if the laminate looks dull already, sand it with #50 grit. The surface needs mechanical texture for the thinset to grab onto. Multiple homeowners who skipped sanding reported tiles lifting within weeks or months.
Using the wrong adhesive. Standard mastic and unmodified thinset are not formulated to bond with laminate. Always use latex-modified or polymer-modified thinset for direct application, or use the adhesive recommended by your backerboard manufacturer if going that route.
Ignoring steam exposure near dishwashers. Several users on home improvement forums reported grout cracking and tiles loosening in the area directly above their dishwasher. The steam from the dishwasher creates repeated moisture and temperature cycling that stresses the bond. Seal grout thoroughly in this area and consider using caulk instead of grout at the counter-to-backsplash joint near the dishwasher.
Not checking for counter movement. If your counter flexes when you lean on it and you tile directly over it without adding backerboard, you are setting yourself up for cracked grout lines. Test for movement before choosing your installation method.
Rushing the grout cleanup. Grout that dries on tile faces is extremely difficult to remove. Wipe with a damp sponge within 30 minutes, and follow up with a dry cloth for the haze. Waiting too long means you will be scrubbing grout off your tiles for days.
FAQ
What is the cheapest and easiest way to cover a laminate countertop?
Peel-and-stick vinyl tiles are the cheapest and easiest option, often costing under $2 per square foot and requiring no special tools. For a more durable result, tiling with ceramic or porcelain tiles over a sanded laminate surface is still very affordable compared to full countertop replacement. Painting the laminate with a countertop paint kit is another budget-friendly alternative that costs under $50 for an average kitchen.
Will thinset stick to laminate countertops?
Standard unmodified thinset will not bond reliably to laminate. You need to use latex-modified or polymer-modified thinset, and the laminate surface must be sanded with #50 grit sandpaper to remove the glossy finish. Without proper sanding, even modified thinset will struggle to maintain a lasting bond with the smooth laminate surface.
Will tile adhesive stick to laminate?
Mastic tile adhesive can stick to laminate if the surface has been sanded to remove the gloss, but modified thinset is generally the better choice for countertops. Mastic works best for walls and backsplashes where tiles are not subject to the weight and impact that countertop tiles endure. For horizontal surfaces that will see daily use, go with modified thinset over properly sanded laminate.
How long does tile over laminate countertop last?
With proper surface preparation and the right adhesive, a tiled laminate countertop can last 10 to 20 years. DIYers who sanded thoroughly and used modified thinset report their jobs holding up well after 5 to 10+ years of daily use. The backerboard method typically lasts even longer because it handles minor counter movement without cracking grout.
Can you tile over laminate without sanding?
No, you should not tile over laminate without sanding. The glossy surface of laminate is designed to resist adhesion, and skipping the sanding step is the most common cause of tile adhesion failure. Even if the laminate appears matte or dull, sanding with #50 grit sandpaper creates the mechanical texture that thinset needs to form a lasting bond. Without it, tiles will likely pop off within months.
Conclusion
So, can you tile over a laminate countertop? Yes, absolutely, as long as the existing counter is in solid condition and you follow the right preparation steps. Sand the surface with #50 grit sandpaper, use modified thinset or install cement backerboard, choose porcelain or ceramic tiles rated for countertop use, and take your time with edge finishing and grout sealing.
The biggest takeaway from my research is that preparation matters more than anything else. The homeowners who got lasting results are the ones who spent the time sanding, checking for movement, and choosing the right adhesive. Skip those steps and no amount of beautiful tile will save the project. Take it slow, do the prep work right, and you will have a kitchen counter that looks great and holds up for years to come.