
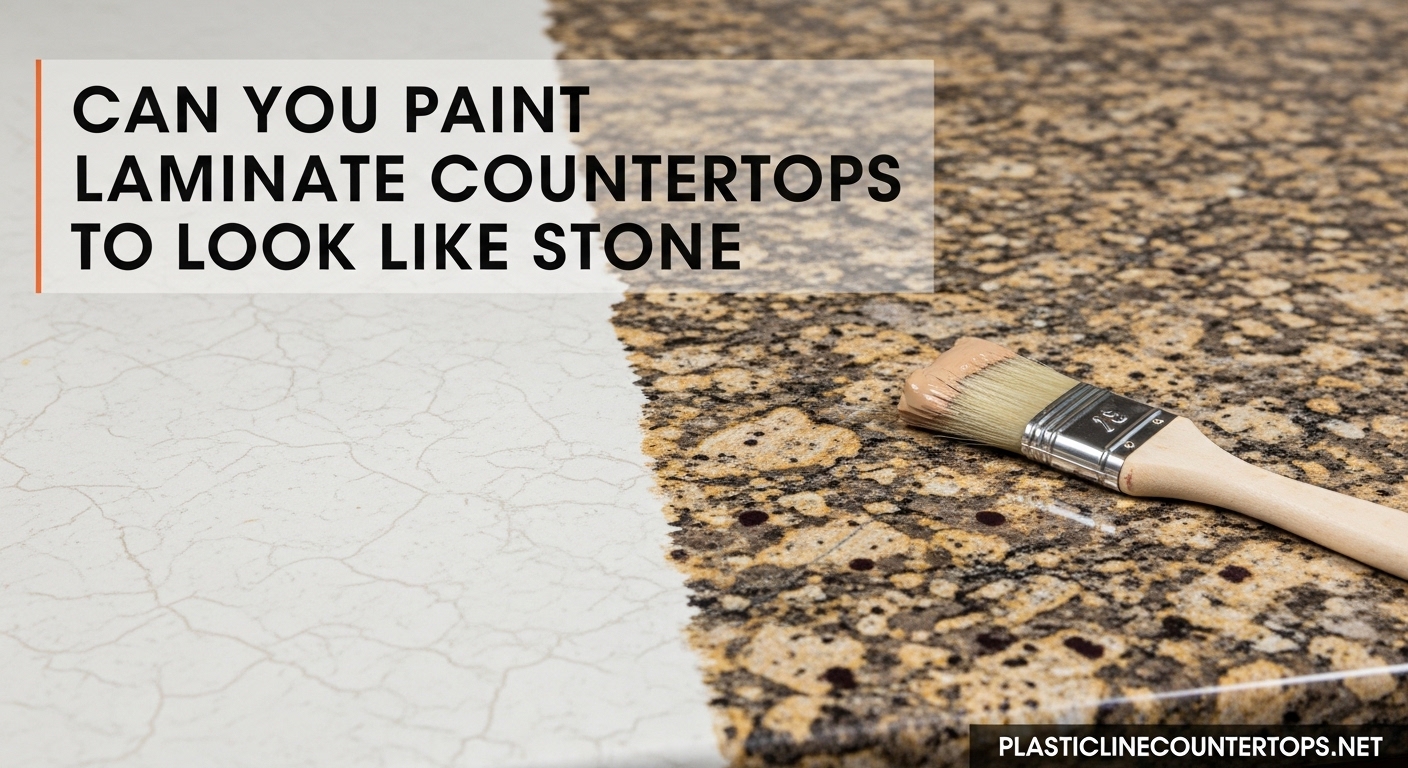
Can you paint laminate countertops to look like stone? Yes, absolutely. I have seen hundreds of homeowners transform their dated laminate counters into surfaces that mimic granite, marble, or soapstone for a fraction of replacement cost. The key is using the right preparation, paint technique, and sealing method.
In this guide, I will walk you through exactly how to achieve a convincing stone look on your existing laminate countertops. Whether you want a granite effect, marble finish, or soapstone appearance, the process is straightforward when you follow the steps.
Table of Contents
Quick Answer: Yes, and Here is How
Yes, you can paint laminate countertops to look like stone. The process involves six main steps: clean and prep the surface, sand with 220-grit paper, apply bonding primer, add a base coat, create stone veining with accent colors, and seal with a protective topcoat. With proper technique, your painted counters can last 2 to 5 years.
Cost ranges from $20 for a DIY chalkboard paint approach to $200 for a complete countertop refinishing kit. The project typically takes a weekend to complete, plus drying time between coats.
How to Paint Laminate Countertops to Look Like Stone
Before you open a paint can, you need to choose your approach. There are two main ways to paint laminate countertops to look like stone: using a countertop refinishing kit or going the DIY route with individual products.
Countertop paint kits like Giani Granite Paint Kit or Rust-Oleum Countertop Refinishing Kit come with everything you need: base coat, mineral paints for veining, and sealer. These kits run $50 to $200 and include detailed instructions for specific stone looks.
The DIY approach uses chalkboard paint or interior acrylic paint with a polycrylic sealer. One popular method from DIY forums involves black chalkboard paint base with layers of gray and white dry-brushed on top, sealed with Minwax Polycrylic. This costs around $20 to $40.
Both methods work. Kits offer more guidance and coordinated colors. DIY gives you more creative control and costs less.
Step 1: Inspect What is Under Your Laminate
Here is a critical step many guides skip. Before you start, check what is underneath your laminate. Some older countertops have laminate glued directly to particle board. If that is the case, you cannot remove the laminate to expose a better painting surface.
Look at the underside of your countertop through the cabinet openings, or carefully lift a corner of the laminate near the sink with a putty knife. If you see compressed wood particles rather than solid wood or plywood, keep the laminate in place and paint over it.
If you have solid wood or plywood underneath and want the smoothest possible surface, some DIYers remove the laminate entirely using a clothes iron to heat and loosen the adhesive. This is optional but creates a better base for your faux stone finish.
Step 2: Clean and Prep the Surface
Proper surface prep determines whether your paint job lasts two months or five years. Start by removing everything from your countertops and cleaning thoroughly with a degreaser. TSP substitute works well for cutting through years of kitchen grease.
Pay special attention to areas near the stove and sink. Any residue left behind will prevent paint from bonding properly. Rinse completely and let the surface dry fully.
Next, sand the entire surface with 220-grit sandpaper. You are not trying to remove the laminate, just scuff it enough to create texture for the primer to grip. The surface should feel slightly rough to the touch but you should not see deep scratches.
Wipe away all dust with a tack cloth or damp microfiber cloth. Any dust particles will show through your paint.
Step 3: Apply Bonding Primer
Laminate is non-porous and slick, so standard paint will not stick without a bonding primer. Look for primers specifically labeled for glossy surfaces or laminate. Products like Zinsser Bullseye 1-2-3 or INSL-X Stix Bonding Primer work well.
Apply the primer with a foam roller for smooth coverage, brushing out any bubbles as you go. Do not overload the roller. Thin, even coats prevent drips and dry faster.
Let the primer dry completely according to the manufacturer instructions, typically 4 to 6 hours. Some primers require overnight drying. When dry, the surface should have a uniform matte appearance with no glossy spots showing through.
Step 4: Apply the Base Coat
Choose your base color based on the stone look you want. For granite effects, start with a mid-tone gray or beige. For marble, use white or off-white. For soapstone, use charcoal or black.
Apply two thin coats of your base paint using a foam roller. Brush marks and roller texture will show through, so keep your strokes light and consistent. Let each coat dry completely, usually 4 hours for water-based paints.
If you are using a countertop kit, follow the kit instructions for base coat application. Most kits use specialized paint designed to work with their mineral colors.
Step 5: Create Stone Veining with Accent Colors
This is where the magic happens. The technique you use depends on which stone look you are aiming for.
For Granite Effect: Dip a natural sea sponge in accent colors like white, cream, and darker gray. Dab randomly across the surface, building up layers. The irregular sponge texture mimics the crystalline structure of granite. Blend edges with a dry brush while paint is still slightly wet.
For Marble Effect: Use a feather or thin artist brush to draw fine gray or gold veins across the surface. Look at reference photos of real marble and follow the organic, branching patterns. Less is more. Start with fewer veins and add more if needed.
For Soapstone Look: After your dark base coat dries, lightly dry-brush white or gray paint across the surface. This creates the soft, mottled appearance of natural soapstone. The goal is subtle variation, not distinct patterns.
Let the accent colors dry completely before moving to sealing. This usually takes 2 to 4 hours.
Step 6: Seal with Protective Topcoat
Sealing is not optional. Without a protective topcoat, your painted countertops will scratch, stain, and wear within weeks. The sealer creates a hard, washable surface that protects your stone finish.
Polycrylic is the most popular choice for DIY painted countertops. It is water-based, dries clear, and does not yellow over time. Minwax Polycrylic Protective Finish in satin or semi-gloss works well. Apply three to four thin coats with a foam brush or high-quality synthetic brush.
Polyurethane is more durable but can yellow slightly and has stronger fumes. If you choose oil-based polyurethane, make sure your kitchen is well-ventilated and let it cure fully before using the counters.
Food-Safe Considerations: For kitchen countertops where you will prepare food, look for sealers labeled food-safe once cured. General Finishes High Performance Topcoat is a popular choice among DIYers for kitchen use.
Let the final coat cure for at least 72 hours before placing items on the surface. Some sealers take a full week to reach maximum hardness.
Cost Breakdown: Kit vs DIY Approach
Your total investment depends on which route you take. Here is what you can expect to spend for an average kitchen with 20 to 30 square feet of countertop.
Countertop Refinishing Kit: $50 to $200. Giani Granite Paint Kit costs around $100 and covers 35 square feet. Rust-Oleum Countertop Refinishing Kit runs $50 to $80. These include primer, base coat, mineral paints, tools, and sealer.
DIY Paint Method: $20 to $60. This includes chalkboard paint or interior acrylic ($10 to $20), bonding primer ($15), accent paints ($10), and polycrylic sealer ($15 to $25). You will need to supply your own brushes, rollers, and sandpaper.
Either way, you are spending under $200 to transform your kitchen compared to $2,000 to $4,000 for new stone countertops.
Durability and Maintenance
How long does a painted laminate countertop last? With proper sealing and reasonable care, expect 2 to 5 years of good appearance. Some DIYers report their counters still look great after 3 years, while others notice wear around the sink or stove after 18 months.
Heat Protection: Painted countertops are not heatproof. Always use trivets or hot pads under hot pots and pans. Direct heat will bubble or discolor the paint and sealer.
Daily Care: Clean with mild soap and water. Avoid abrasive cleaners or scrubbing pads that can scratch the sealer. Wipe up spills promptly, especially acidic foods like lemon juice or tomato sauce.
Resealing: Plan to apply a fresh coat of polycrylic sealer every 12 to 18 months in high-use areas. This takes an afternoon and restores the protective layer.
Stone Types: Choosing Your Look
Different stones require different color palettes and techniques. Here is how to achieve each look when you paint laminate countertops to look like stone.
Granite Effect: Use a medium gray or beige base coat. Sponge on white, cream, black, and brown accents. Granite has a busy, speckled appearance with multiple colors scattered throughout. The wet edge technique, where you blend colors while still wet, creates soft transitions between tones.
Marble Finish: Start with pure white or soft white base. Use a feather or thin brush to draw gray or soft gold veins. Real marble veining follows organic, branching patterns. Practice on cardboard first. Seal with high-gloss sealer to enhance the polished stone appearance.
Soapstone Look: Use charcoal or black base coat. Dry-brush gray and white accents across the surface for soft, mottled variation. Soapstone has minimal veining and a soft, matte appearance. Use satin or matte sealer to complete the look.
Slate Appearance: Start with dark gray base. Use a dry brush technique with black and charcoal to create subtle texture. Slate has a more uniform color than granite but with subtle variations.
Common Mistakes to Avoid
After reviewing dozens of DIYer experiences and forum discussions, here are the most common pitfalls when painting laminate countertops.
Skipping the Sanding Step: Do not trust products that claim you can skip sanding. Scuffing the surface is essential for primer adhesion. Paint applied over glossy laminate will peel within months.
Using the Wrong Primer: Regular wall primer will not bond to laminate. You need a bonding primer designed for glossy surfaces.
Inadequate Sealing: One coat of sealer is not enough. Apply three to four coats for kitchen durability. Thin coats are better than one thick coat that might not dry properly.
Rushing Between Coats: Impatience ruins more projects than bad technique. Let each coat dry completely before adding the next. Humidity and temperature affect drying times.
Placing Items Too Soon: Wait the full curing time before using your counters. Even if the surface feels dry, the sealer needs time to harden fully.
FAQ
What kind of paint will stick to laminate?
Bonding primer is essential before painting laminate. Once primed, you can use interior acrylic paint, chalkboard paint, or specialized countertop paint. The primer creates a surface that paint can adhere to. Without it, paint will peel and chip.
Is painting laminate countertops a good idea?
Painting laminate countertops is a good idea for budget-conscious homeowners who want a fresh look without spending thousands on replacement. It is a temporary solution that typically lasts 2 to 5 years with proper sealing and care. It is ideal for rentals, staging a home for sale, or bridging the gap until you can afford new counters.
How long does painted laminate countertop last?
Painted laminate countertops last 2 to 5 years on average with proper sealing and maintenance. High-traffic areas may show wear sooner. Regular resealing every 12 to 18 months extends the lifespan. Heat damage and abrasive cleaners are the most common causes of premature failure.
Can you use painted countertops in a kitchen?
Yes, painted countertops work in kitchens when properly sealed with a food-safe topcoat. Use trivets for hot pots and avoid cutting directly on the surface. Clean with mild soap and water. Reseal annually in high-use areas. The surface is suitable for normal food preparation but not as durable as real stone.
Do you have to remove laminate before painting?
No, you do not have to remove laminate before painting. You can paint directly over laminate after proper cleaning, sanding, and priming. However, if your laminate is glued to particle board and is peeling or damaged, removal might be necessary. Some DIYers remove laminate to expose a smoother surface underneath, but this is optional.
Will painted countertops look like real stone?
Painted countertops can look surprisingly like real stone from a distance, especially with good technique and proper sealing. Up close, you can tell it is painted. The stone veining, color depth, and finish quality determine how convincing the result appears. Using reference photos of real stone and practicing your technique on cardboard first improves results significantly.
Conclusion
Can you paint laminate countertops to look like stone? Absolutely. With the right preparation, paint technique, and sealer, you can transform dated laminate into a surface that resembles granite, marble, or soapstone for under $200.
The six-step process is straightforward: inspect your surface, clean and sand, apply bonding primer, add base coat, create stone veining with accent colors, and seal with protective topcoat. Take your time with each step, especially the prep work and sealing.
Painted countertops are not permanent, but they offer an affordable way to refresh your kitchen or bathroom while you save for a full renovation. Start with a small area like a bathroom vanity if you are nervous, then tackle the kitchen once you have confidence in your technique.