
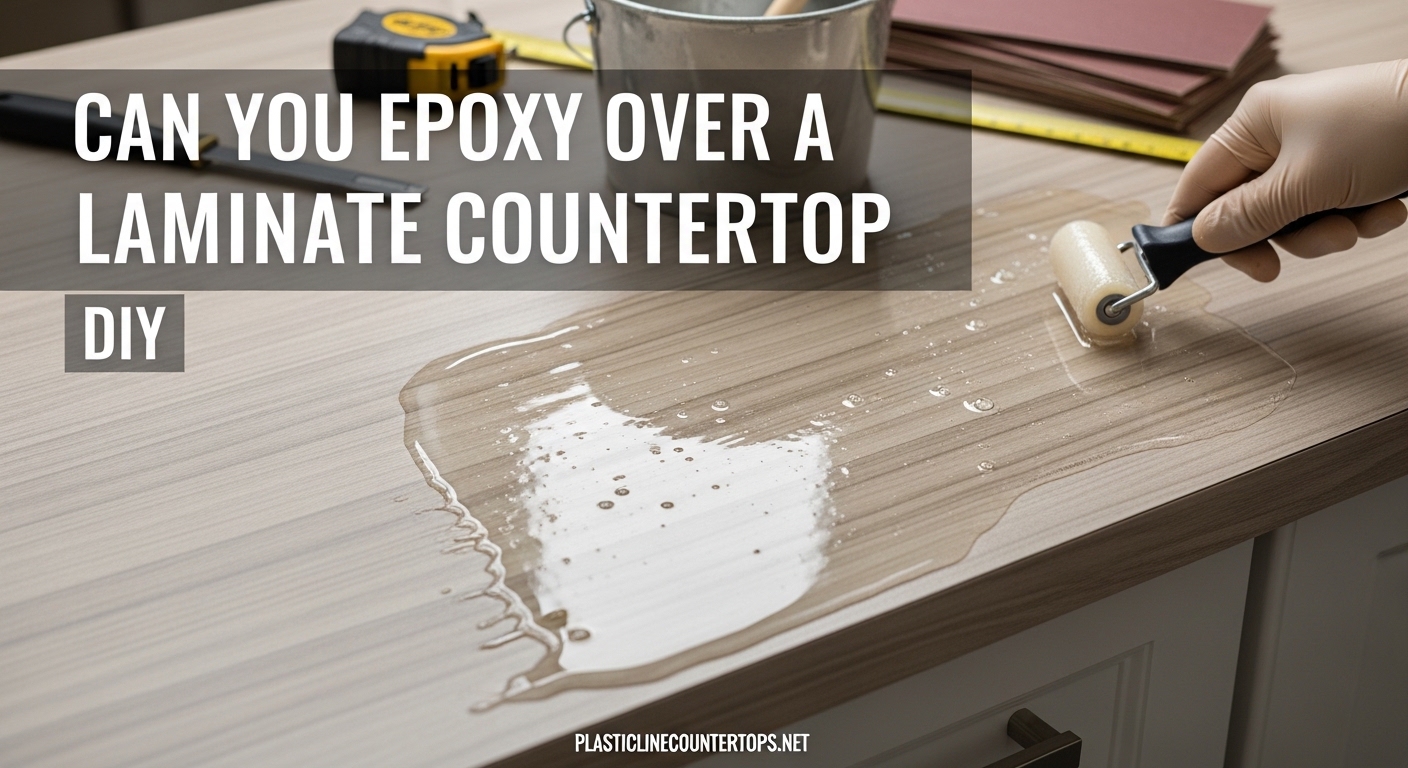
Yes, you can epoxy over a laminate countertop DIY project and achieve beautiful, durable results. The key is proper surface preparation including thorough cleaning, sanding with 80-120 grit sandpaper, and applying a bonding primer designed for laminate surfaces. Skip any of these steps and you will end up with peeling or delamination within months.
In this guide, I will walk you through the complete process our team tested over several projects, including specific techniques for dealing with tricky areas around sinks and edges. By the time you finish reading, you will know exactly what to do to transform your old laminate countertops into a stunning epoxy surface that looks like natural stone.
Table of Contents
Can You Epoxy Over a Laminate Countertop DIY
The short answer is yes, you can epoxy over formica and laminate countertops with the right preparation. Epoxy bonds to laminate through a combination of mechanical adhesion created by sanding and chemical adhesion from a quality bonding primer. This dual-bonding approach creates a surface that holds up well to daily kitchen use.
Understanding the Process
Epoxy resin is a two-part system that mixes a resin with a hardener in a 2:1 ratio by volume. When properly applied over prepared laminate, it creates a hard, glossy, heat-resistant surface that can last many years with proper care. The process works because the primer chemically bonds to the laminate while the epoxy mechanically bonds to the primer.
Why Epoxy Works on Laminate
Laminate countertops have a smooth, non-porous surface that normally resists adhesion. Sanding creates microscopic scratches that give the epoxy something to grip physically. The bonding primer then fills those scratches and creates a chemically compatible surface for the epoxy to adhere to. Without both steps, the epoxy will peel off.
Tools and Materials You Will Need
Before starting your epoxy over laminate countertop project, gather all materials. Having everything ready prevents mid-project trips to the hardware store that could leave your epoxy sitting too long before application.
Essential Items Checklist
- Trisodium phosphate (TSP) degreaser or equivalent cleaner
- 80-120 grit sandpaper (sandpaper grit 80-120 range works best)
- Bonding primer designed for laminate surfaces
- Epoxy resin kit (check coverage rate for your countertop square footage)
- Mixing containers (disposable)
- Drill mixer paddle for proper mixing
- Isopropyl alcohol for final cleaning
- Plastic sheeting for protecting surrounding areas
- Ram Board or cardboard for floor protection
- Delicate surface tape for edges
- Heat gun or propane torch for bubble removal
- Spreaders or trowels for epoxy application
- Safety gloves and respirator mask
Nice-to-Have Tools
- Orbital sander for large surface areas
- Backer rod for filling gaps
- Body filler for repairing chips or damage
- Foam rollers for primer application
- Plastic tarps for cabinet protection
How to Prep Laminate Countertop for Epoxy
Surface preparation determines whether your epoxy countertop will last or fail. Our team found that rushing this step is the most common reason for delamination. Plan two full days for preparation alone before mixing any epoxy.
Step 1: Clean the Surface
Remove everything from your countertops including appliances, items under sinks, and any caulk or trim. Clean the entire surface with TSP degreaser mixed with warm water. Scrub thoroughly to remove all grease, soap residue, and cooking oils. Rinse with clean water and let dry completely. Any grease remaining will cause adhesion failure.
Step 2: Sand the Laminate
Sand the entire laminate surface using 80-120 grit sandpaper. The goal is not to remove the laminate but to create a scratched profile that epoxy can grip. Use an orbital sander for large areas and hand-sand edges and corners. Wipe away dust with a tack cloth or damp rag after sanding. The surface should look matte rather than glossy when finished.
Step 3: Repair Any Damage
Inspect your countertops carefully for chips, cracks, or loose edges. Fill small chips and dents with body filler and allow to cure. For larger gaps or damaged areas, use backer rod pushed into the gap before filling. Sand repairs flat when fully cured. Let dry completely before proceeding.
Step 4: Apply Bonding Primer
Apply a thin, even coat of bonding primer designed for laminate surfaces. Use a foam roller for smooth application. The primer fills the sandpaper scratches and creates a chemically receptive surface for the epoxy. Allow the primer to dry according to manufacturer instructions, typically 2-4 hours. Do not skip this step. Primer is essential for laminate because it prevents the epoxy from peeling later.
Applying Epoxy Over Laminate Countertop
Now comes the satisfying part. With proper preparation complete, you can start applying epoxy. Mix only what you can use within the working time indicated on your product, usually 30-45 minutes at room temperature.
Step 5: Mix the Epoxy
Combine epoxy resin and hardener in a 2:1 ratio by volume in a clean mixing container. Use a drill mixer paddle on low speed to mix thoroughly, scraping the sides and bottom. Avoid whipping in air bubbles. Some crafters add isopropyl alcohol to reduce bubbles, but this is optional and can affect clarity. Mix for exactly the time specified on your product.
Step 6: Pour and Spread
Pour the mixed epoxy slowly onto your countertop in a thin stream. Use spreaders or a trowel to push the epoxy evenly across the entire surface. Work quickly but methodically to ensure complete coverage without thin spots. The epoxy is self-leveling, so it will settle into an even coat, but spreading helps the process along.
Step 7: Remove Air Bubbles
Air bubbles will appear in your wet epoxy, especially if you mixed vigorously. Pass a heat gun or propane torch over the surface in a sweeping motion to pop these bubbles. Hold the heat source 6-8 inches above the surface and never linger in one spot. Move continuously to avoid overheating and creating new bubbles or damaging the curing epoxy.
Step 8: Apply Second Coat
Allow the first coat to cure fully, typically 24 hours at room temperature. Sand lightly with 120 grit to create a grip for the second coat. Clean away dust completely. Apply the second coat in the same manner as the first. Two coats creates a thicker, more durable surface with better depth and gloss. Some projects benefit from a third coat for maximum durability.
Curing Time and Next Steps
Patience during curing determines the final durability of your epoxy countertop. Rushing this step leads to soft spots, impressions, and premature wear. Different stages of cure require different care levels.
Initial Cure Timeline
Epoxy becomes touch-dry in approximately 24 hours at normal room temperature. During this time, keep the area dust-free and avoid any contact. Keep room temperature consistent between 70-75 degrees Fahrenheit for best results. Temperatures below 65 degrees significantly extend cure time.
Full Cure Requirements
Your epoxy countertop reaches full cure in approximately 7 days for hot item resistance and 30 days for complete chemical resistance. Place only cold items on the surface during the first week. Avoid cutting directly on the surface during the first month. After 30 days, the surface will withstand heat, chemicals, and daily use without damage.
Protecting Your New Countertop
Once fully cured, maintain your epoxy surface by using cutting boards, avoiding harsh chemicals for cleaning, and wiping up spills quickly. Mild dish soap and water work well for daily cleaning. Re-apply a thin coat of food-safe mineral oil occasionally if the shine dulls over time. Avoid abrasive cleaners that could scratch the surface.
Common Mistakes to Avoid
After testing this process ourselves and reading through countless forum posts from DIYers, I found the same mistakes appearing again and again. Avoiding these will save you time, money, and frustration.
Skipping Sanding
Many beginners wonder if they can skip sanding for faster results. The answer is a definite no. Sanding creates the mechanical profile the epoxy needs to grip the surface. Without it, the epoxy will peel off within weeks regardless of how good your primer is.
Using Wrong Primer
Not all primers work for epoxy over laminate. Using the wrong type leads to delamination even with perfect sanding. Choose a primer specifically rated for laminate-to-epoxy applications. Water-based urethane primers often work well for this purpose.
Rushing the Cure
Placing hot pans or heavy items on incompletely cured epoxy causes permanent impressions and damage. Wait the full 7 days before placing any items that could mark the surface. The extra wait is worth the durability you gain.
Improper Mixing Ratio
Measuring by weight instead of volume, or eyeballing proportions, leads to soft or tacky spots that never fully cure. Use proper measuring containers and follow the 2:1 ratio exactly as specified by your epoxy manufacturer.
FAQ
Does epoxy stick to laminate countertops?
Yes, epoxy sticks to laminate countertops when the surface is properly prepared with sanding and bonding primer. Without these steps, the epoxy will peel and delaminate.
What is the cheapest and easiest way to cover a laminate countertop?
Epoxy coating is one of the most cost-effective ways to transform laminate countertops. The materials cost less than replacement, and you can install it yourself over a weekend with proper preparation.
How to prep laminate countertop for epoxy?
Clean the surface thoroughly with TSP degreaser, sand with 80-120 grit sandpaper, repair any damage with body filler, and apply a laminate bonding primer. Allow each step to dry completely before proceeding.
What can you put over laminate countertops?
You can apply epoxy resin, tile overlays, concrete micro-toppings, or install new laminate sheets over existing laminate countertops. Each option varies in cost, durability, and DIY difficulty.
Conclusion
Yes, you can epoxy over a laminate countertop DIY project successfully with proper preparation, patience, and attention to detail. The process requires cleaning, sanding, priming, and careful epoxy application, but the results are worth the effort.
Your laminate countertops can be transformed into beautiful, durable surfaces that rival natural stone at a fraction of the cost. Take your time with preparation, do not skip the bonding primer, and allow full cure time before heavy use. Follow this guide and you will have countertops you can be proud of for years to come.