
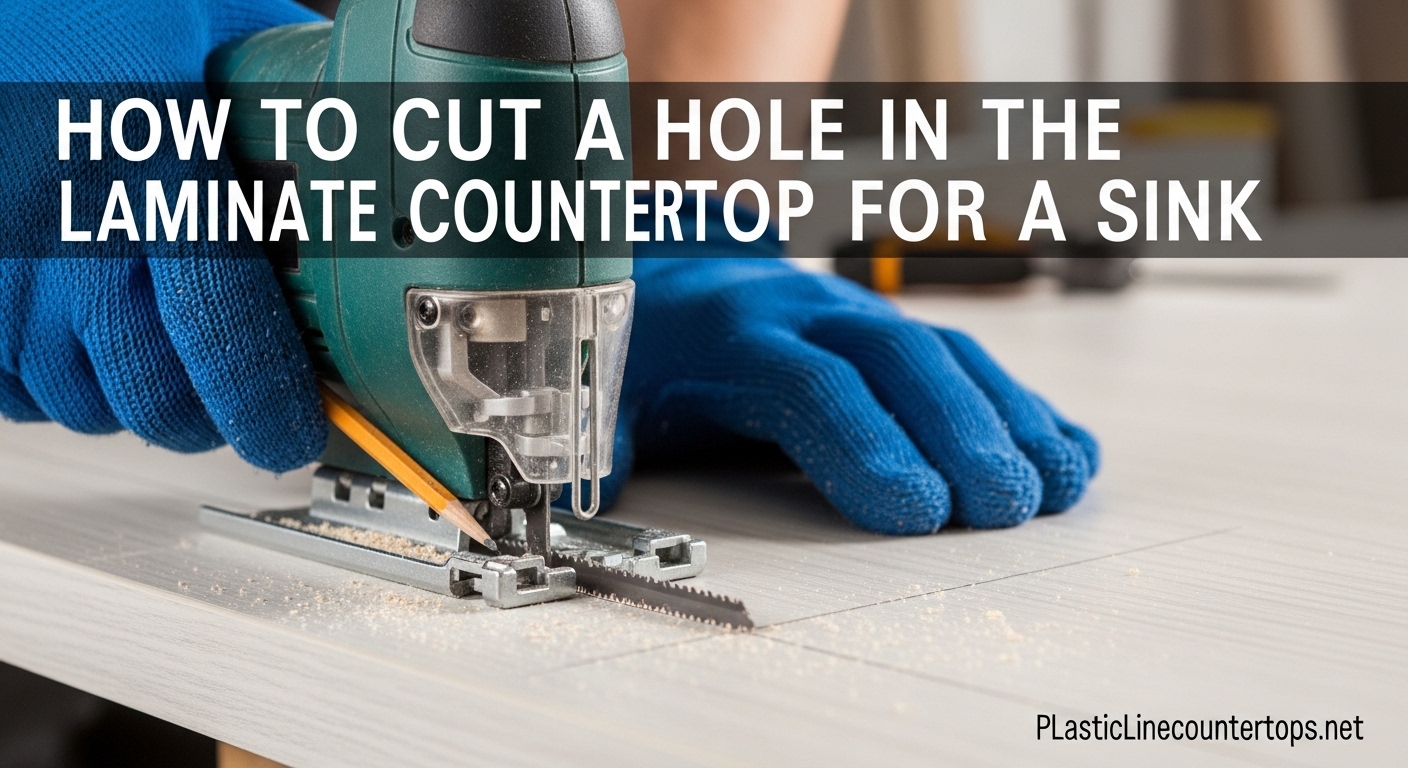
I spent three weekends learning how to cut a hole in laminate countertop for a sink the hard way. My first attempt left me with chipped edges, a gap that showed, and a lesson in what not to do. After talking with contractors, watching dozens of YouTube videos, and testing different techniques on scrap pieces, I have refined a method that produces clean, professional results every time.
Learning to cut a hole in laminate countertop for a sink is one of the most accessible DIY projects for kitchen renovations. Unlike stone or solid surface materials, laminate cuts cleanly with basic power tools and does not require expensive specialty equipment. The key is understanding the right blade, the right speed, and how to support your work to prevent damage.
In this guide, I will walk you through every step I use now, from gathering tools to making that final cut. Whether you are installing a new countertop or replacing an old sink, these techniques will help you avoid the common pitfalls that trip up first-timers.
Table of Contents
Tools You Need to Cut a Hole in Laminate Countertop for a Sink
Before you make your first cut, gather everything on this checklist. Running back to the hardware store mid-project is frustrating and increases your chances of mistakes.
Essential Tools:
- Jigsaw with variable speed control
- Fine-toothed jigsaw blade (20 teeth per inch minimum)
- Reverse-cut or down-cut blade (highly recommended)
- 1/2-inch spade bit for pilot holes
- Cordless drill
- Tape measure
- Pencil or marker
- Painter’s tape or masking tape
- Sink template (usually included with your sink)
- Safety glasses
- Dust mask
- Clamps (2-4)
- Two sawhorses or work surface
Optional but Helpful:
- Router with flush trim bit for edge finishing
- Belt sander for minor adjustments
- Wood rasp for hand-fitting
- Silicone caulk and caulk gun
- Construction adhesive
The jigsaw blade selection matters more than most beginners realize. A standard wood blade with upward-facing teeth will chip your laminate on the upstroke. I will explain blade options in detail later, but for now, trust me: buy a reverse-cut blade. The extra five dollars saves you from replacing an entire countertop.
Measuring and Creating Your Sink Template
Most sinks include a cardboard or paper template that shows exactly where to cut. If yours did not come with one, you can make your own from kraft paper or cardboard.
Position your sink upside down on the countertop where you want it installed. Mark the front edge placement first, typically 1-3/4 inches from the backsplash or back edge of the countertop. This measurement varies by sink, so check your installation instructions.
Once positioned, trace around the sink’s outer rim with a pencil. This line represents the actual cut line, not the sink’s finished edge. The sink rim will overhang this cut by about 1/2 inch all around, which hides minor imperfections in your cut.
For sinks without templates, measure the overall dimensions and transfer them to your countertop. Add the appropriate overhang distance specified in your sink instructions. Double-check your measurements before cutting. Measure twice, cut once is not just a saying here; it is essential.
Mark your centerline from the back wall and from the side walls if applicable. This ensures your sink sits square in the opening. Laminate countertops often have a slight overhang at the front, so account for that when positioning.
Preparing the Countertop Surface for Cutting
Surface preparation prevents chipping and gives you a clean line to follow. Start by cleaning the laminate surface thoroughly. Any debris under your tape can cause irregular cuts.
Apply painter’s tape or masking tape over your cut line, extending a few inches beyond on all sides. The tape protects the laminate surface from scratches and helps prevent chipping along the cut edge. Use wide tape, about 2 inches, for the best protection.
Trace your cut line onto the tape using a fine-point marker or pencil. A dark line shows up well against most tape colors and gives you a clear guide for your jigsaw.
If your countertop is already installed, place drop cloths below to catch dust and debris. Cover cabinets and floors in the work area. Cutting laminate creates fine dust that settles everywhere.
Drilling Pilot Holes in the Corners
Pilot holes give your jigsaw blade a starting point and create rounded corners that match your sink’s shape. Sharp corners concentrate stress and can crack over time.
Use a 1/2-inch spade bit for your pilot holes. This size accommodates most jigsaw blades and creates enough clearance for smooth entry. Mark an X at each corner of your cut line, positioning the drill bit center exactly where the lines intersect.
Drill slowly through the laminate and into the particle board substrate beneath. The spade bit may want to grab or wander as it breaks through the bottom, so maintain steady pressure and let the tool do the work. Drill from the top surface down; drilling from below can blow out the laminate face.
Drill all four corners before moving to the cutting step. Having all pilot holes complete lets you plan your cutting path and reduces the chance of missing a corner.
How to Cut a Hole in Laminate Countertop for a Sink
Now for the main event. Follow these steps exactly for a clean, professional cut.
Step 1: Set Up Your Work Area
Position your countertop on sawhorses with the cut area fully supported. The waste piece (the section you are removing) needs support underneath as you cut to prevent it from dropping and tearing the laminate at the end of your cut.
Step 2: Install the Correct Blade
Install a fine-toothed jigsaw blade with at least 20 teeth per inch. If you have a reverse-cut or down-cut blade, use it. These blades cut on the downstroke rather than the upstroke, which prevents the blade from lifting and chipping the laminate surface.
Step 3: Start at a Pilot Hole
Insert your jigsaw blade into one of the corner pilot holes. Start the saw at low speed and begin cutting along your marked line. Cut toward the front of the sink opening first, following the line carefully.
Step 4: Maintain Steady Speed and Pressure
Keep your jigsaw moving at a consistent pace. Too fast causes the blade to overheat and melt the laminate. Too slow lets the blade chatter and chip the edge. A moderate, steady speed produces the cleanest cut.
Let the blade do the cutting. Do not force the saw forward or push down excessively. Guide it along the line with gentle pressure.
Step 5: Support the Waste Piece
As you approach the end of your cut, have a helper support the waste piece, or place a temporary support underneath. When the cut completes, the waste piece should not drop freely. Letting it fall can chip or break the edge of your finished cut.
Step 6: Complete All Sides
Continue cutting each side of the rectangle, starting from pilot holes each time. Some DIYers prefer to cut from one pilot hole to the next, creating a continuous cut. Others cut each side separately. Both methods work; use whichever feels more comfortable.
Step 7: Clean the Edges
Once the waste piece is free, inspect your cut edges. Small chips or rough spots can be cleaned up with a router and flush trim bit, or lightly sanded with fine-grit sandpaper. Do not over-sand; you need enough material for the sink rim to seal against.
Preventing Chips and Delamination
The number one fear when cutting laminate is chipping the decorative surface. Here is how to prevent it.
Use a Reverse-Cut Blade: Standard jigsaw blades cut on the upstroke. This upward motion lifts the thin laminate layer, causing chips and delamination. Reverse-cut blades (also called down-cut blades) have teeth that point downward and cut on the downstroke. This pushes the laminate firmly against the substrate instead of pulling it up.
Maintain Proper Blade Length: Your blade needs at least 1-1/2 inches of cutting length to clear the countertop thickness. A blade that is too short will not cut cleanly through and can bind, causing rough edges.
Cut with Tape Applied: The painter’s tape you applied earlier adds surface support and prevents small chips at the cut line. Leave it on until you finish all cuts and cleanup.
Avoid Overheating: A hot blade melts the laminate resin, creating rough, melted-looking edges. If you smell burning plastic or see melted material, stop and let the blade cool. Cut at a moderate speed to prevent heat buildup.
Sharp Blades Only: Dull blades tear rather than cut. If you are cutting a large countertop, consider using a fresh blade. At five to ten dollars per blade, it is cheap insurance against a ruined countertop.
Supporting the Waste Piece During Cutting
The waste piece is the section of countertop you are removing. If it drops or shifts during the final cuts, it can tear chunks from your finished edge. This is the most common mistake I see in DIY sink cutouts.
The bridge technique works well for large cutouts. Place a temporary bridge of scrap wood across the cutout area, screwing it lightly to the waste piece. This holds the waste steady as you complete your final cuts.
Alternatively, have a helper hold the waste piece as you finish cutting. They should support it from below, preventing any downward movement as the cut completes.
Some contractors cut most of the way through each side, leaving small tabs uncut at the corners. They then finish these last with a hand saw or by snapping the tabs carefully. This method keeps the waste piece attached until you are ready to remove it.
Once the cut is complete, remove the waste piece carefully. Do not let it drag across your fresh cut edges.
Fitting and Adjusting the Sink
With your cut complete, test fit your sink before applying any caulk or adhesive. Lower the sink into the opening and check the reveal around all sides. The rim should overhang the cut edge evenly on all sides.
If the fit is too tight, mark the high spots and remove small amounts of material with a wood rasp or sandpaper. Work slowly; removing material is easy, adding it back is impossible.
For a loose fit, you can build up the edge with small wood strips or use extra caulk when sealing. Most sinks have some tolerance built into the mounting system.
Once satisfied with the fit, apply a bead of silicone caulk around the cut edge before final placement. This creates a waterproof seal and prevents moisture from reaching the particle board substrate. Moisture causes swelling and delamination over time.
Secure the sink according to manufacturer instructions, typically with mounting clips that attach to the underside of the countertop.
Cutting a Hole in Already-Installed Laminate Countertop
Cutting a sink hole after countertop installation presents additional challenges. The cabinet structure below limits access, and you are working in place rather than on sawhorses.
Cover the entire cabinet area below with drop cloths. Remove cabinet contents and drawers that might catch dust. Seal doorways to prevent dust from spreading through your home.
Support is the biggest challenge. You cannot place supports beneath the waste piece easily. Instead, use the bridge technique described earlier, screwing a temporary support board across the cutout to hold the waste piece until you finish cutting.
Work slowly and expect more dust. A shop vacuum positioned below the cut helps control debris. Some contractors tape a dust collection bag directly beneath the cut area.
If possible, remove the countertop to cut it elsewhere. Most laminate countertops attach with screws from below and caulk along the backsplash. Removing it takes extra time but produces better results and less mess.
Common Mistakes to Avoid
Learning from others’ mistakes saves time and money. Here are the errors I see most often in forum posts and my own early attempts.
Wrong Blade Type: Using a standard blade instead of reverse-cut causes chips. Spend the extra money on the right blade.
Cutting Too Fast: Rushing the cut creates heat, melting and rough edges. Let the blade work at its own pace.
Not Supporting the Waste: The waste piece dropping and tearing the edge ruins an otherwise perfect cut. Plan your support method before you start.
Measuring from the Wrong Edge: Always measure from finished walls or established reference points, not from uneven edges or temporary markings.
Forgetting Pilot Holes: Trying to start a jigsaw cut without a pilot hole creates ugly entry points. Drill the corners first.
Cutting Countertop Before Installing: While easier to cut before installation, some homeowners cut the hole, then find the countertop does not fit the cabinet layout. Always dry-fit the countertop first.
FAQ
What do I need to cut a sink hole in laminate countertop?
You need a jigsaw with a fine-toothed reverse-cut blade (20 teeth per inch minimum), a 1/2-inch spade bit for pilot holes, a drill, tape measure, painter’s tape, clamps, and safety glasses. Optional tools include a router for edge finishing and a belt sander for adjustments. The reverse-cut blade is essential for preventing chips in the laminate surface.
What is the best tool to cut laminate countertops?
A jigsaw with a reverse-cut or down-cut blade is the best tool for cutting laminate countertops. Unlike standard blades that cut on the upstroke and lift the laminate, reverse-cut blades cut on the downstroke, pressing the laminate firmly against the substrate. This prevents chipping and delamination. Variable speed control helps you cut at the optimal rate for clean edges.
How do I prevent chipping when cutting laminate countertop?
To prevent chipping, use a reverse-cut jigsaw blade that cuts on the downstroke, apply painter’s tape over your cut line for surface support, cut at a moderate speed to avoid overheating, and use a sharp blade. Drill pilot holes at corners before cutting, and support the waste piece during the final cuts to prevent edge damage from dropping.
Should I cut the sink hole before or after installing the countertop?
Cutting the sink hole before installing the countertop is easier and produces better results. You can work on sawhorses with full access and better dust control. However, if the countertop is already installed, you can still cut the hole using the bridge technique to support the waste piece and extra preparation to control dust. Always dry-fit the countertop before cutting if working pre-installation.
What blade should I use for cutting laminate countertop?
Use a fine-toothed jigsaw blade with at least 20 teeth per inch. The best choice is a reverse-cut blade (also called down-cut) which has teeth pointing downward that cut on the downstroke. This prevents the blade from lifting and chipping the laminate surface. Standard wood blades with upward-facing teeth will chip laminate and should be avoided.
Conclusion
Cutting a hole in laminate countertop for a sink is a project any motivated homeowner can complete successfully. The keys are using the right blade, taking your time, and supporting your work properly. A reverse-cut jigsaw blade and careful waste piece support prevent the chipping and edge damage that ruin otherwise good cuts.
Remember to measure carefully, drill your pilot holes before cutting, and test fit your sink before applying caulk. If you are working on an already-installed countertop, take extra time with dust control and waste piece support. The techniques in this guide have worked for me and countless others in the DIY community.
With the right preparation and patience, you will achieve professional-looking results that last for years. Good luck with your project.