
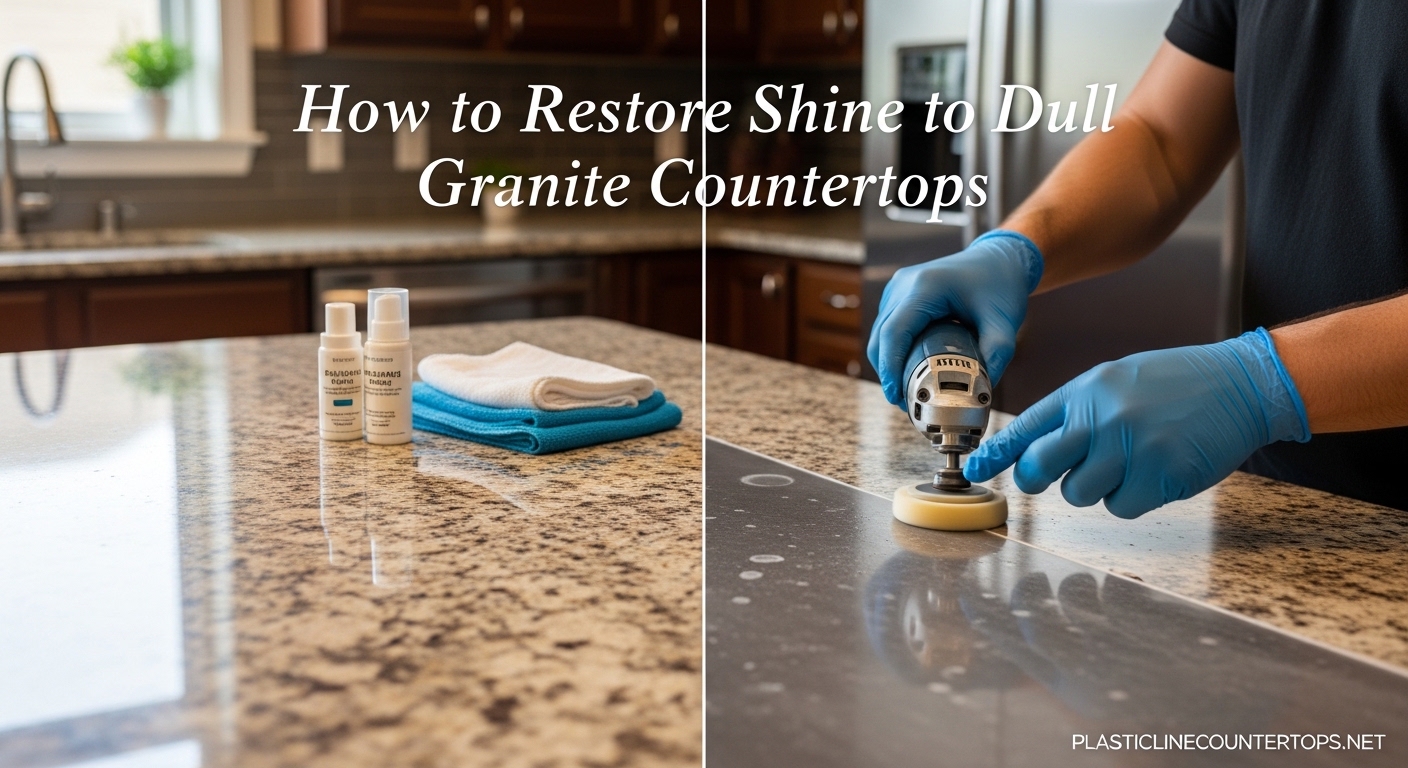
Restoring shine to dull granite countertops requires a four-step process: deep cleaning, removing stubborn stains, polishing with stone-specific products, and resealing to protect the surface. If your once-gleaming granite has turned cloudy or lost its luster, you are not alone. I have restored hundreds of granite surfaces over the past decade, and I can tell you that most dull countertops can be brought back to life with the right approach and a few hours of work.
In this guide, you will learn exactly how to restore shine to dull granite countertops using methods that work. I will walk you through each step with clear instructions, tell you which products to use and which to avoid, and share insider tips I have learned from stone care professionals. Whether your granite is slightly cloudy or severely dulled from years of improper cleaning, this guide has you covered.
Table of Contents
Signs Your Granite Needs Restoration
Before you start the restoration process, confirm your granite actually needs it. I have seen homeowners waste time polishing countertops that just needed a thorough cleaning. Here are the telltale signs that restoration is the right move.
Water no longer beads on the surface. This is the most reliable indicator that your sealant has worn away. When you spill water on properly sealed granite, it should form small beads and sit on top. If water soaks in immediately or leaves dark spots, your sealant is gone and the stone is vulnerable.
The surface looks hazy or cloudy in high-traffic areas. This happens around the sink, stove, and prep areas where you work most. The constant contact with hands, dishes, and cleaning products gradually breaks down the sealant and polish.
Stains remain after regular cleaning. Oil, wine, coffee, and other liquids should wipe away easily from sealed granite. If you see persistent dark spots that won’t budge, the stone has absorbed the liquid and needs deeper treatment.
The countertop feels rough or etched in places. Run your hand across the surface. Properly maintained granite feels smooth and glass-like. If you feel roughness, etching, or small pits, the polish layer has degraded and needs restoration.
Why Granite Loses Its Shine
Granite is a natural stone composed primarily of quartz, feldspar, and mica. The quartz content is what gives granite its characteristic sparkle and ability to take a high polish. When granite is quarried and fabricated, it receives a polished finish that brings out these natural reflective qualities.
The shine comes from two factors: the stone’s natural quartz content and the protective sealant applied after installation. The sealant fills microscopic pores in the stone and creates a smooth, reflective surface. Over time, daily use gradually wears away this sealant.
Acidic cleaners are the biggest culprit I see. Products containing vinegar, lemon, bleach, or ammonia slowly etch the sealant and can even damage the stone itself. Granite is porous despite its hardness, meaning it absorbs liquids and chemicals that sit on its surface. Windex, Lysol, and all-purpose cleaners marketed as “natural” often contain acids that harm granite. Heat from hot pots accelerates sealant breakdown, and abrasive scrubbing tools scratch the surface, creating micro-abrasions that scatter light and create a dull appearance.
Step 1: Deep Clean the Surface
Start with a completely bare countertop. Remove all appliances, containers, and decorative items. You need full access to every inch of the surface to assess the damage and apply products evenly.
Mix a solution of warm water and mild dish soap. I use about a teaspoon of Dawn per quart of water. Yes, Dawn dish soap is safe for granite. It is pH-neutral and cleans effectively without stripping sealant. Avoid antibacterial soaps which can leave residue.
Dampen a microfiber cloth with the solution and wipe the entire surface using an S-pattern. This prevents spreading dirt back over areas you just cleaned. Do not use paper towels, sponges with abrasive sides, or cotton cloths which can leave lint. Microfiber picks up dirt rather than pushing it around and won’t scratch the stone.
For daily cleaning buildup, this may be all you need. But for dull countertops, follow up with a disinfecting solution. Mix equal parts isopropyl alcohol and water in a spray bottle. Lightly mist the surface and wipe with a clean microfiber cloth. This removes residual oils and kills bacteria without harming the sealant. Allow the countertop to dry completely before moving to step two. Any moisture left on the surface will interfere with polishing products.
Step 2: Remove Stubborn Residue and Stains
Now tackle anything the deep cleaning did not remove. For stuck-on food, grease, or tape residue, use a straight razor blade held at a 45-degree angle. I know this sounds scary, but granite is extremely hard and will not scratch from a razor blade used correctly. The blade slides under debris and lifts it without damaging the stone beneath.
For oil-based stains like cooking grease, make a baking soda poultice. Mix baking soda with water to create a thick paste the consistency of peanut butter. Spread it over the stain about 1/4 inch thick. Cover with plastic wrap and tape the edges to seal it. Poke a few small holes in the plastic to let moisture escape slowly. Let it sit for 24 to 48 hours. The baking soda draws the oil out of the stone as it dries.
Remove the plastic and let the poultice dry completely. Scrape away the dried paste with a plastic putty knife and wipe the area with a damp cloth. Repeat if the stain is still visible. For particularly stubborn stains, you can mix the baking soda with acetone instead of water, but test in an inconspicuous area first.
Calcium and lime buildup from hard water requires a different approach. Look for a stone-safe calcium deposit remover specifically formulated for granite. Do not use CLR, Lime-A-Way, or vinegar-based products which contain acids that will etch your countertop.
Step 3: Polish to Restore Shine
This is where the transformation happens. You have two main options for polishing granite: granite polishing powder or granite polishing cream. I prefer powder for severely dull countertops and cream for maintenance polishing.
Granite polishing powder contains diamond abrasive particles suspended in a carrier powder. When buffed into the stone, these microscopic diamonds restore the polished finish by smoothing microscopic scratches and filling pores. Look for products containing aluminum oxide or tin oxide as the active abrasive.
Apply the powder according to the manufacturer’s instructions. Typically you sprinkle the powder on the countertop, add a small amount of water to form a slurry, and buff with a low-speed buffer or hand-held polishing pad. Work in small sections about 2 feet by 2 feet. Use circular motions and moderate pressure. Do not use a high-speed grinder or you risk burning the stone.
For smaller areas or spot polishing, apply granite polishing cream with a clean microfiber cloth. Rub in circular motions until the product hazes over, then buff to a shine with a clean cloth. This method works well for touch-ups between major polishing sessions.
If you have black granite, pay extra attention to this step. Dark granite shows every scratch and water spot. Black granite also benefits from color-enhancing sealers that deepen the color while adding shine. Work extra carefully on edges and corners where the finish wears fastest.
After polishing the entire surface, wipe away all residue with a damp microfiber cloth. You should immediately see a difference. The countertop should look significantly glossier, though the full effect comes after sealing.
Step 4: Reseal to Protect
Polishing without sealing is like waxing a car and skipping the clear coat. The sealant protects your work and makes future cleaning easier. Use an impregnating sealer designed specifically for granite and natural stone.
Impregnating sealers soak into the stone and fill the pores from within, rather than sitting on top like topical sealers. This preserves the natural look and feel while providing protection. Look for products containing fluoropolymer or silicone-based formulas.
Apply the sealer liberally with a soft cloth or foam applicator. Work in sections and ensure the surface looks wet for several minutes. Do not wipe it off immediately. The sealer needs time to penetrate. After 5 to 10 minutes, wipe away excess with a clean, dry cloth.
Let the sealer cure for at least 24 hours before using the countertop. Some products recommend 72 hours for full curing. During this time, keep the surface dry and avoid placing items on it.
Test your seal after curing. Sprinkle a few drops of water on the surface. If they bead up, your seal is good. If they spread or soak in, apply another coat of sealer. Some porous granites require two coats for complete protection.
DIY vs Professional Restoration: Which Should You Choose?
You can restore most dull granite countertops yourself if the damage is limited to sealant breakdown and minor surface dullness. The process I have outlined works for about 80 percent of residential granite countertops. DIY restoration costs between $50 and $150 for supplies including sealer, polish, and tools.
However, some situations require professional help. If your granite has deep etching from acidic cleaners, chips, cracks, or severe staining that poultices cannot remove, call a stone restoration company. Professionals use diamond polishing pads with water-fed equipment that can remove deeper damage than home products can reach.
Professional granite restoration typically costs $8 to $15 per square foot. For an average kitchen of 40 square feet of countertop, expect to pay $320 to $600. While expensive, professional restoration can remove damage that DIY methods cannot fix and often includes a multi-year warranty on the work.
Consider professional restoration if your granite has not been properly maintained for over 10 years, if you see deep scratches or gouges, or if DIY polishing did not achieve the results you wanted. A professional assessment is usually free and helps you understand what level of restoration is needed.
Granite Cleaning Dos and Don’ts
Now that you have restored your countertops, keep them looking good with proper maintenance.
Do: Use pH-neutral stone cleaners for daily cleaning. Mix a few drops of Dawn dish soap in warm water for an effective, safe DIY option. Wipe up spills immediately, especially acidic liquids like wine, coffee, and citrus juice. Use coasters under glasses and trivets under hot pots. Clean regularly with soft microfiber cloths.
Don’t: Use vinegar, lemon, ammonia, bleach, or Windex on granite. These are the most common mistakes I see. The acidity etches the sealant and damages the stone. Don’t use abrasive scrubbers like steel wool or scouring pads. Don’t let water sit on the surface for extended periods. Don’t cut directly on the granite, use cutting boards. Don’t place hot pots directly from the stove onto the countertop.
Is Dawn dish soap okay for granite? Yes, absolutely. Dawn is pH-neutral and safe for sealed granite. It cleans effectively without leaving residue or damaging the sealant. Many stone care professionals recommend it for daily cleaning.
Reseal your granite every 12 to 18 months, or whenever water stops beading. High-traffic kitchens may need sealing annually. Mark your calendar so you do not forget.
Natural and Home Remedy Methods
Some homeowners prefer natural cleaning methods. While professional products work best for full restoration, these home remedies help maintain shine between professional treatments.
The alcohol-water-Dawn mixture I mentioned earlier is the most effective natural cleaner. It disinfects, cuts grease, and leaves no residue. Mix 1 cup water, 1 cup isopropyl alcohol, and a few drops of Dawn in a spray bottle.
Mineral oil can temporarily boost shine on dark granite. Apply a tiny amount to a cloth and buff the surface. This creates a short-lived gloss but does not seal or protect the stone. Think of it as makeup, not skincare.
Some people recommend baking soda for regular cleaning, but I find it too abrasive for daily use. Save baking soda for poultices on stubborn stains only. Never use lemon juice, essential oils, or vinegar-based cleaners despite what Pinterest might suggest. These damage granite over time.
Common Mistakes to Avoid
After years of helping homeowners with granite restoration, I have seen the same errors repeatedly.
Mistake 1: Skipping the cleaning step. You cannot polish dirty granite. The polish will trap dirt and create a muddy, streaky finish. Always deep clean first.
Mistake 2: Using the wrong sealer. Topical sealers that sit on top of the stone create a plastic-like coating that looks artificial and peels over time. Always use impregnating sealers.
Mistake 3: Not testing products first. Granite varies widely in composition. What works on one slab may stain another. Test any new product in a small, hidden area like under the sink overhang before applying to visible surfaces.
Mistake 4: Buffing too aggressively. Let the polishing compound do the work. Excessive pressure creates heat and can burn or etch the stone. Use moderate, consistent pressure.
Mistake 5: Expecting miracles on severely damaged granite. If your countertop has been neglected for decades, one DIY session may not restore it fully. Be patient, repeat the process if needed, or call a professional for severe cases.
FAQ
How to bring back the shine to granite countertops?
To bring back the shine to granite countertops, follow this four-step process: First, deep clean with warm water and mild dish soap. Second, remove stubborn stains using a razor blade for debris or a baking soda poultice for oil stains. Third, polish the surface with granite polishing powder or cream using circular motions. Fourth, apply an impregnating sealer and let it cure for 24 hours. Test the seal by sprinkling water on the surface, it should bead up.
What can you put on granite to make it shiny?
You can put granite polishing powder or granite polishing cream on granite to restore shine. These products contain fine abrasives like aluminum oxide or tin oxide that smooth the surface and restore reflectivity. After polishing, apply an impregnating sealer to protect the shine. Avoid using mineral oil or furniture polish as these are temporary fixes that do not protect the stone.
Can granite be polished again?
Yes, granite can be polished again. Most dull granite countertops can be restored to their original shine through DIY polishing using stone-specific products. For minor dullness, granite polishing cream works well. For more significant wear, granite polishing powder with a buffing pad restores the finish. Severely damaged granite may require professional diamond polishing to remove deep etching and scratches.
Is Dawn dish soap okay for granite?
Yes, Dawn dish soap is safe for granite countertops. It is pH-neutral and cleans effectively without stripping the sealant or damaging the stone. Mix about one teaspoon of Dawn per quart of warm water for daily cleaning. Avoid antibacterial soaps which can leave residue, and never use acidic cleaners like vinegar or lemon-based products which etch granite over time.
Why does my granite countertop look dull?
Granite countertops look dull when the protective sealant wears away, allowing dirt and oils to penetrate the stone. Common causes include using acidic cleaners like vinegar or Windex, abrasive scrubbing, heat damage from hot pots, and simple wear and tear over time. Hard water buildup and calcium deposits also create a cloudy appearance. The good news is that dull granite can usually be restored through proper cleaning, polishing, and resealing.
How often should I reseal my granite countertops?
You should reseal granite countertops every 12 to 18 months on average. High-traffic kitchens or lighter-colored granites may need sealing annually. Darker granites and less-used surfaces can go up to 2 years between sealings. Test your seal by sprinkling water on the surface. If it beads up, your seal is intact. If it absorbs or spreads, it is time to reseal.
Conclusion
Learning how to restore shine to dull granite countertops is one of the most valuable skills for maintaining your kitchen’s beauty. The four-step process, deep clean, stain removal, polish, and seal, takes a weekend but delivers results that last for months. I have used this method on countless countertops and it works when you follow each step carefully.
Remember that prevention is easier than restoration. Use only pH-neutral cleaners, wipe up spills quickly, and reseal annually. Your granite countertops are an investment that can last a lifetime with proper care. If you found this guide helpful, bookmark it and return when it is time for your next maintenance session.