
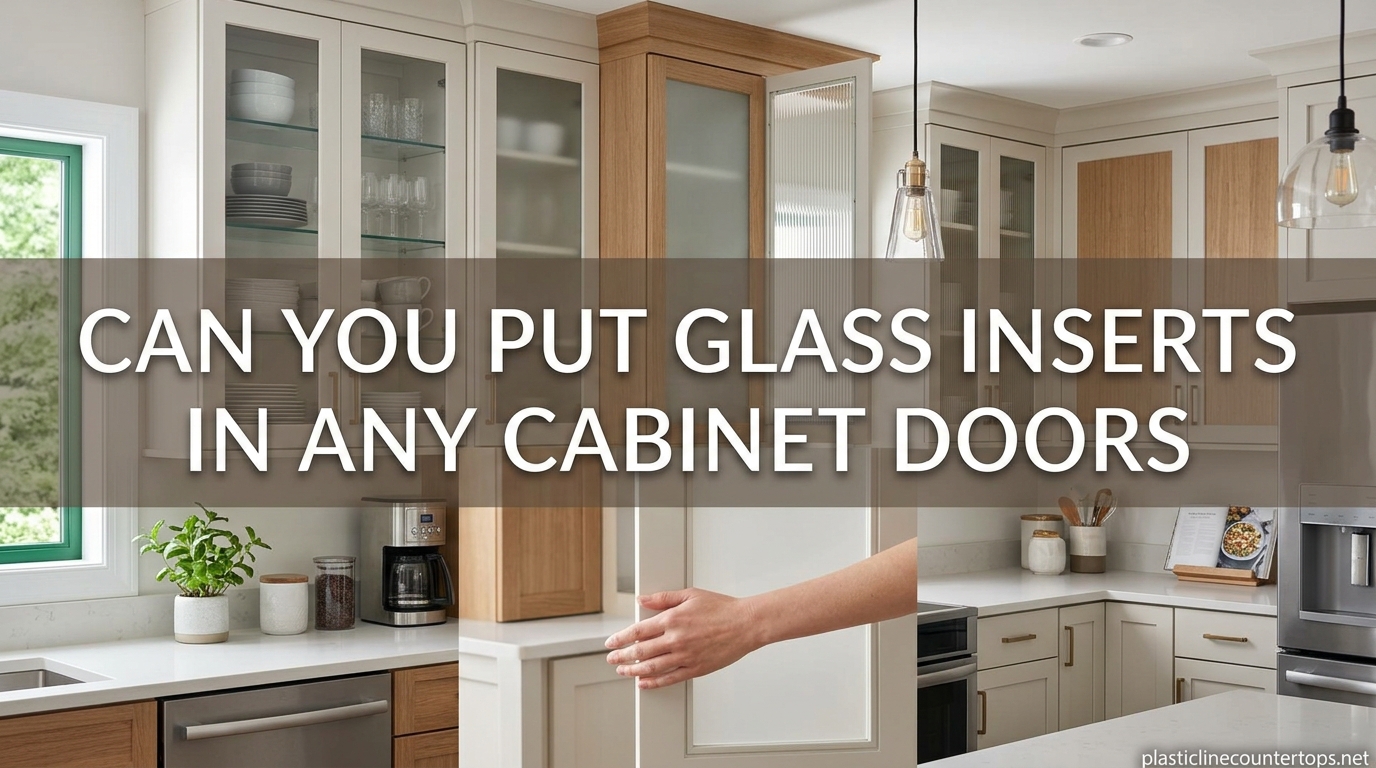
Yes, you can add glass inserts to cabinet doors, but only if your doors have a recessed center panel that can be removed. The most common approach involves replacing the wood panel with custom-cut glass or plexiglass, secured using retainer clips, silicone adhesive, or wood stop molding. Not all cabinet doors are candidates for this upgrade, so understanding your door construction is essential before starting.
Table of Contents
Can You Add Glass Inserts to Cabinet Doors?
The answer depends entirely on your cabinet door construction. Cabinet doors with a recessed center panel are ideal candidates for glass inserts. These doors feature a raised or flat wood panel held in place by tongue-and-groove joints, which can typically be removed without destroying the frame.
Understanding the 1/3 rule for cabinets helps determine feasibility. The frame width must be at least 1 inch on all sides to properly support glass inserts. If your cabinet door frames are narrower than this, there will not be enough material to create a secure lip for the glass to rest against. Measure your door frames before planning this project.
Several cabinet door types work well for glass inserts. Shaker style doors with flat center panels are the most common choice because the panels are easy to remove and replace. Raised panel doors can also accept glass, though the process requires more careful cutting around the curves. However, slab doors made from solid wood or laminate cannot be converted without significant modification, and frameless cabinet doors present unique challenges due to their construction.
What Are Glass Inserts for Cabinet Doors?
Glass inserts for cabinet doors are custom-cut glass or acrylic panels that replace traditional wood center panels. They create a display area while maintaining the door frame structure. The result is an open, airy feel that allows you to showcase decorative dishware, collectibles, or simply break up the visual weight of solid cabinet doors.
The installation process involves removing the existing center panel, measuring the opening precisely, and securing the new glass panel using one of three main methods. Each method has advantages depending on your skill level, budget, and aesthetic preferences. Homeowners choosing this upgrade typically want to modernize their kitchen appearance without replacing entire cabinet sets.
Tools and Materials Needed
Before starting your glass insert project, gather the proper tools and materials. Using the right equipment ensures clean cuts and a professional result.
Tools required:
- Measuring tape and carpenter’s square for accurate measurements
- Drill with pilot holes for starting cuts
- Jigsaw with fine-tooth blade for cutting the center panel
- Router with rabbeting bit if you need to create a deeper lip for the glass
- Wood chisel for cleaning out corners after cutting
- Putty knife for removing old silicone or glazing points
- Safety glasses and gloves when handling glass
Materials required:
- Custom-cut glass panel or plexiglass sheet
- Retainer clips or glazing points
- Wood stop molding or trim pieces
- Neutral cure silicone adhesive (avoid ammonia-based cleaners on plexiglass)
- Painter’s tape for marking cut lines
- Shims to hold glass in place during installation
How to Install Glass Inserts in Cabinet Doors
Follow these step-by-step instructions to convert your cabinet doors to glass inserts. Taking accurate measurements is the most critical part of this process.
Step 1: Remove the Cabinet Doors
Label each door with painter’s tape indicating its location. Remove the doors from the cabinets and place them face-up on a stable work surface. This gives you better access for cutting and prevents damage to your cabinets during the process.
Step 2: Measure the Opening
Measure the interior opening where the center panel sits. Take measurements from inside lip to inside lip on all four sides. Subtract 1/8 inch from each dimension to allow for expansion and ensure the glass fits without binding. Many DIYers find it helpful to create a cardboard template before ordering custom glass.
Step 3: Cut Out the Center Panel
Drill pilot holes in each corner of the panel, staying 1/4 inch inside the door frame. Insert your jigsaw blade and cut along the lines connecting the holes. Work slowly around corners, especially with raised panel doors that have curved edges. For curved cuts on plexiglass, use a jigsaw with a fine blade sandwiched between scrap wood to prevent cracking.
Step 4: Prepare the Opening
Remove the cut panel pieces and clean out any remaining adhesive or glazing material. Use a chisel to clean the interior lips of the frame, ensuring the glass will sit flush. If you are routing out the opening to create a deeper lip, now is the time to do this with your router and rabbeting bit.
Step 5: Dry Fit the Glass
Place the glass or plexiglass in the opening without any adhesive to check the fit. The piece should slide in easily with a small gap on all sides. If it binds, remove material from the frame until the fit is correct. This step prevents problems after adhesive is applied.
Step 6: Secure the Glass
Choose one of three methods to secure the glass in your cabinet door. The method you choose depends on your aesthetic preferences and whether you want the installation to be removable.
Method A: Retainer Clips
Retainer clips snap into the door frame and hold the glass from the back. Install two clips per side, spacing them evenly. This method allows for glass replacement if the panel breaks and provides a clean, modern look with no visible hardware from the front.
Method B: Wood Stop Molding
Apply wood stop molding around the perimeter of the opening on the interior side of the door. Cut the molding at 45-degree angles in the corners for a professional appearance. This traditional method completely hides raw edges and provides a finished look from inside the cabinet. Using trim molding on both sides of the door, as some DIYers do, completely hides raw edges for a polished appearance.
Method C: Silicone Adhesive
Apply a thin bead of neutral cure silicone around the interior lip of the frame. Carefully set the glass in place and press firmly around the perimeter. Allow the silicone to cure for 24 hours before handling the door. This method creates a permanent bond and works well when combined with retainer clips for extra security.
Glass Types for Cabinet Inserts
Choosing the right type of glass affects both appearance and functionality. Each option has distinct characteristics suited to different needs.
Clear Glass
Clear glass provides maximum visibility into your cabinet interior. It works best when you plan to display decorative items or keep the cabinet contents organized and visually appealing. Clear glass shows everything inside, so this option requires more attention to what you store behind the doors.
Frosted or Obscured Glass
Frosted glass hides the cabinet contents while still allowing light to pass through. This is a popular choice for bathrooms or kitchens where you want an open feel without showing the actual items stored inside. The frosting also helps disguise any dust that accumulates on cabinet shelves.
Patterned or Textured Glass
Patterned glass adds visual interest and can complement specific kitchen styles. Reed glass, rain glass, and baroque patterns offer varying levels of obscurity and decoration. This option works well when you want privacy combined with style.
Plexiglass or Acrylic Alternatives
Plexiglass and LEXAN offer practical advantages over traditional glass. These materials are impact-resistant, lightweight, and significantly less expensive than custom-cut glass. Plexiglass can look just like real glass unless the surface is tapped, and it survives the installation process without the risk of shattering. However, ammonia-based cleaners cause plexiglass to become hazy over time, so use only mild soap and water for cleaning.
For most kitchen applications, 1/8 inch thick plexiglass provides adequate strength without adding excessive weight. If your cabinet frames are particularly deep, 3/16 inch thickness offers more rigidity and can better support larger panels without flexing.
Cost to Put Glass in Cabinet Doors
Understanding the cost breakdown helps you budget appropriately for this project. Prices vary significantly between DIY and professional installation.
DIY Costs Per Door:
Custom-cut clear glass typically runs 25 to 50 dollars per square foot, depending on the type and edge finish. For an average cabinet door, expect to pay 30 to 60 dollars in glass alone. Plexiglass is considerably less expensive at 10 to 20 dollars per square foot, making it an attractive option for budget-conscious homeowners. One DIYer reported saving over 90 dollars per cabinet by using plexiglass instead of professional glass installation, which can cost 150 dollars or more per door.
Professional Installation Costs:
Professional glass installation generally ranges from 100 to 200 dollars per door, including materials and labor. Custom beveled or patterned glass increases the cost significantly. If your doors require custom sizing or special cuts, professional installation ensures proper fit and finish but at a premium price.
Common Mistakes to Avoid
Learning from others’ errors helps ensure your project succeeds. Several common mistakes can derail an otherwise straightforward installation.
Incorrect Measurements
Failing to measure accurately is the most frequent mistake. Always measure twice and cut once. Account for the lip or frame overlap on all sides, and remember that glass cannot be made smaller if you cut it too large. Creating a cardboard template eliminates guesswork when ordering custom glass.
Using the Wrong Adhesive
Standard silicone may not bond properly with certain glass types, and some adhesives can damage plexiglass. Always use neutral cure silicone specifically designed for glass or plastic applications. Read the product label to confirm compatibility with your materials.
Rushing the Drying Time
Moving or re-hanging cabinet doors before adhesive fully cures causes the glass to shift. This creates gaps, unsightly adhesive squeeze-out, or in severe cases, glass that falls out of the frame. Allow at least 24 hours of cure time before handling the doors.
Not Checking Frame Compatibility
Attempting to install glass in doors with inadequate frame width leads to a poor result. If the frame is less than 1 inch wide on all sides, the glass will not have proper support. In these cases, you may need to consider alternative upgrades or consult a professional about custom solutions.
Frameless Cabinets and Non-Kitchen Applications
Frameless cabinets present unique challenges for glass inserts. Without a traditional face frame, there is no recessed panel to remove. Instead, you would need to create a frame overlay or use surface-mounted clips designed specifically for frameless construction. This approach requires additional materials and often professional installation.
Beyond kitchens, glass inserts work well in bathroom vanities, display cabinets, and built-in shelving units. Bathroom cabinets benefit from frosted glass that provides privacy while maintaining an open feel. Display cabinets in living rooms or dining areas showcase collectibles beautifully with clear or patterned glass. The same installation principles apply regardless of location, though you may need different thicknesses for larger openings.
Where to Buy Glass Inserts for Kitchen Cabinets
Several retailers specialize in custom-cut glass for cabinet applications. Home improvement stores like Home Depot and Lowe’s offer cut-to-size glass services at their locations. Specialty glass shops provide more options including beveled edges, custom shapes, and patterned glass that big box stores cannot match.
Online retailers ship custom-cut plexiglass sheets directly to your door, making it easy to get precise dimensions without leaving your home. When ordering online, double-check your measurements and confirm the shipping carrier has experience with glass products to minimize damage during transit.
FAQ
How do you convert cabinet doors to glass inserts?
To convert cabinet doors to glass inserts, remove the center panel by cutting along the frame joints with a jigsaw. Measure the opening precisely, order custom glass or cut plexiglass to size, then secure it using retainer clips, wood stop molding, or neutral cure silicone adhesive. Allow 24 hours for adhesive to cure before rehanging the doors.
How much does it cost to put glass in cabinet doors per door?
DIY glass insert costs range from 30 to 60 dollars per door for custom-cut glass, or 10 to 20 dollars if using plexiglass. Professional installation typically costs 100 to 200 dollars per door, including materials and labor. One DIYer reported saving over 90 dollars per cabinet by using plexiglass instead of professional glass installation.
What is the 1 3 rule for cabinets?
The 1/3 rule for cabinets states that cabinet door frames must be at least 1 inch wide on all sides to properly support glass inserts. This width ensures there is enough material to create a secure lip for the glass to rest against. Measure your door frames before planning a glass insert project to confirm compatibility.
Where can I buy glass inserts for kitchen cabinets?
You can purchase glass inserts from home improvement stores like Home Depot and Lowe’s, which offer cut-to-size glass services. Specialty glass shops provide more options including beveled edges and custom shapes. Online retailers ship custom-cut plexiglass sheets directly to your door for easy DIY installation.
Conclusion
You can add glass inserts to cabinet doors if your doors have a recessed center panel and frames at least 1 inch wide. The project requires basic tools, careful measurement, and patience during installation. Whether you choose custom glass or budget-friendly plexiglass, this upgrade transforms the look of your kitchen without the cost of full cabinet replacement.
If your cabinet doors lack the proper frame width, consider consulting a professional about custom solutions. For most homeowners, following this guide will result in beautiful glass insert cabinet doors that enhance your space for years to come.